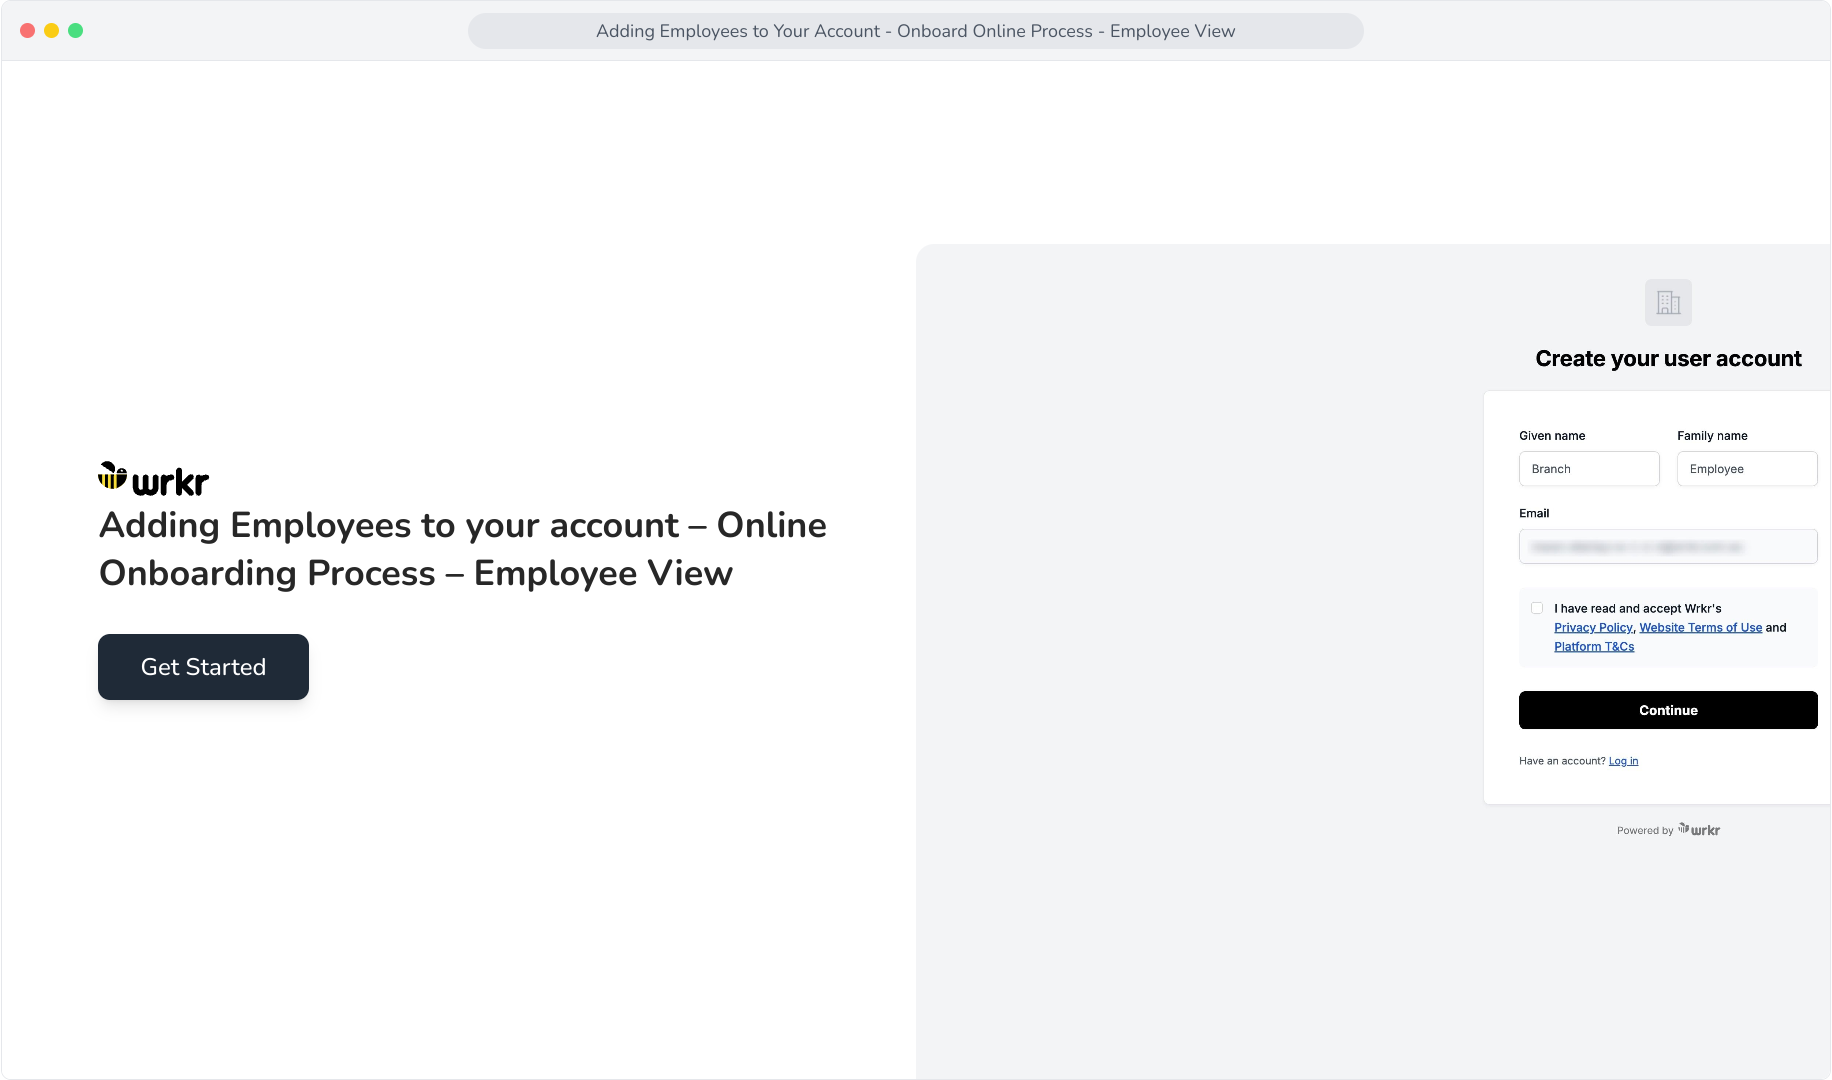
Context: This guide covers the online onboarding process from the employee's perspective within the Wrkr Portal.
Interactive Demo
Note: Make the demo full-screen for a better experience. You can mute/un-mute narration to suit your preferences.
Step by Step
1. Adding Employees to your account – Online Onboarding Process – Employee View
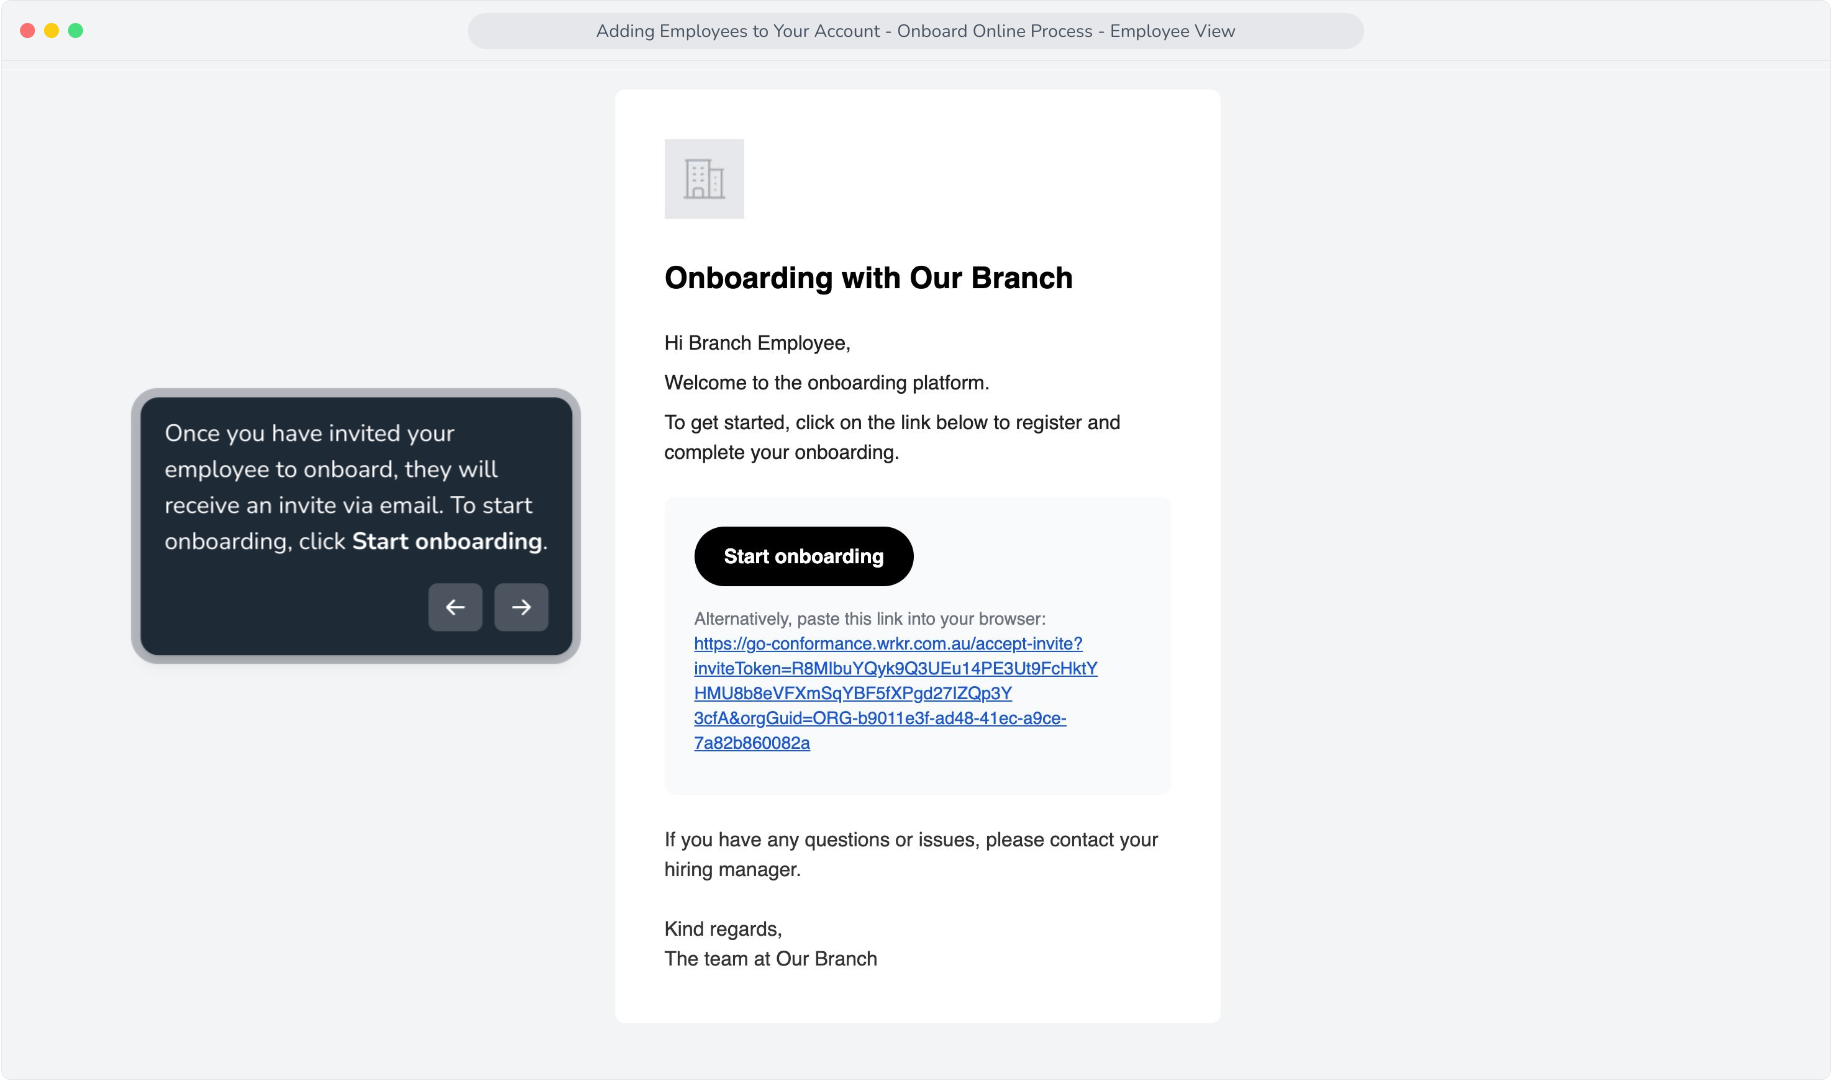
2. Once you have invited your employee to onboard, they will receive an invite via email. To start onboarding, click Start onboarding.
3. The email invite will take you to the Create your user account screen. Here, you can update your Given and Family name, however, your email is not editable.
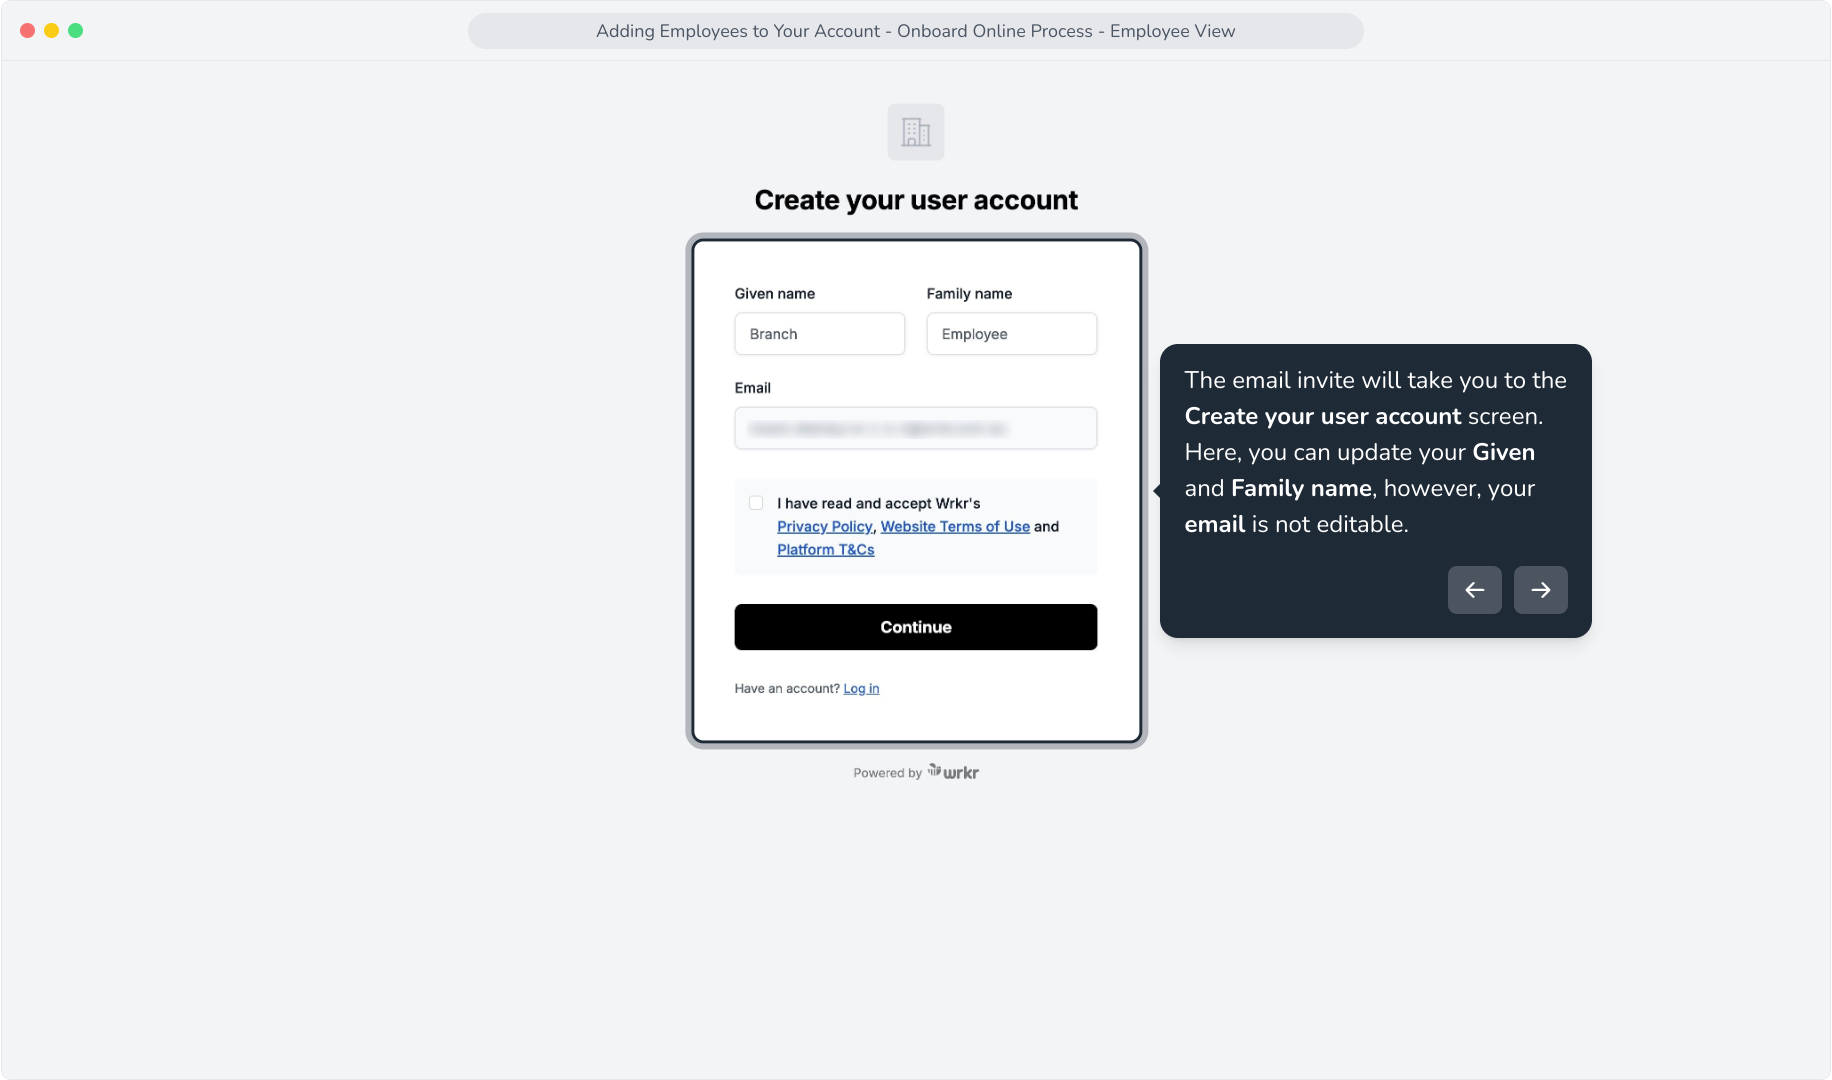
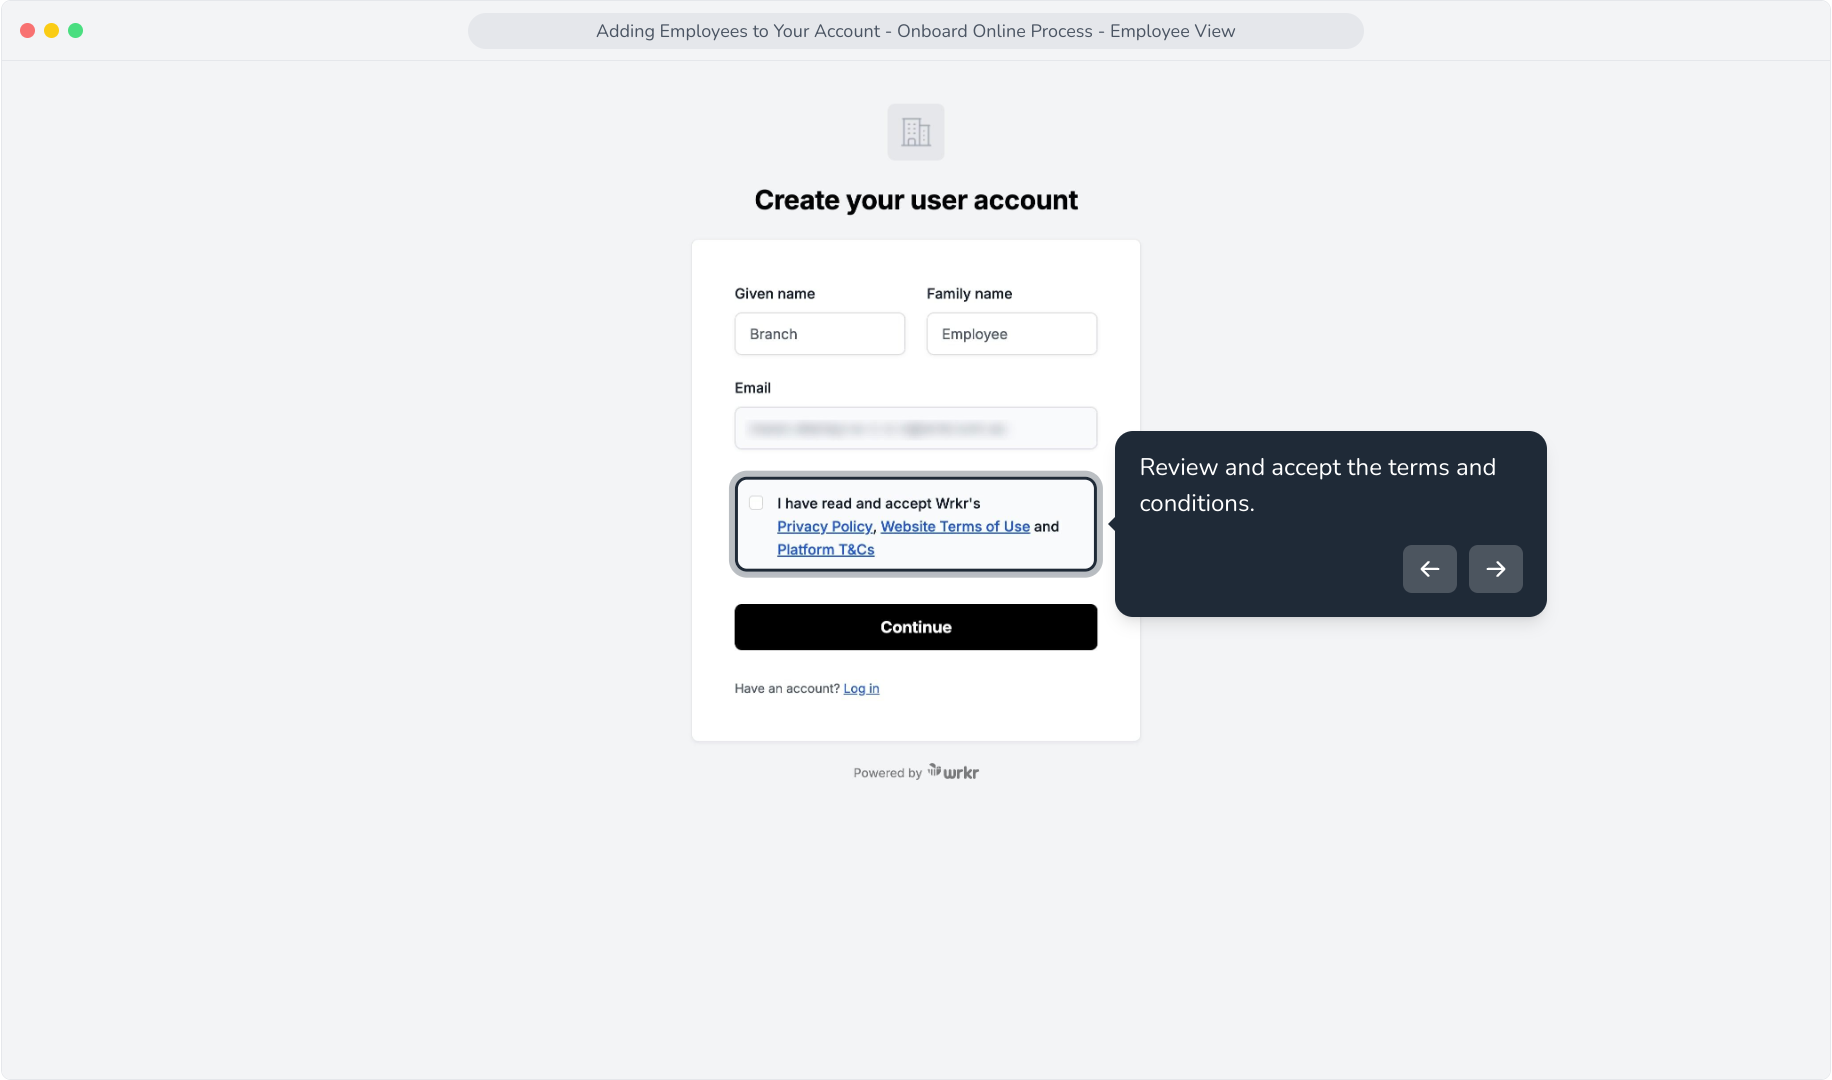
4. Review and accept the terms and conditions.
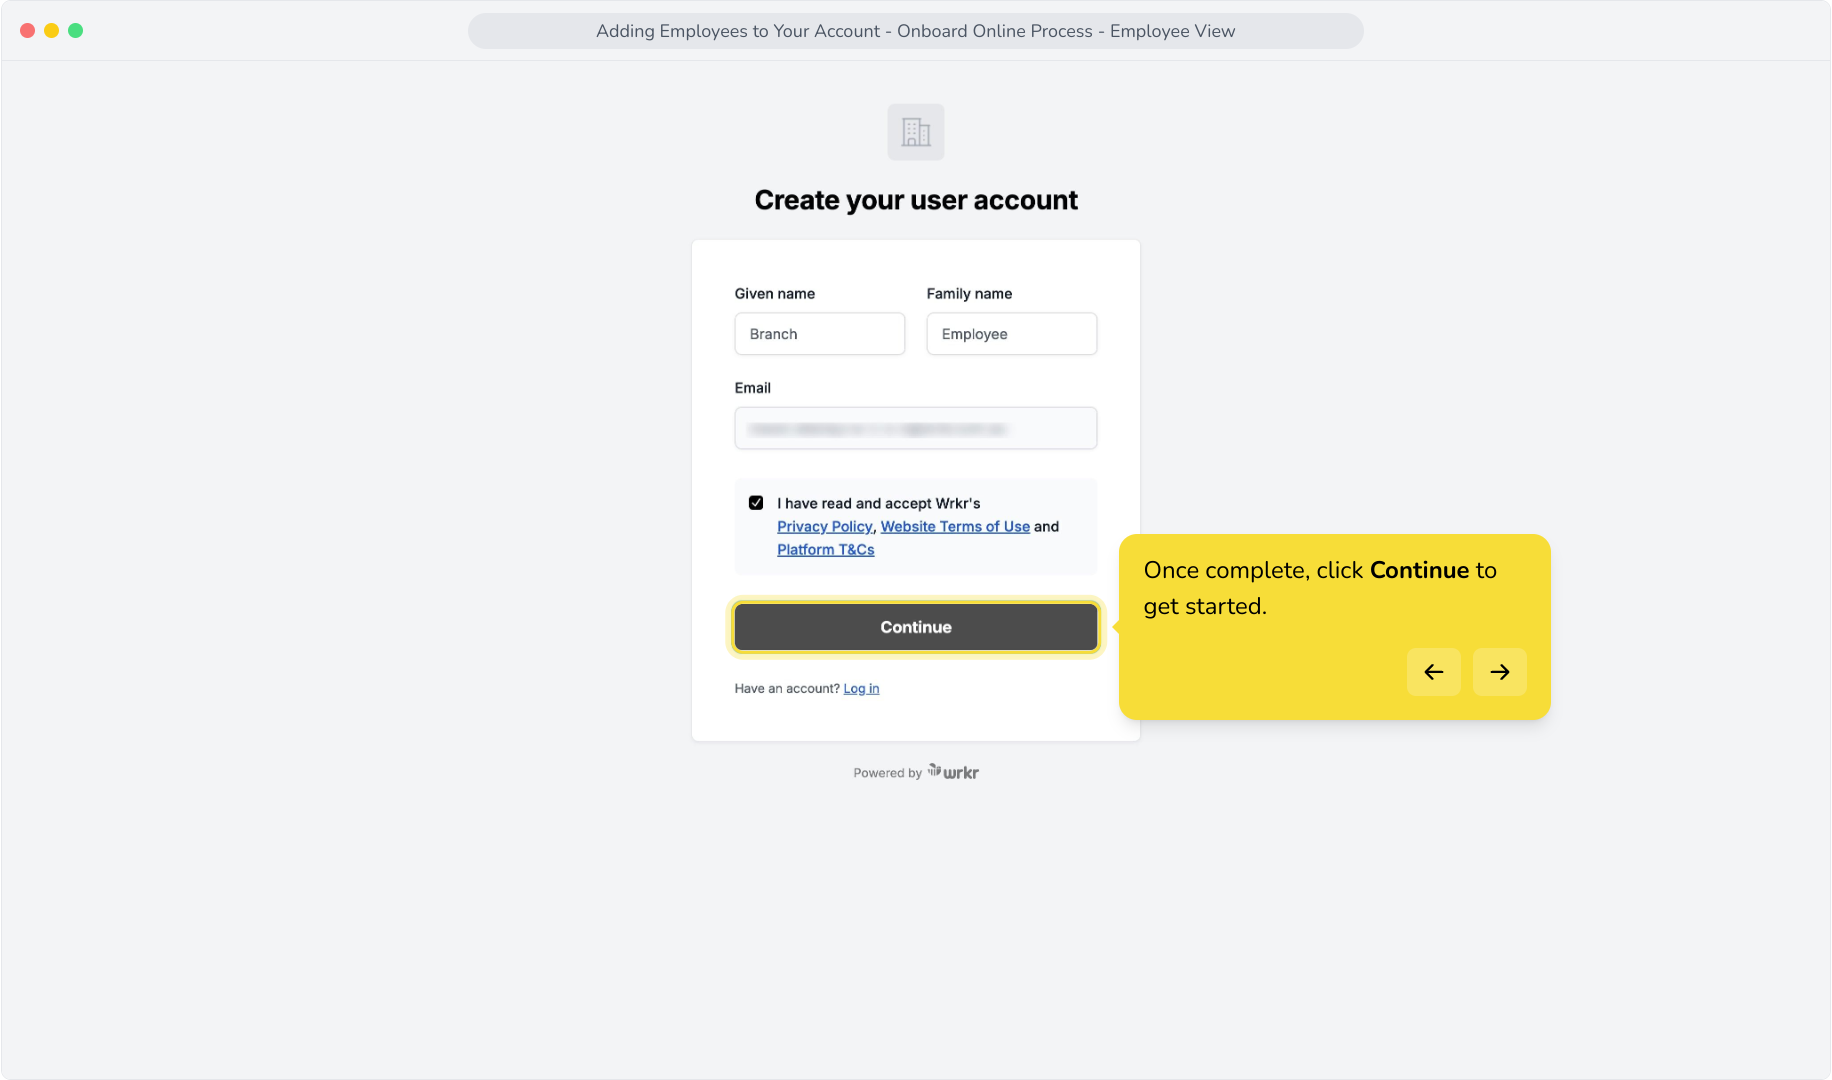
5. Once complete, click Continue to get started.
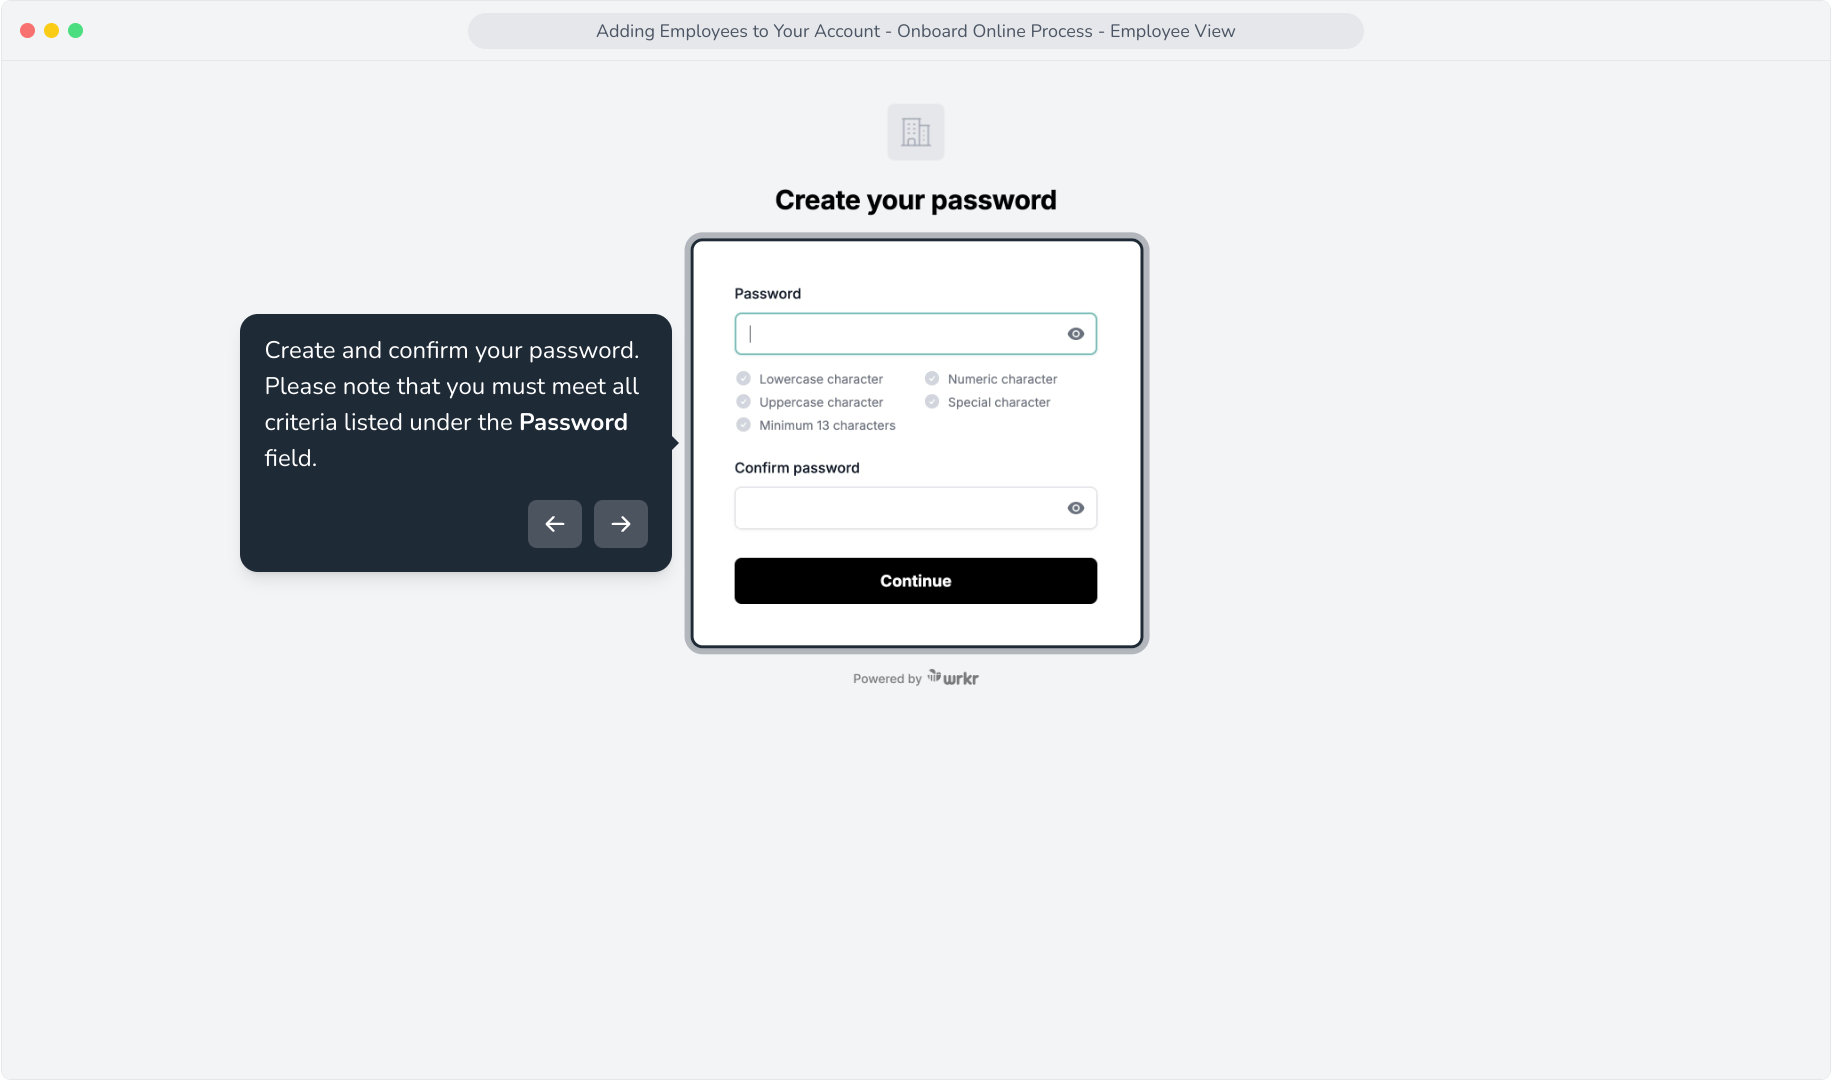
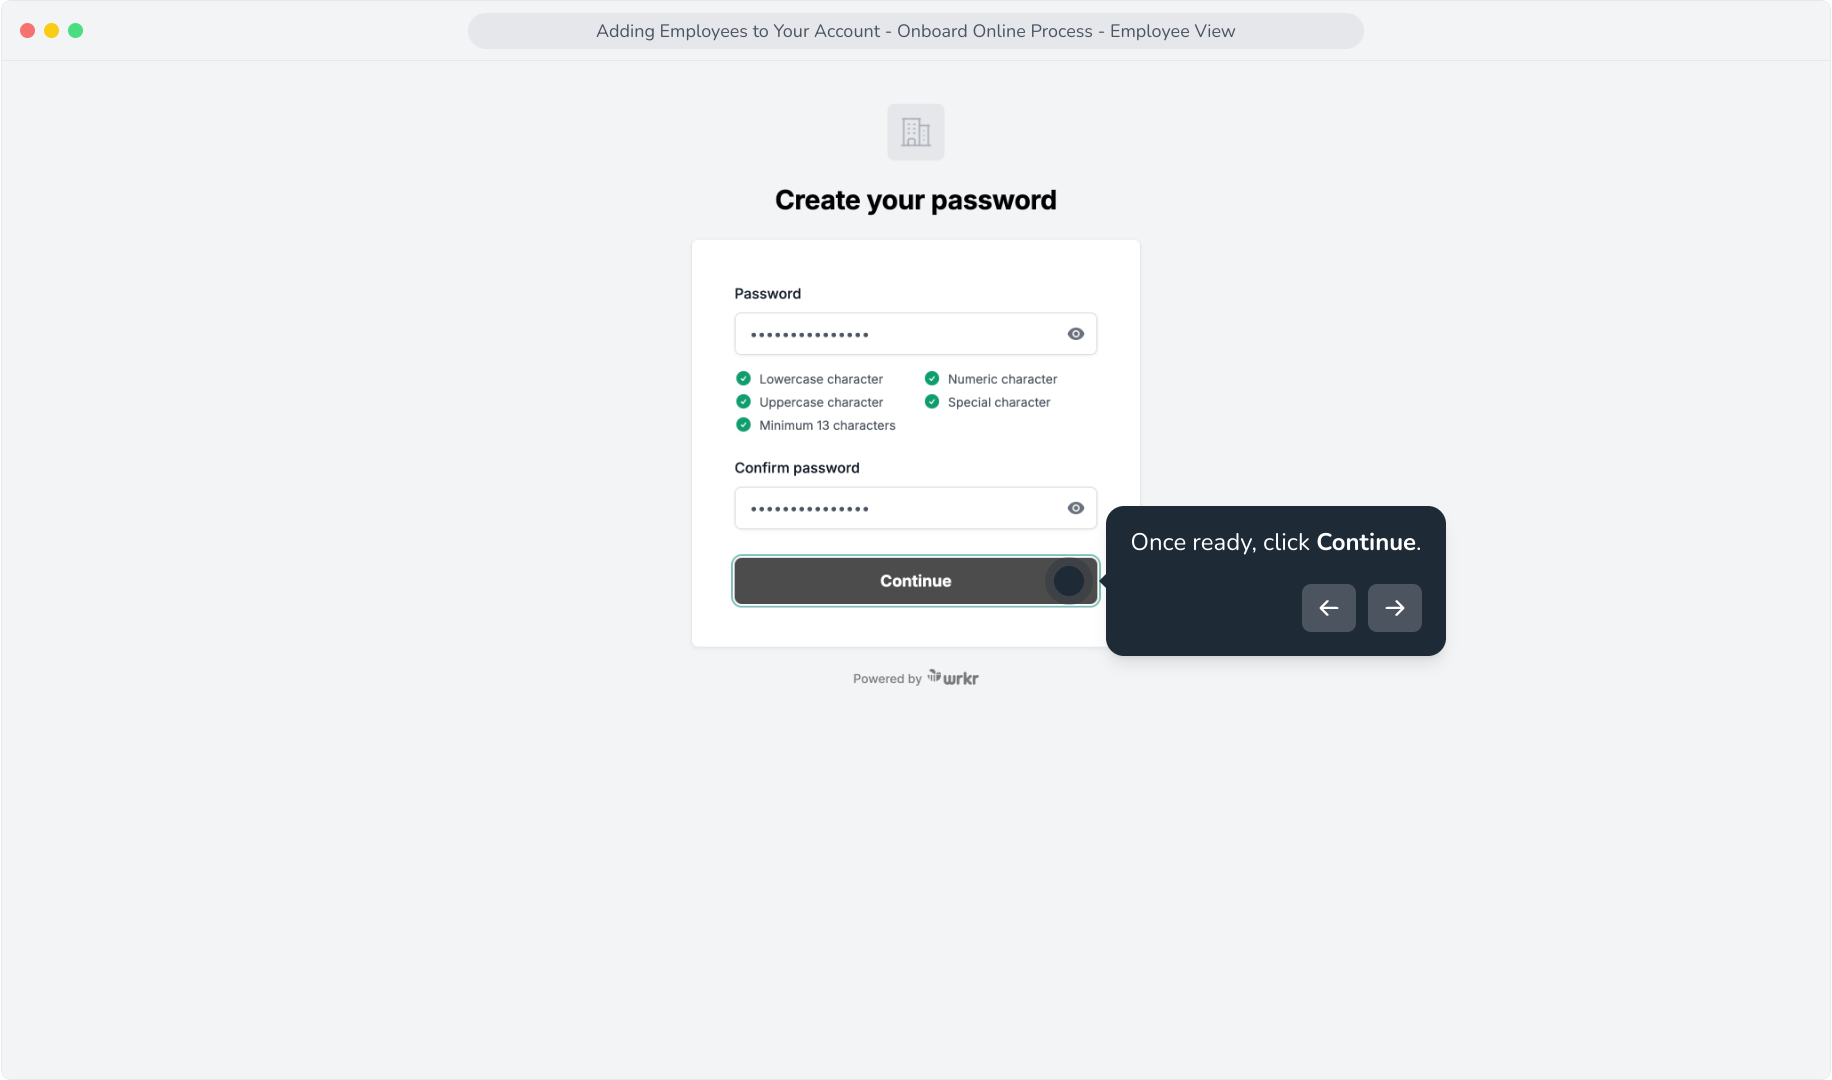
6. Create and confirm your password. Please note that you must meet all criteria listed under the Password field.
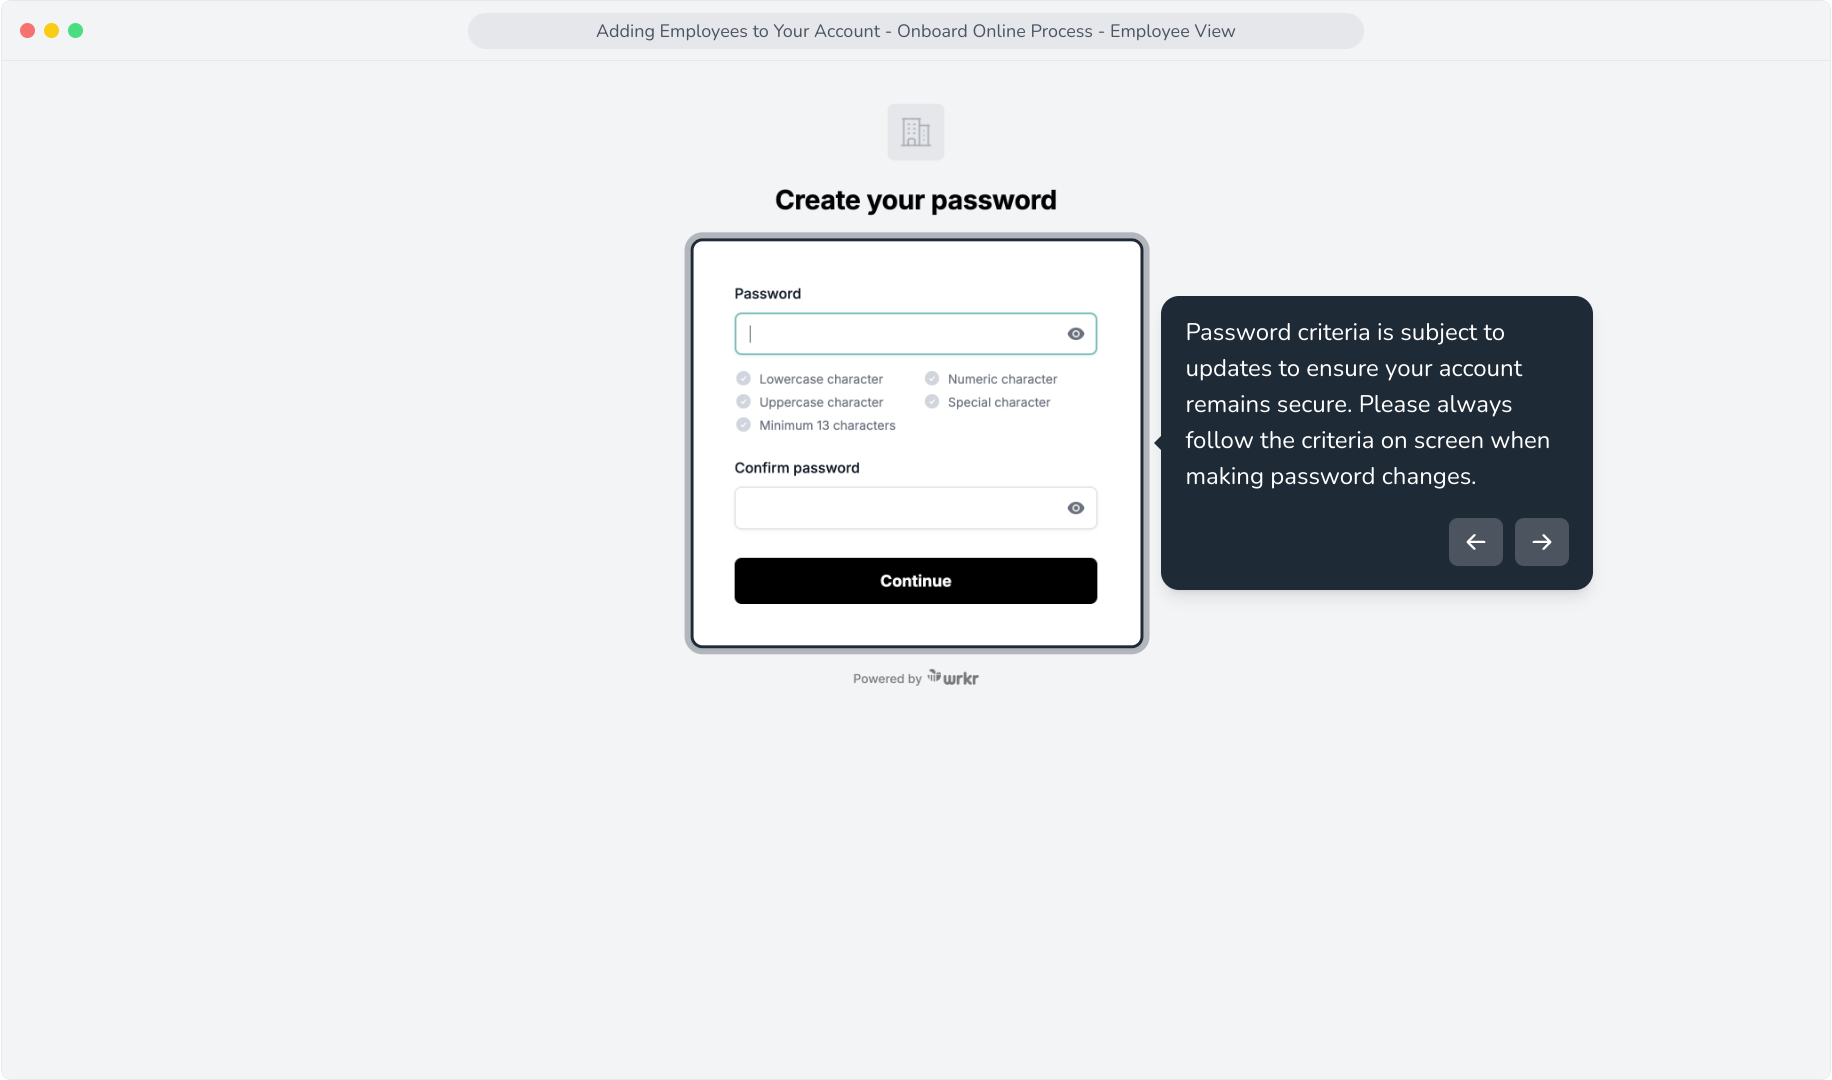
7. Password criteria is subject to updates to ensure your account remains secure. Please always follow the criteria on screen when making password changes.
8. Once ready, click Continue.
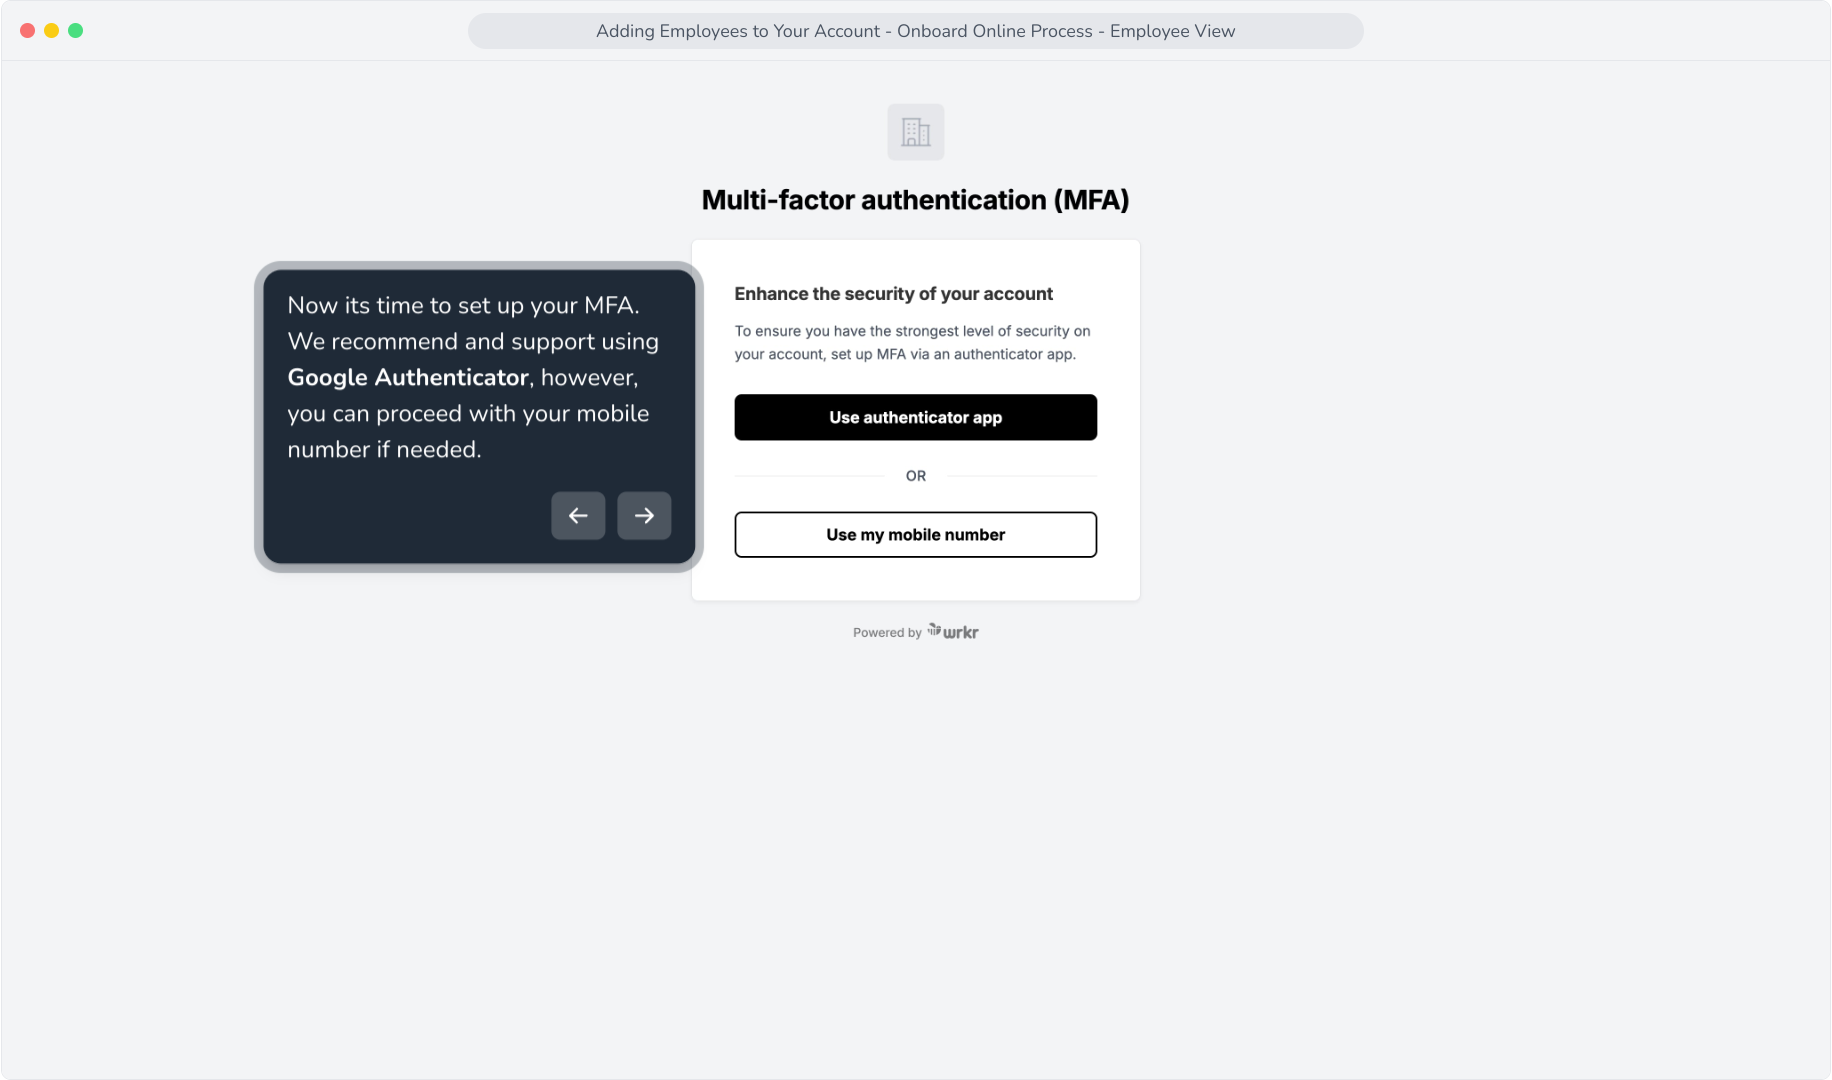
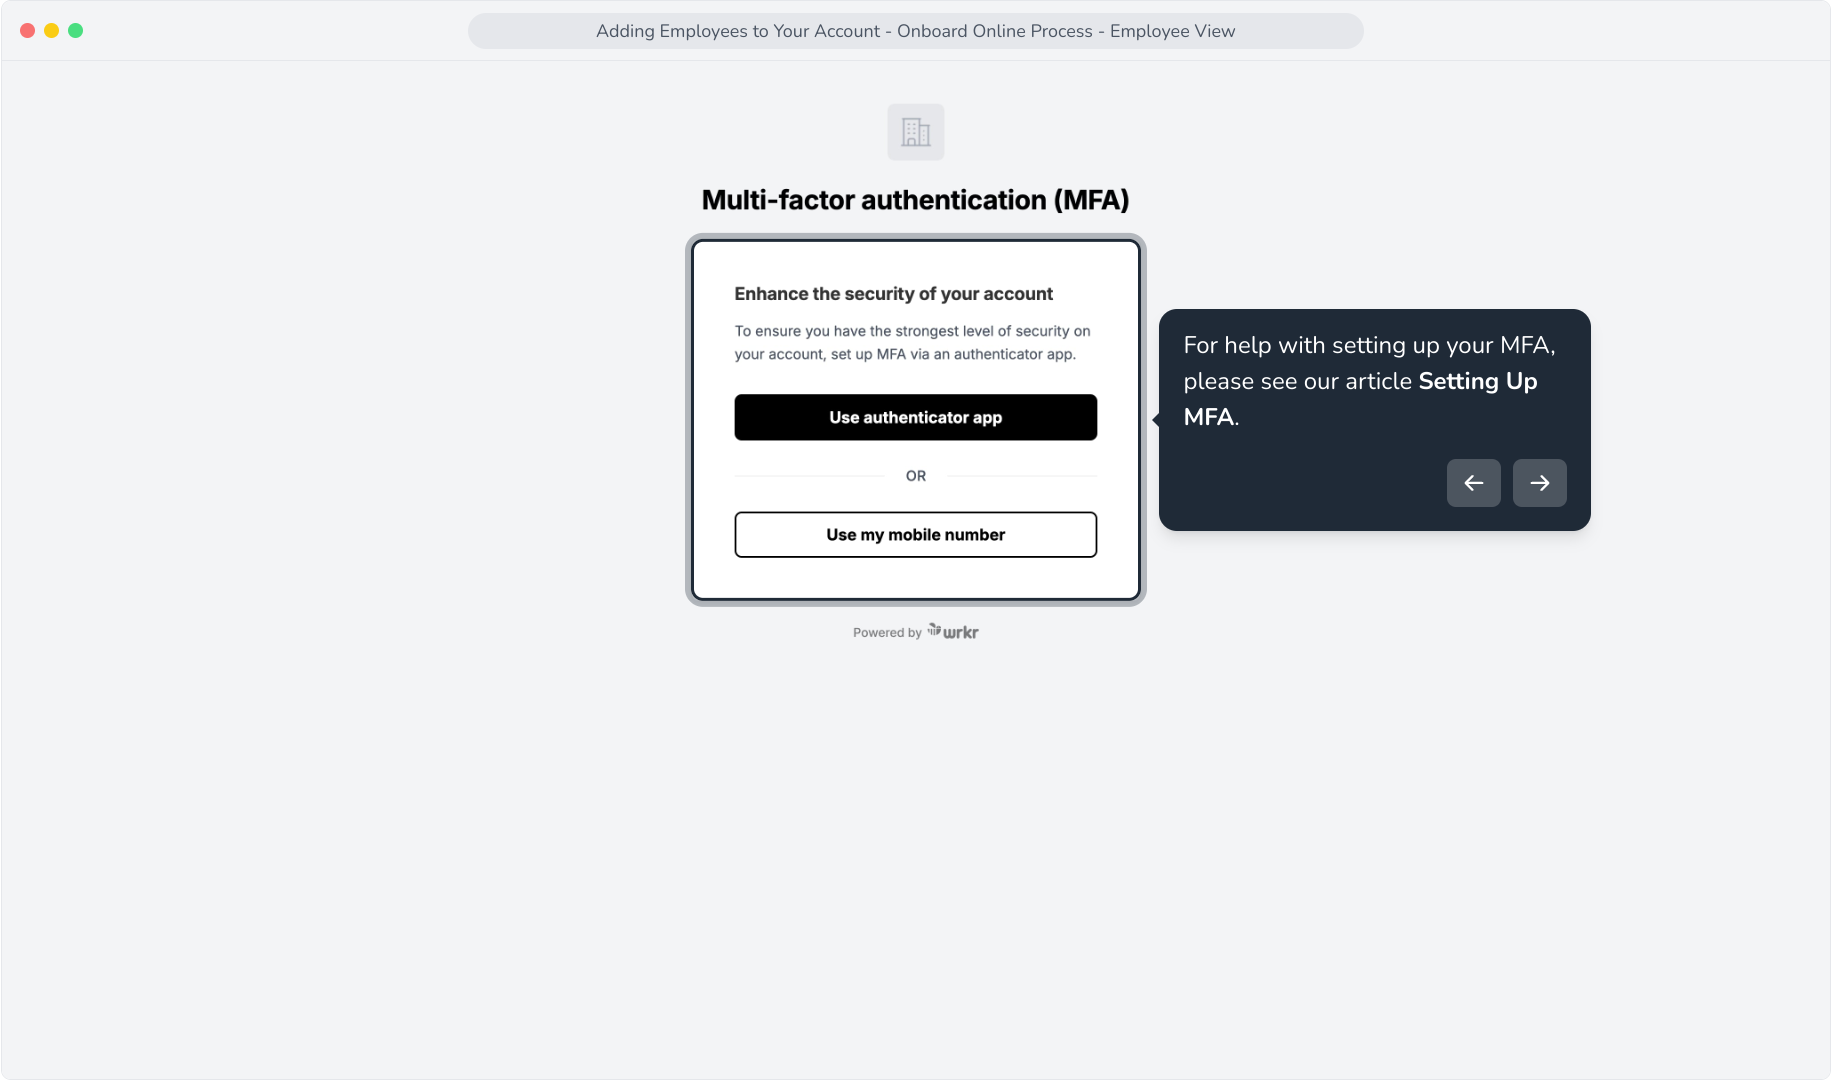
9. Now its time to set up your MFA. We recommend and support using Google Authenticator, however, you can proceed with your mobile number if needed.
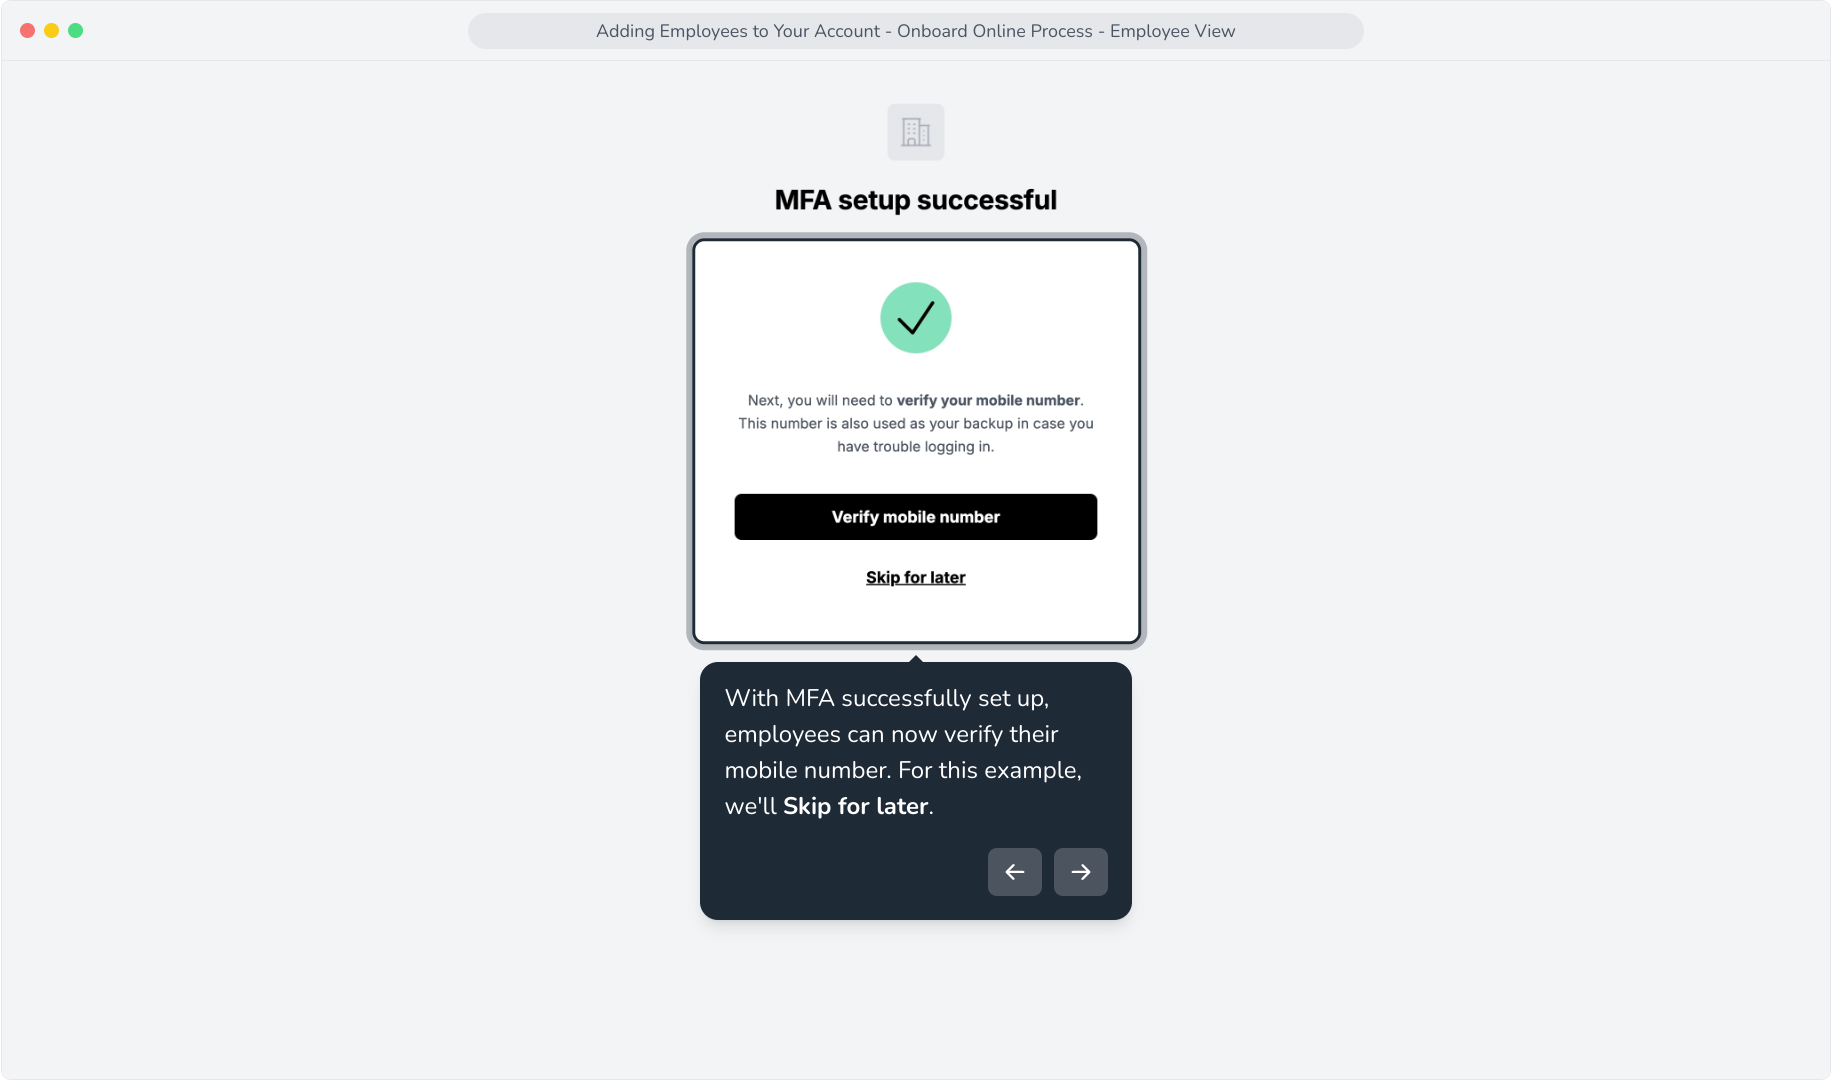
11. With MFA successfully set up, employees can now verify their mobile number. For this example, we'll Skip for later.
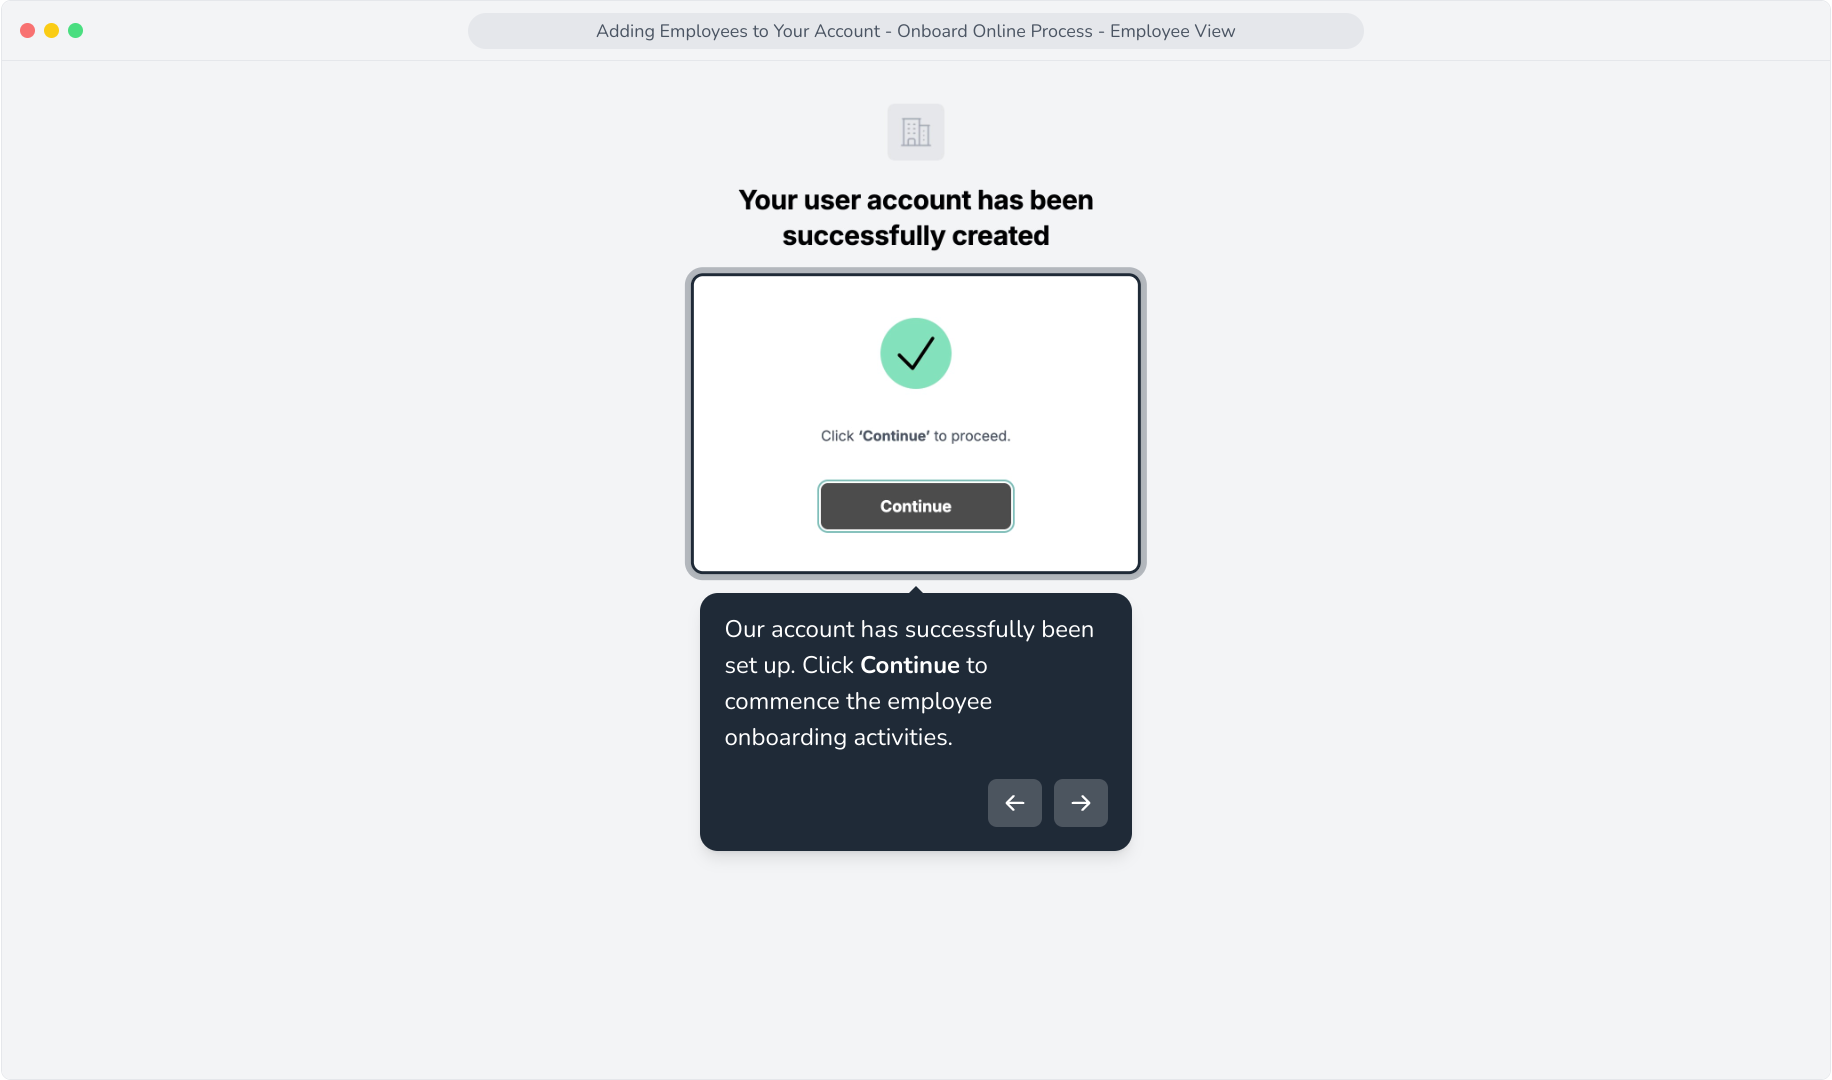
12. Our account has successfully been set up. Click Continue to commence the employee onboarding activities.
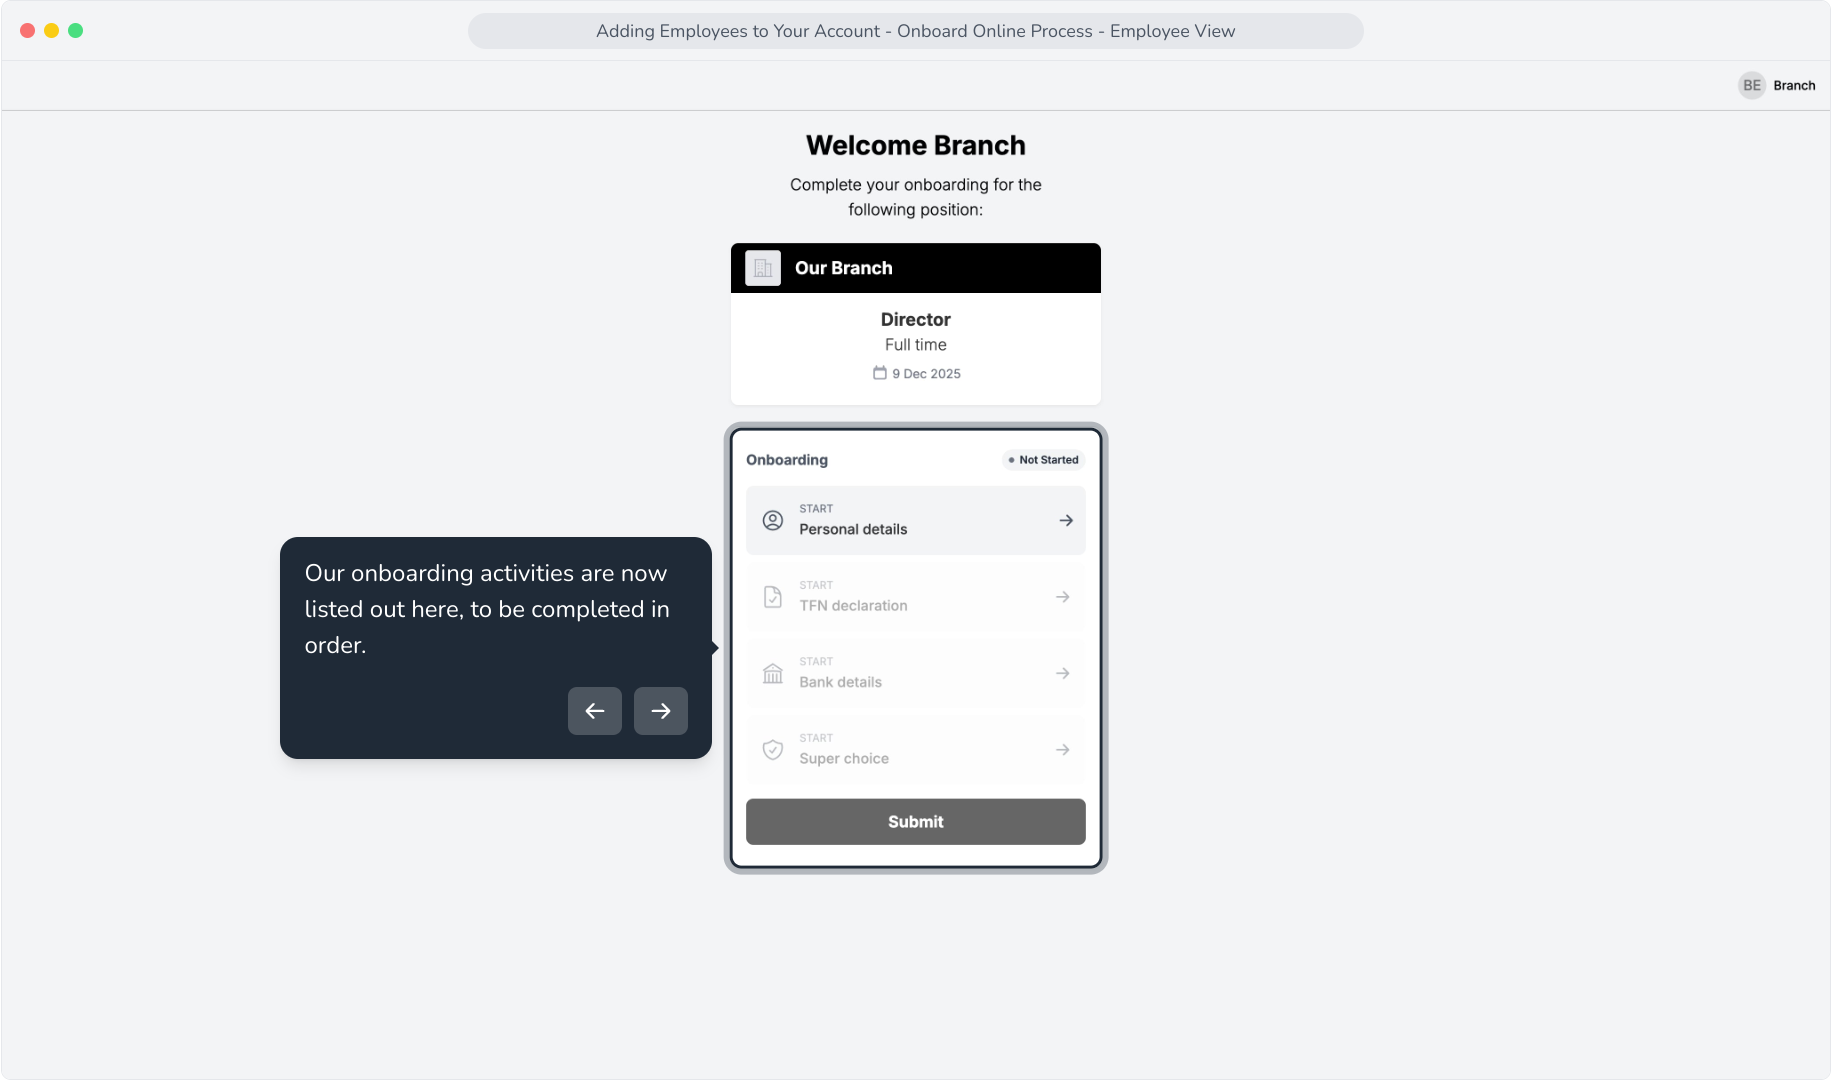
13. Our onboarding activities are now listed out here, to be completed in order.
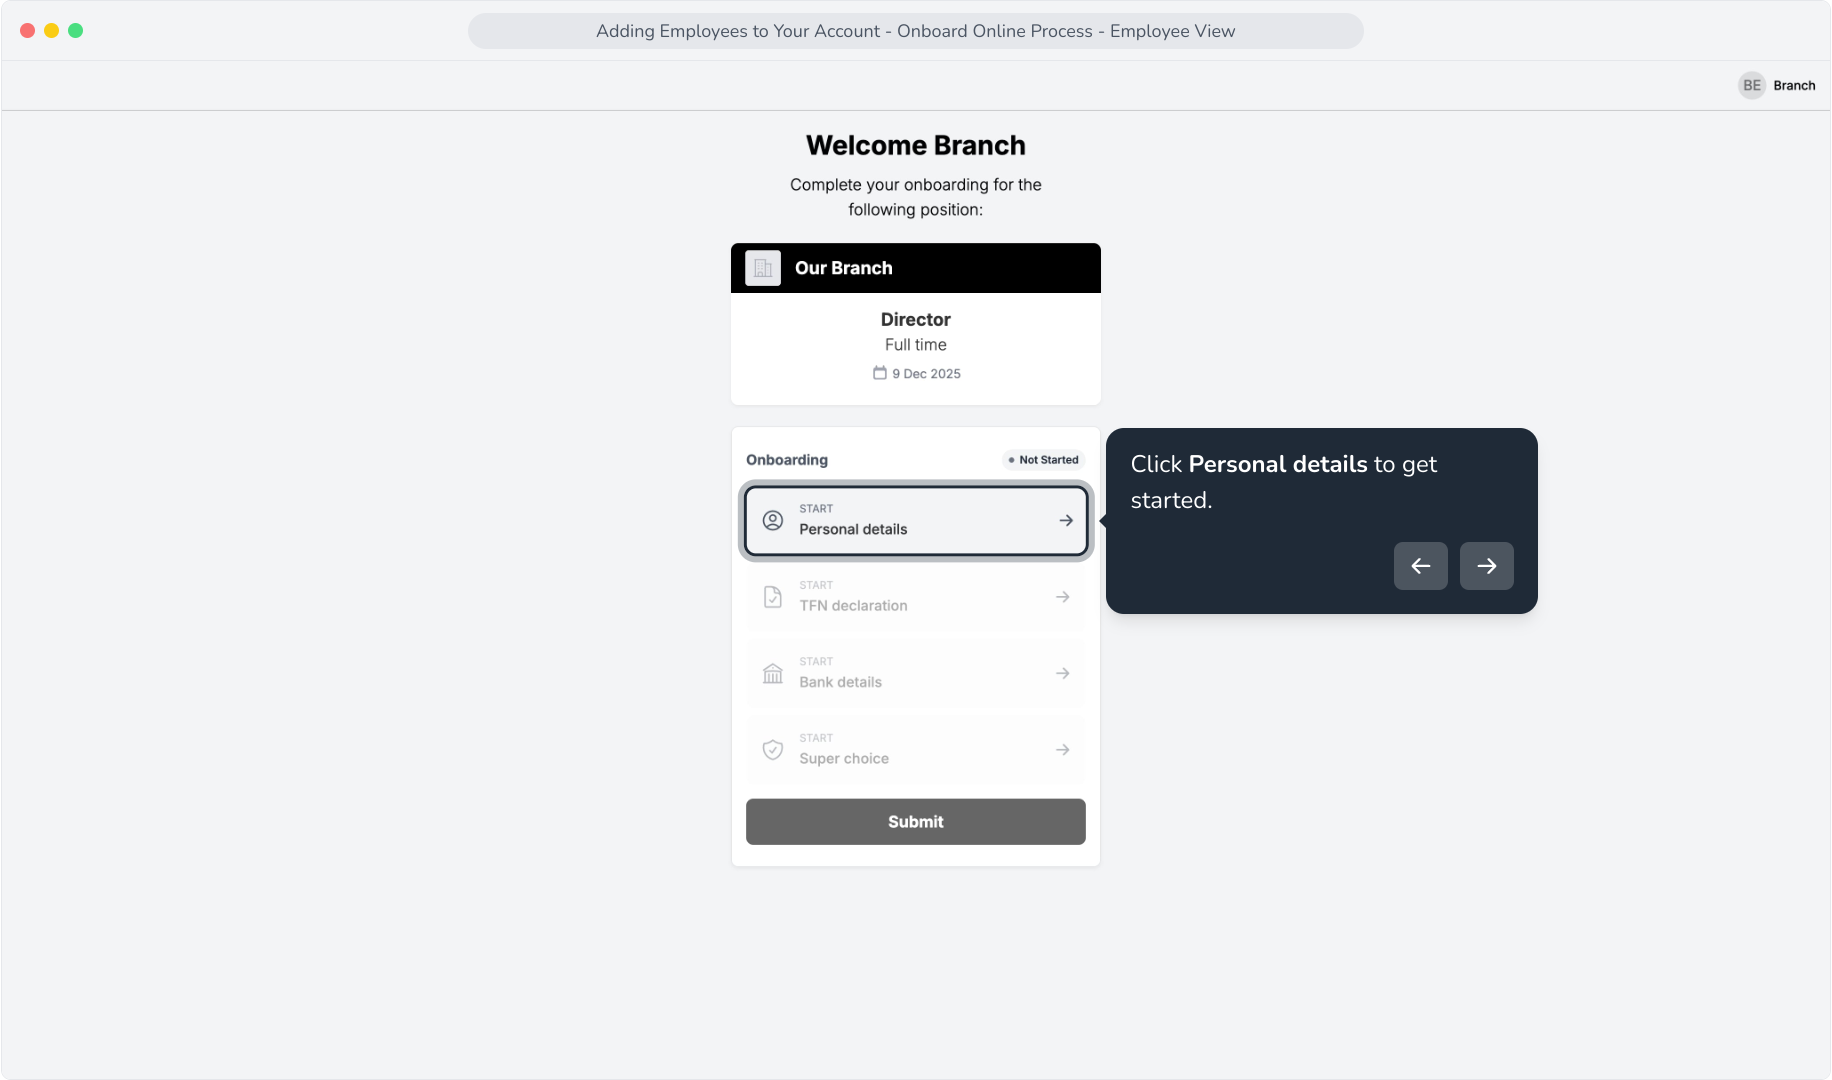
14. Click Personal details to get started.
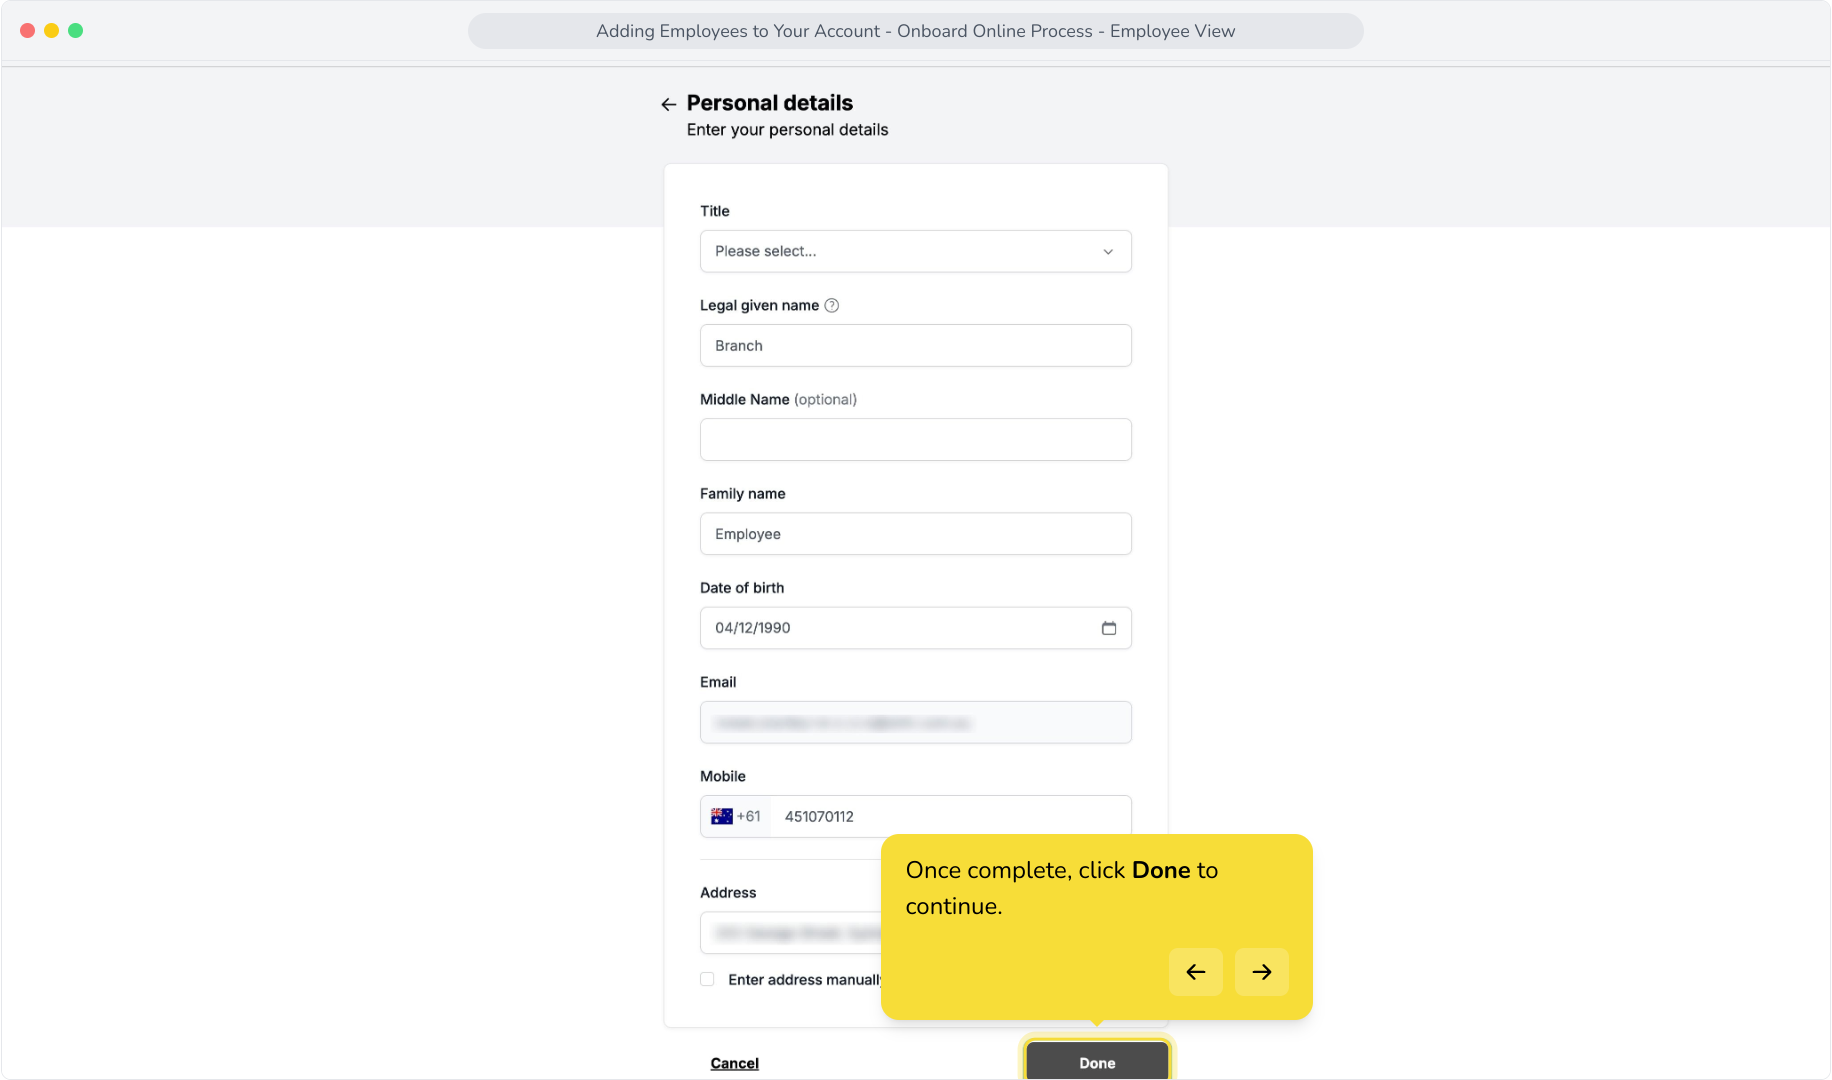
15. Within this step, please complete your personal details.
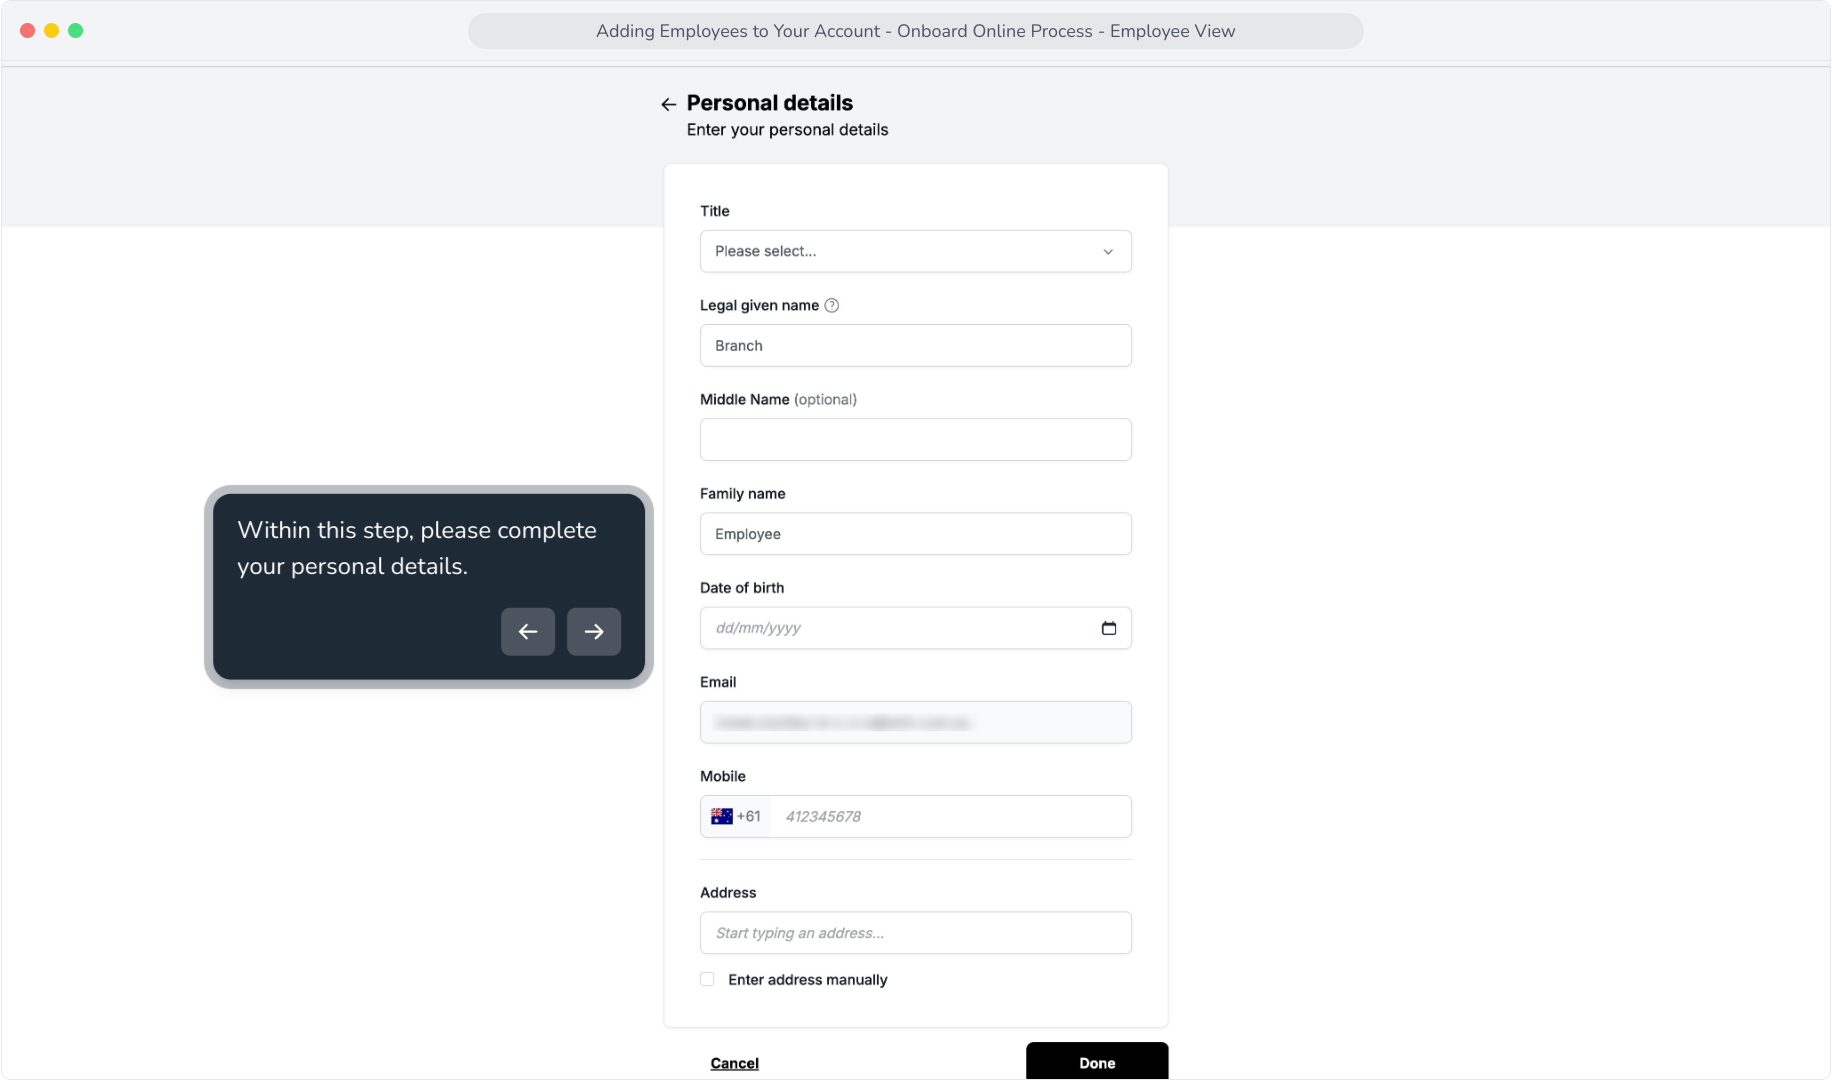
16. Once complete, click Done to continue.
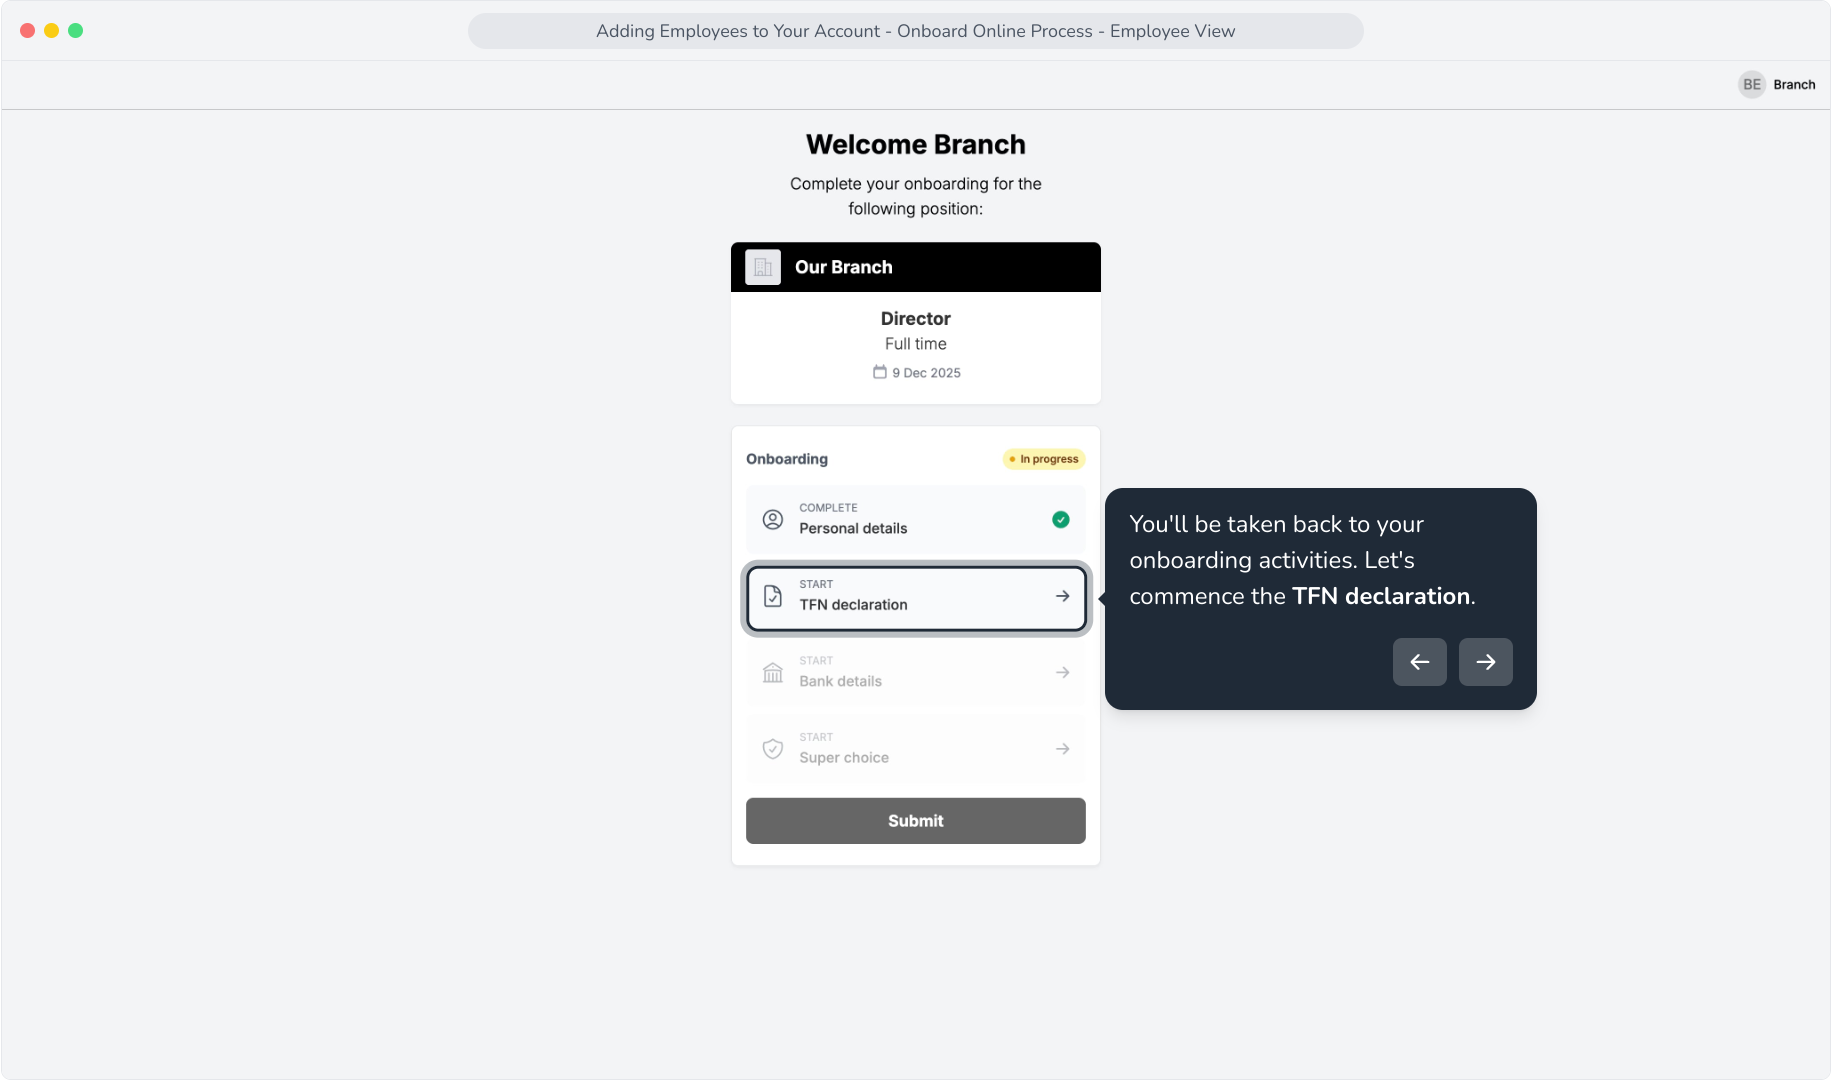
17. You'll be taken back to your onboarding activities. Let's commence the TFN declaration.
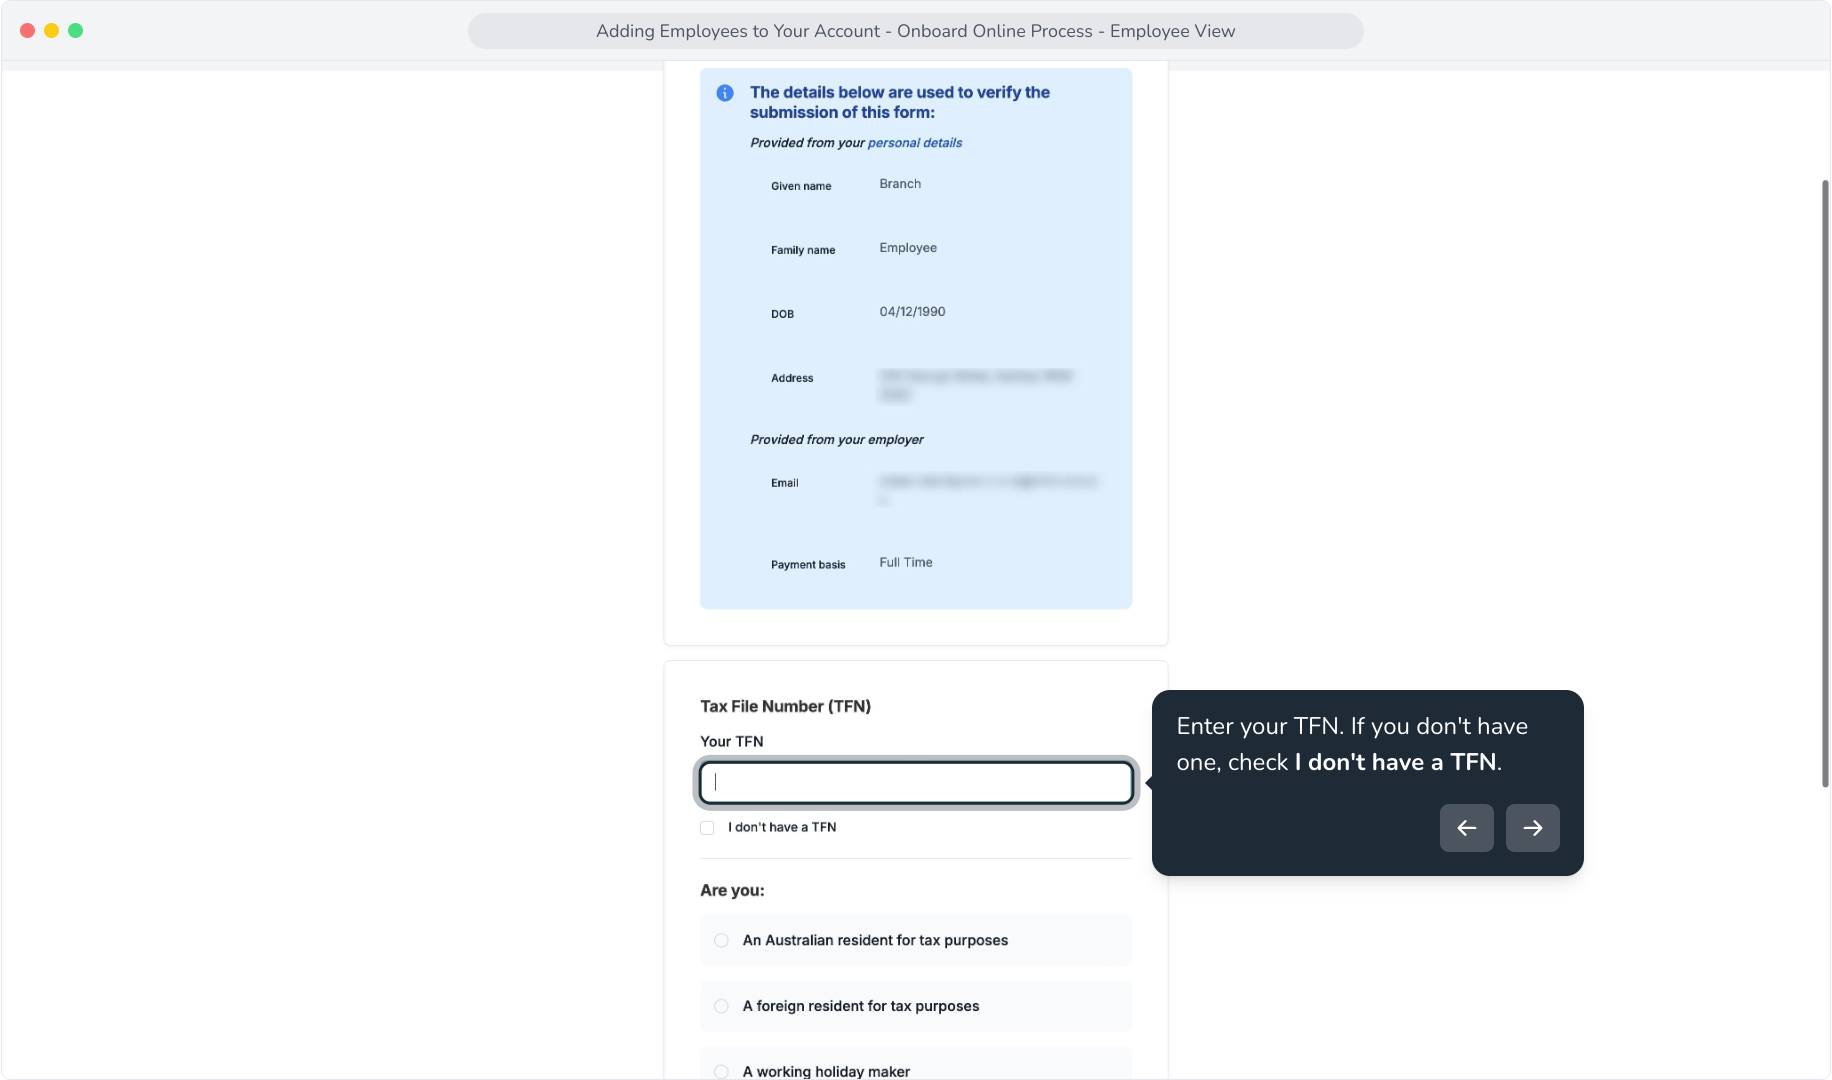
18. Enter your TFN. If you don't have one, check I don't have a TFN.
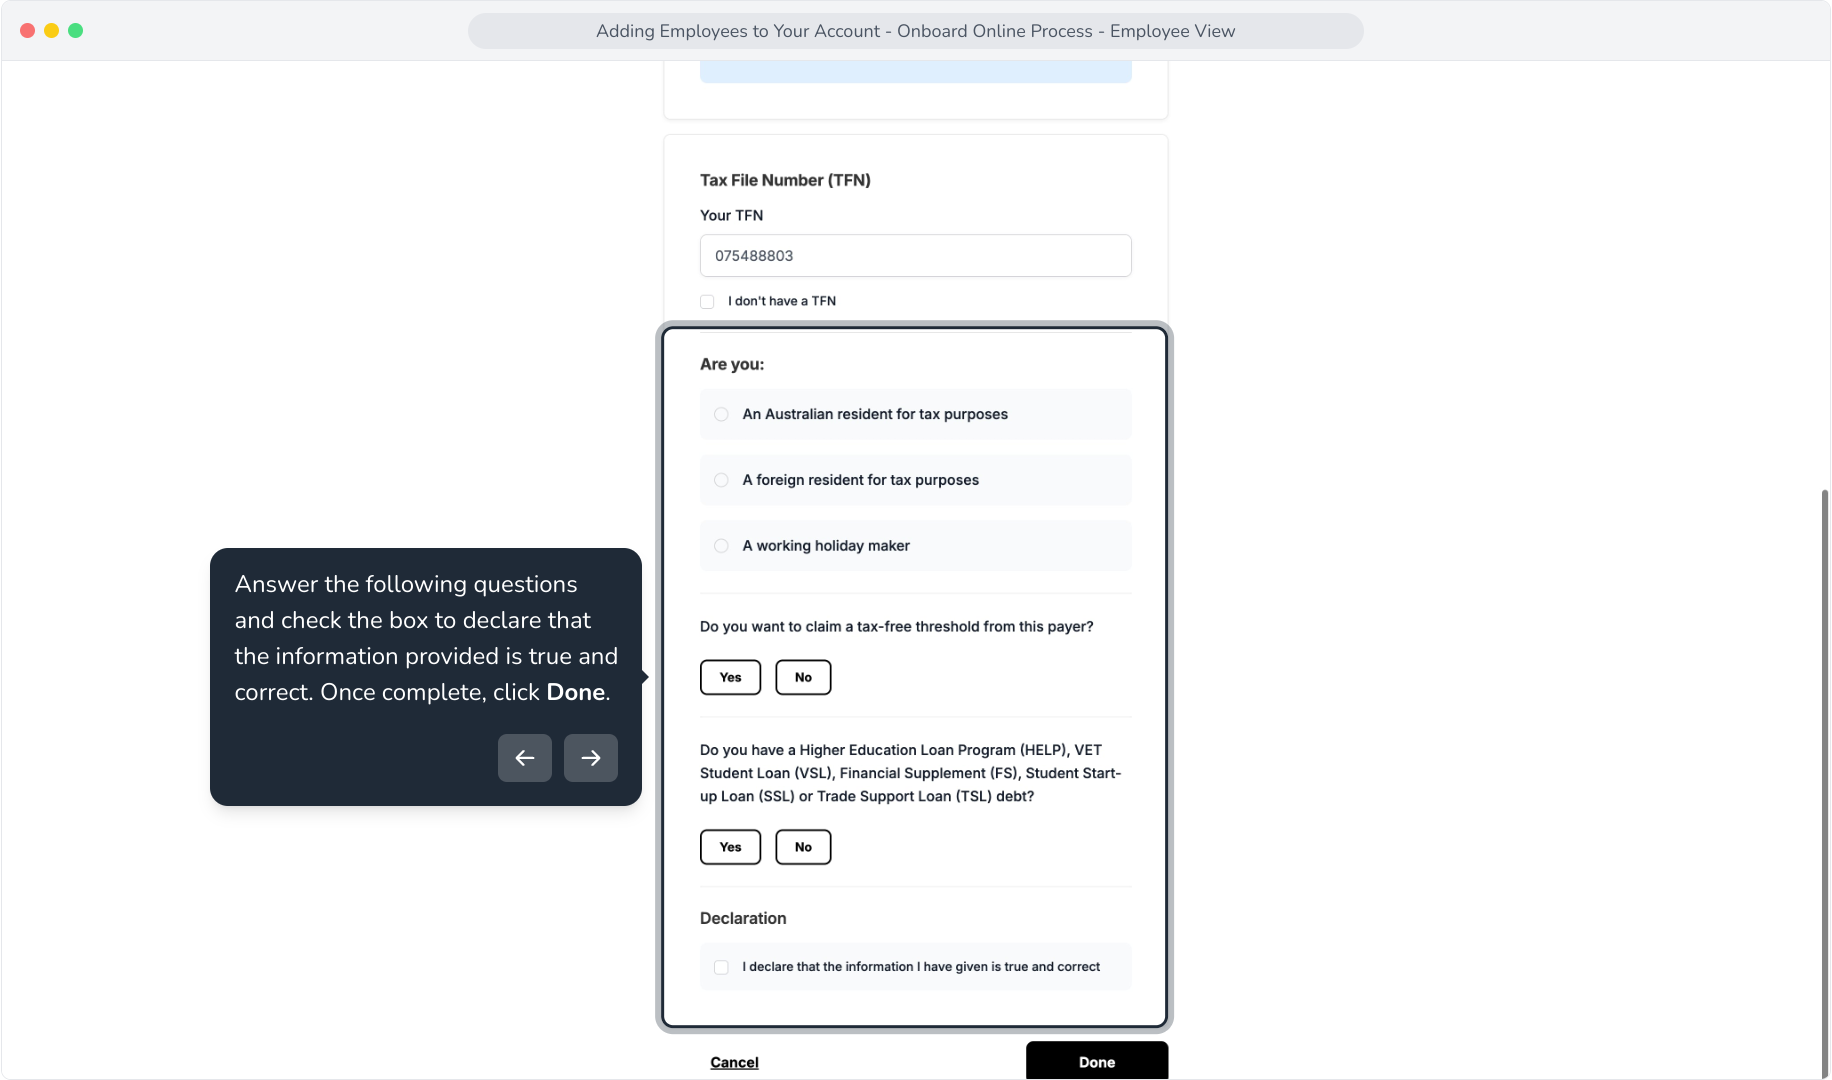
19. Answer the following questions and check the box to declare that the information provided is true and correct. Once complete, click Done.
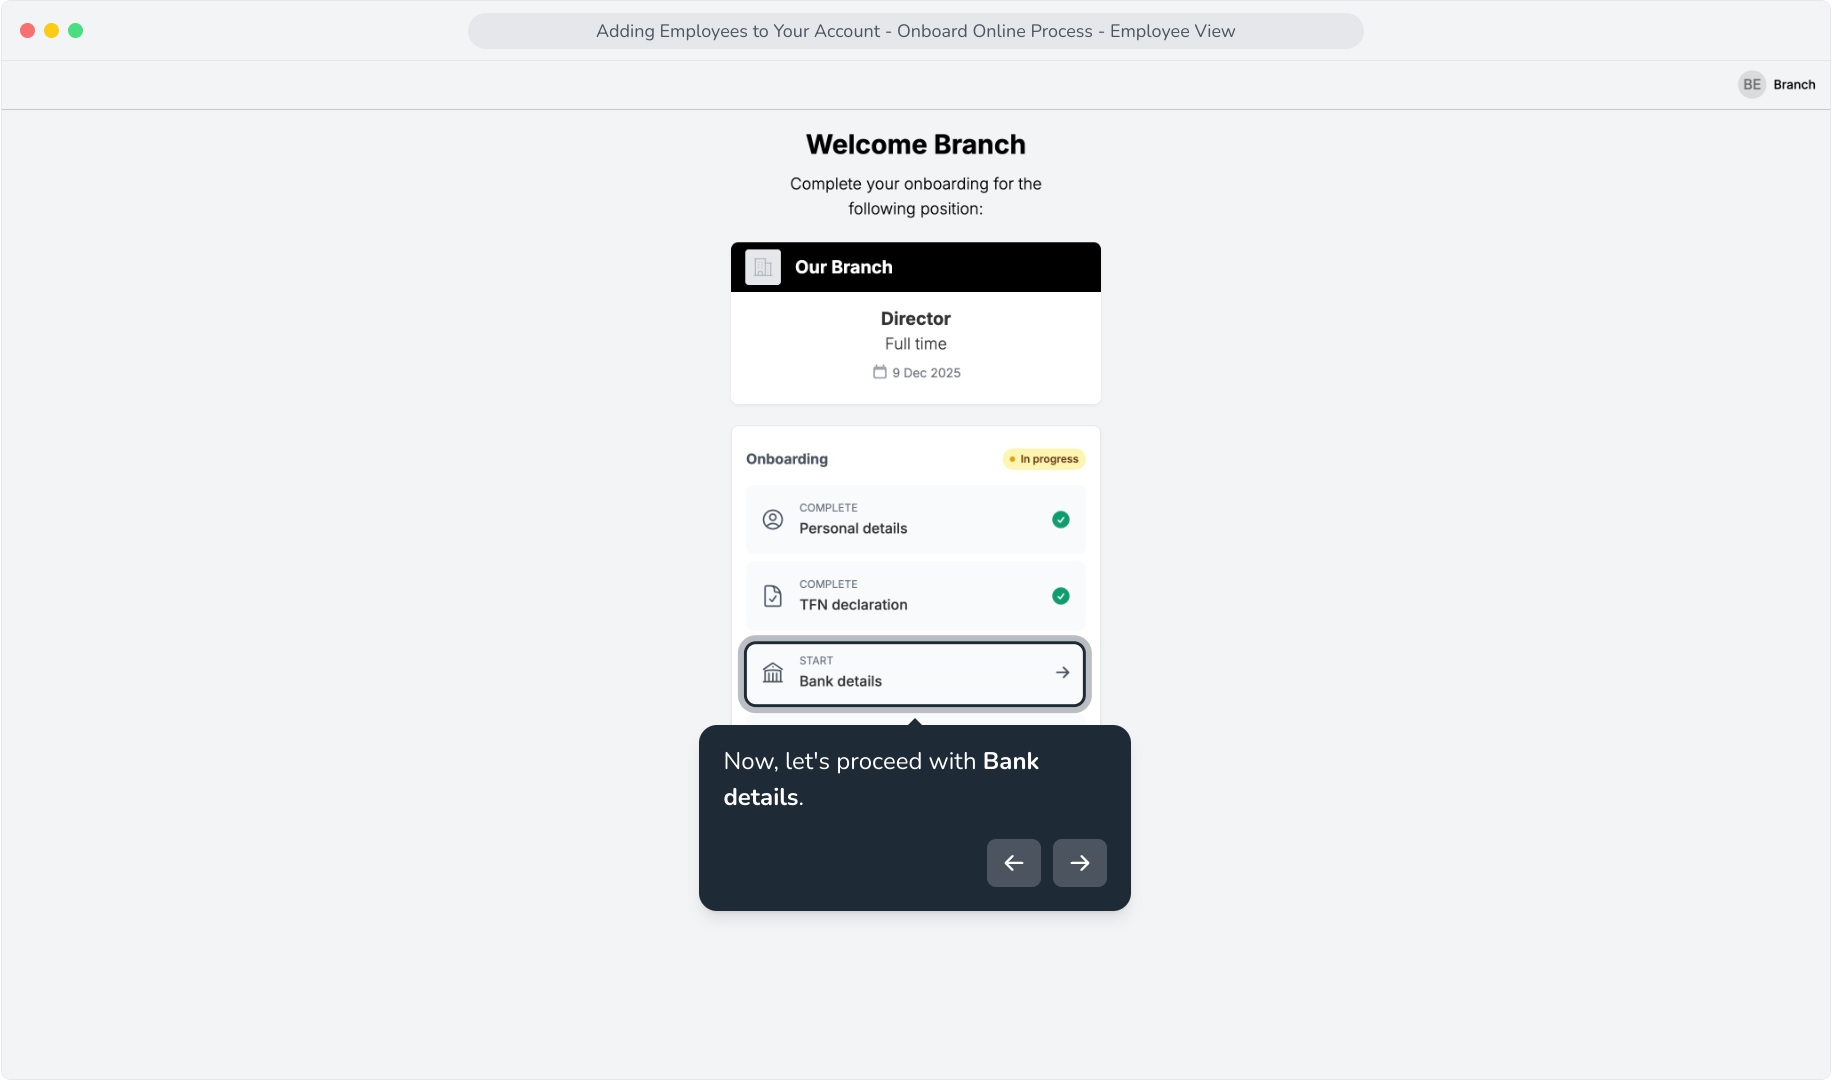
20. Now, let's proceed with Bank details.
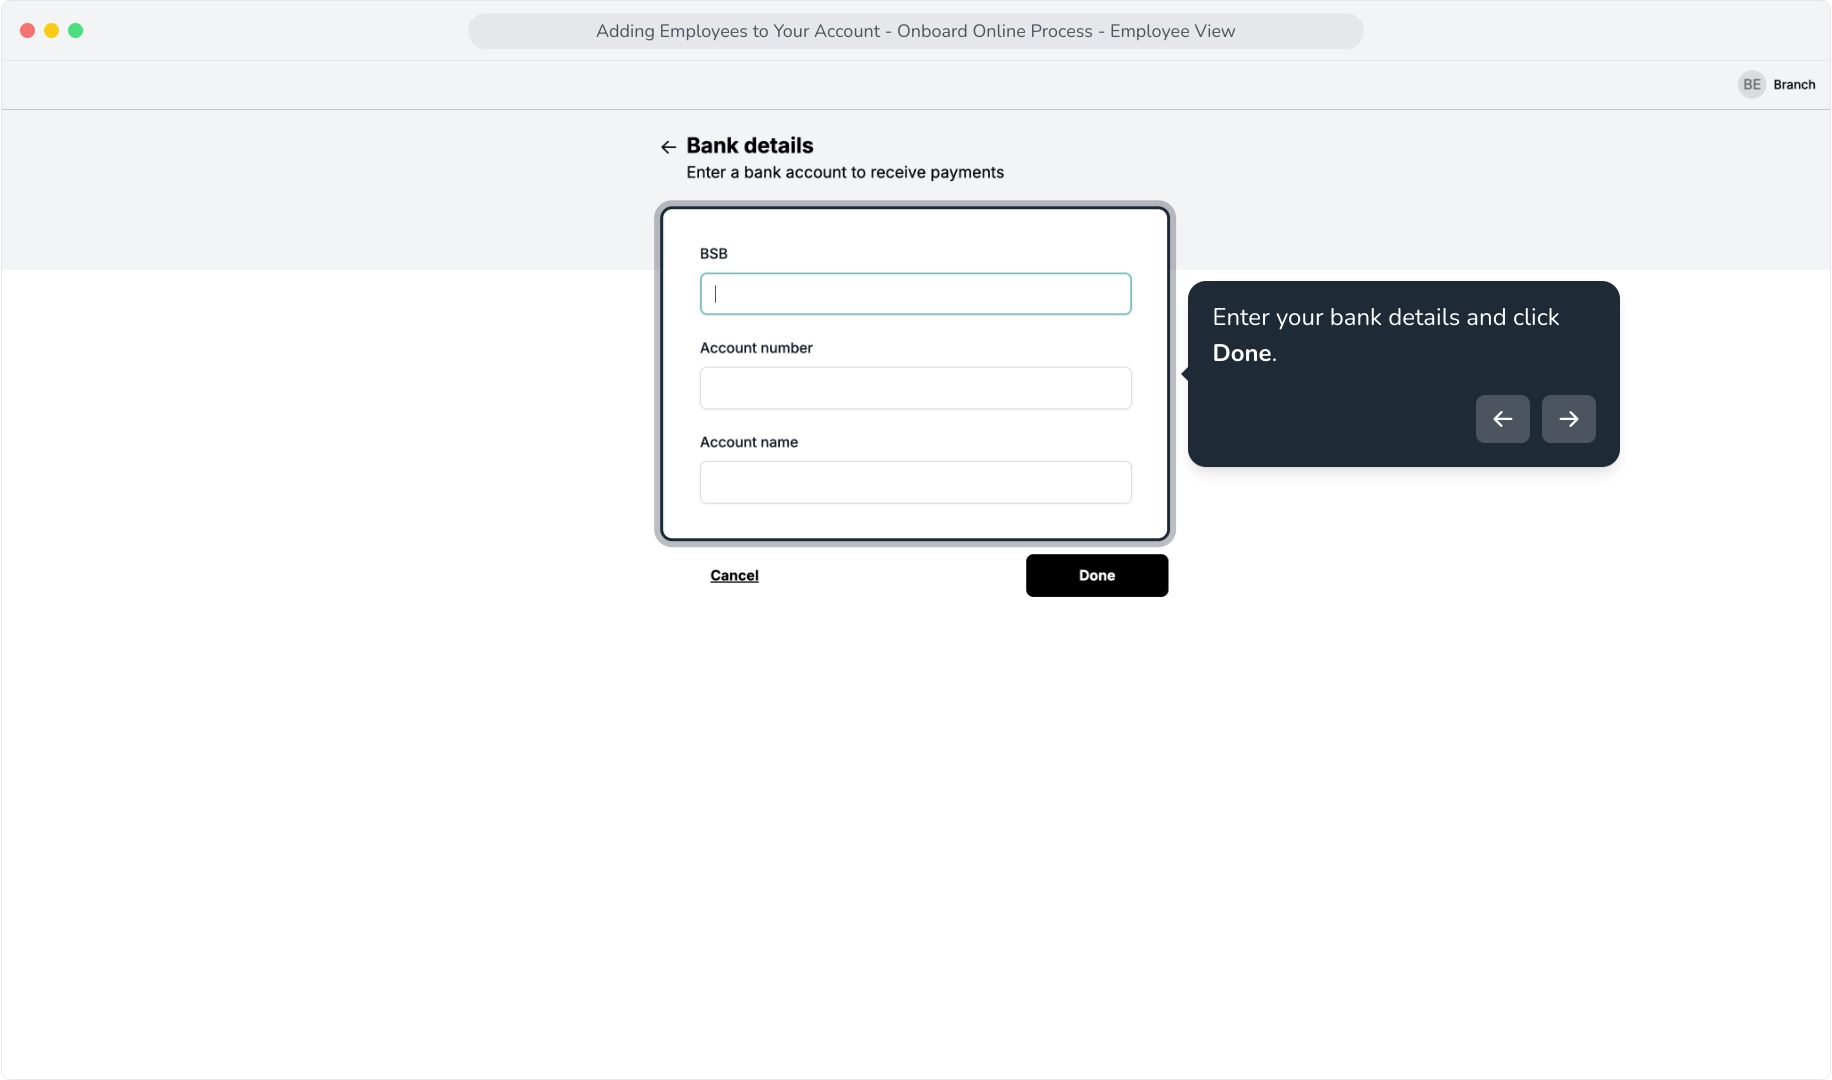
21. Enter your bank details and click Done.
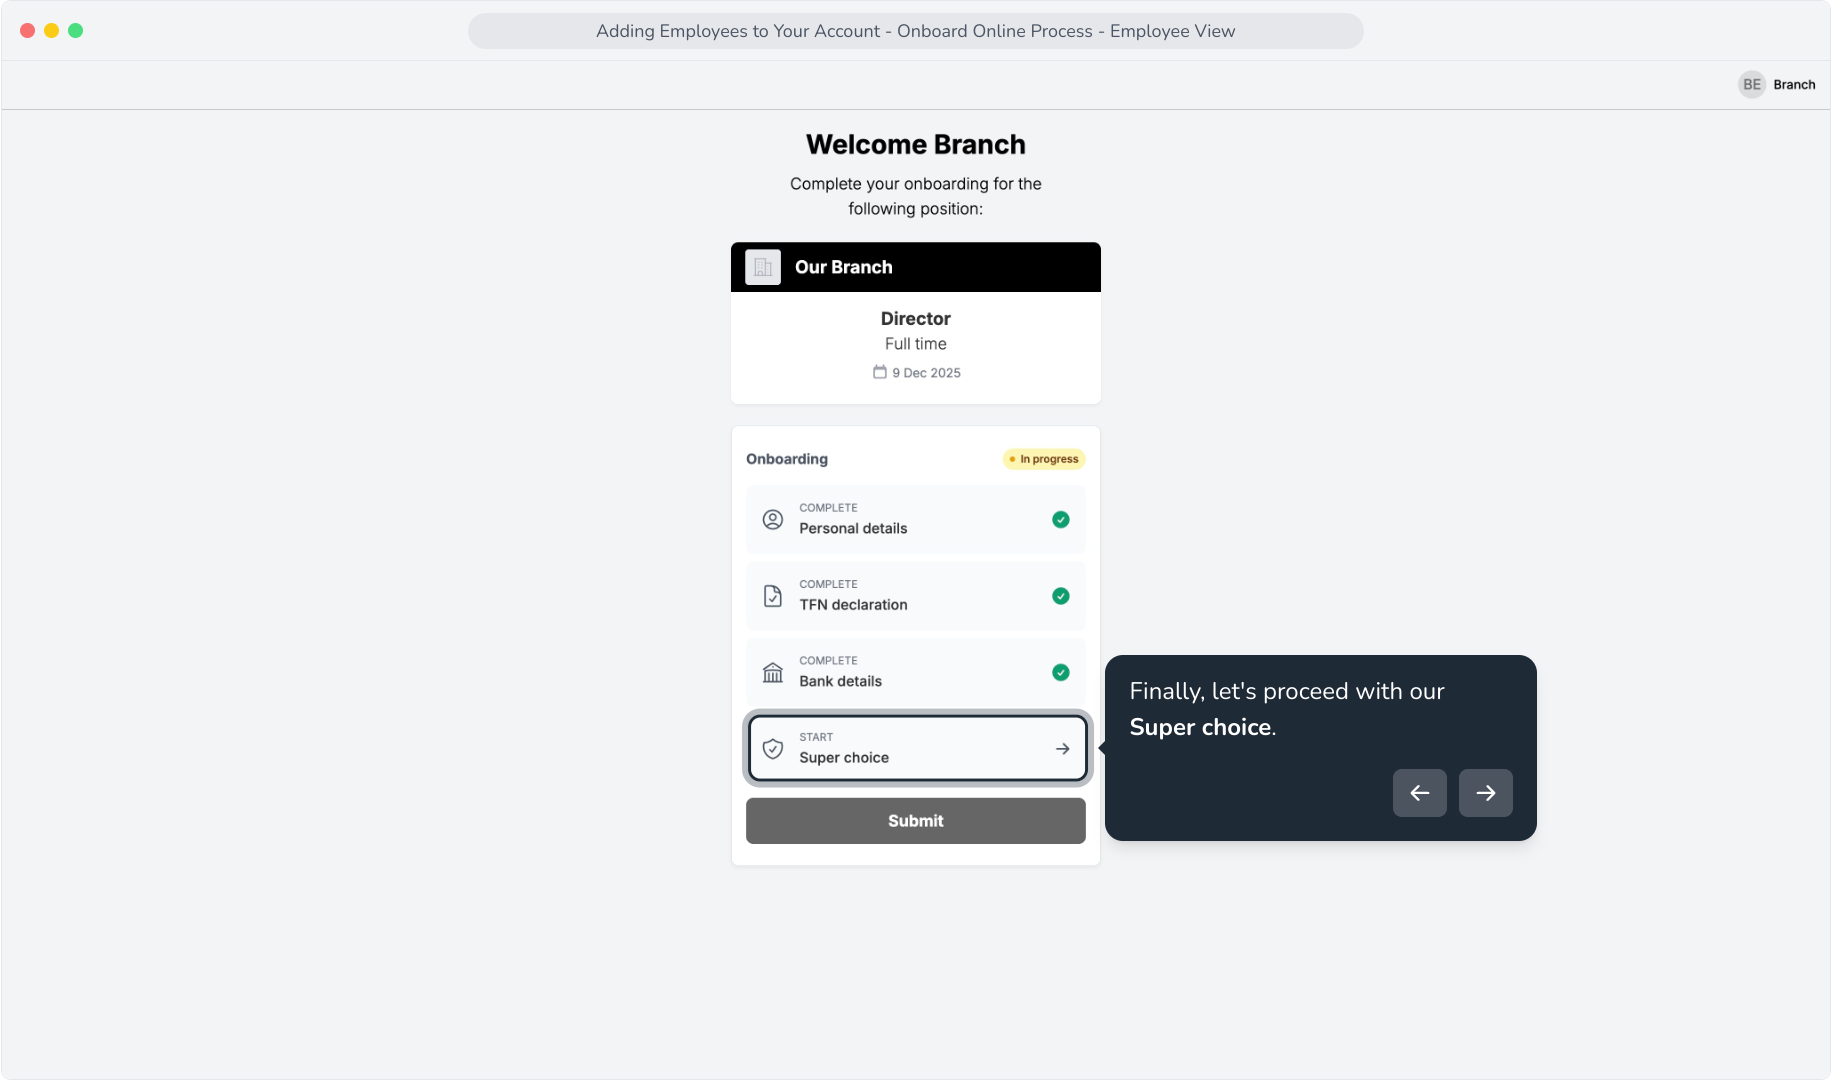
22. Finally, let's proceed with our Super choice.
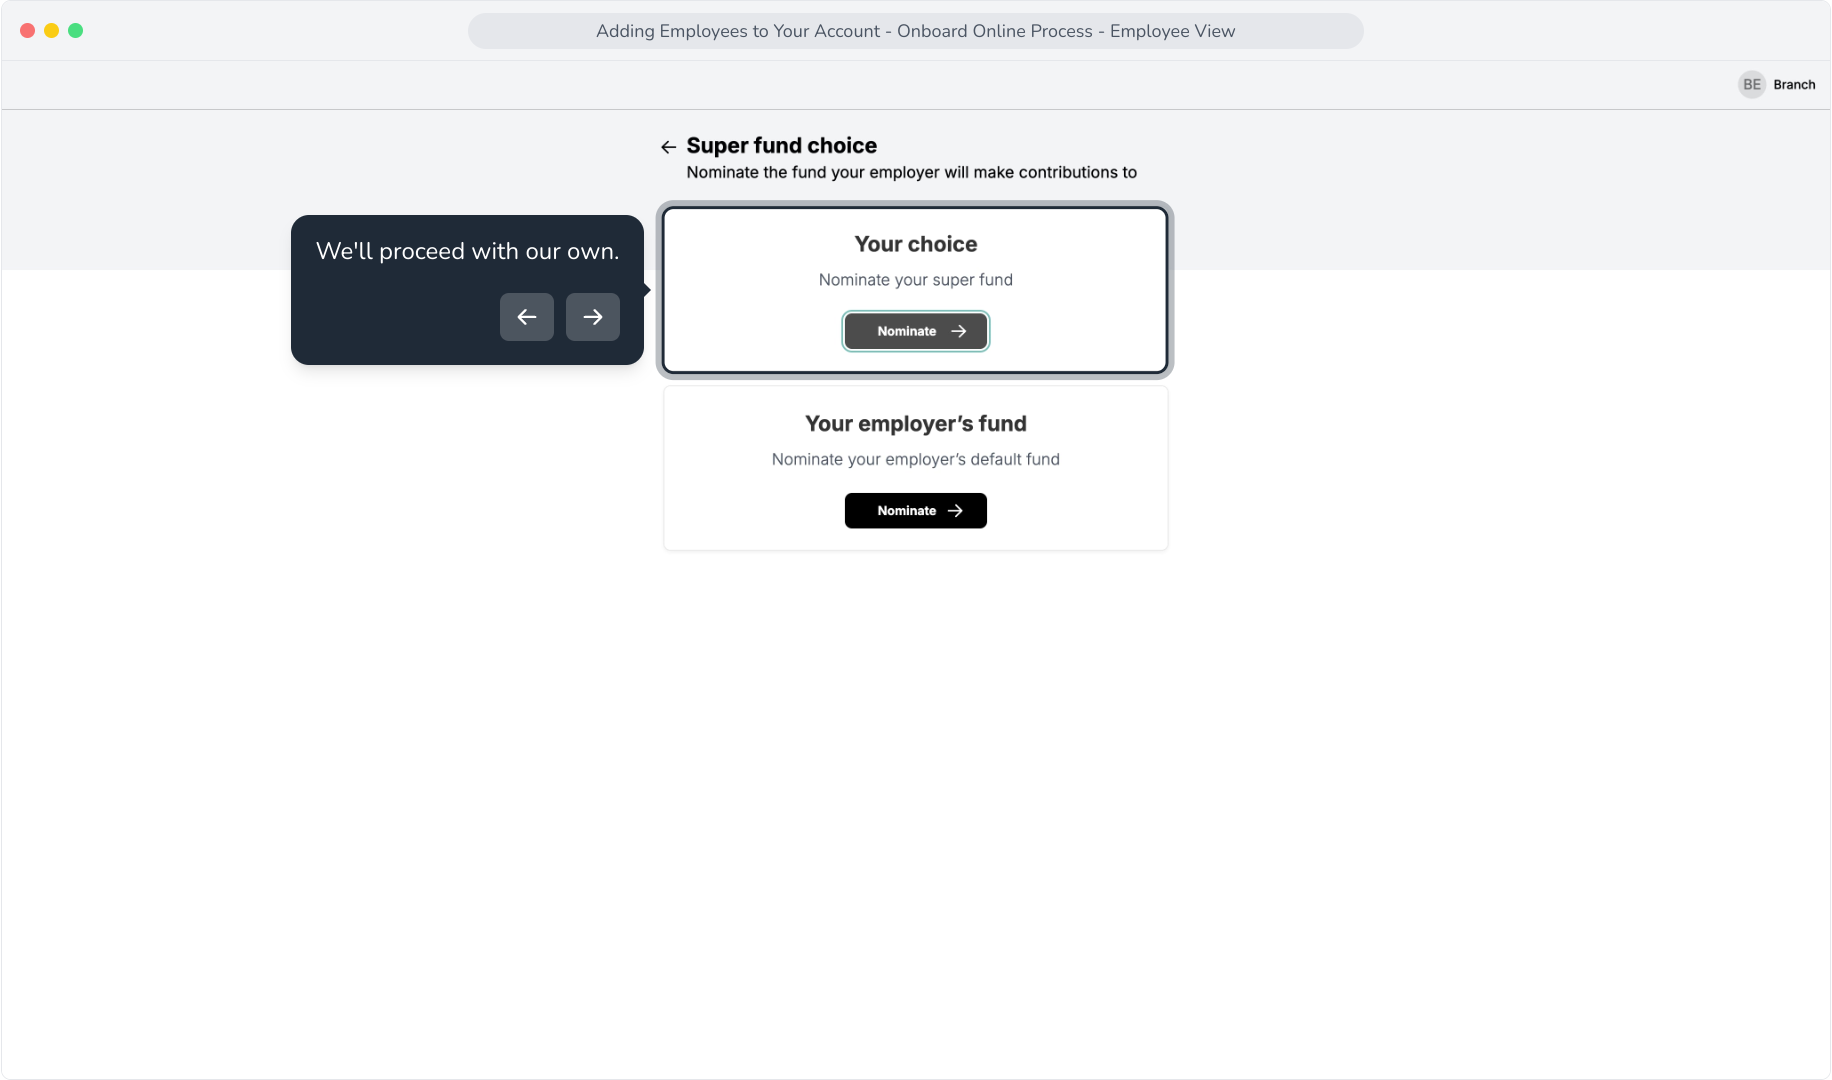
23. Within this view, you can nominate your own fund, or use your employer's default fund(s).
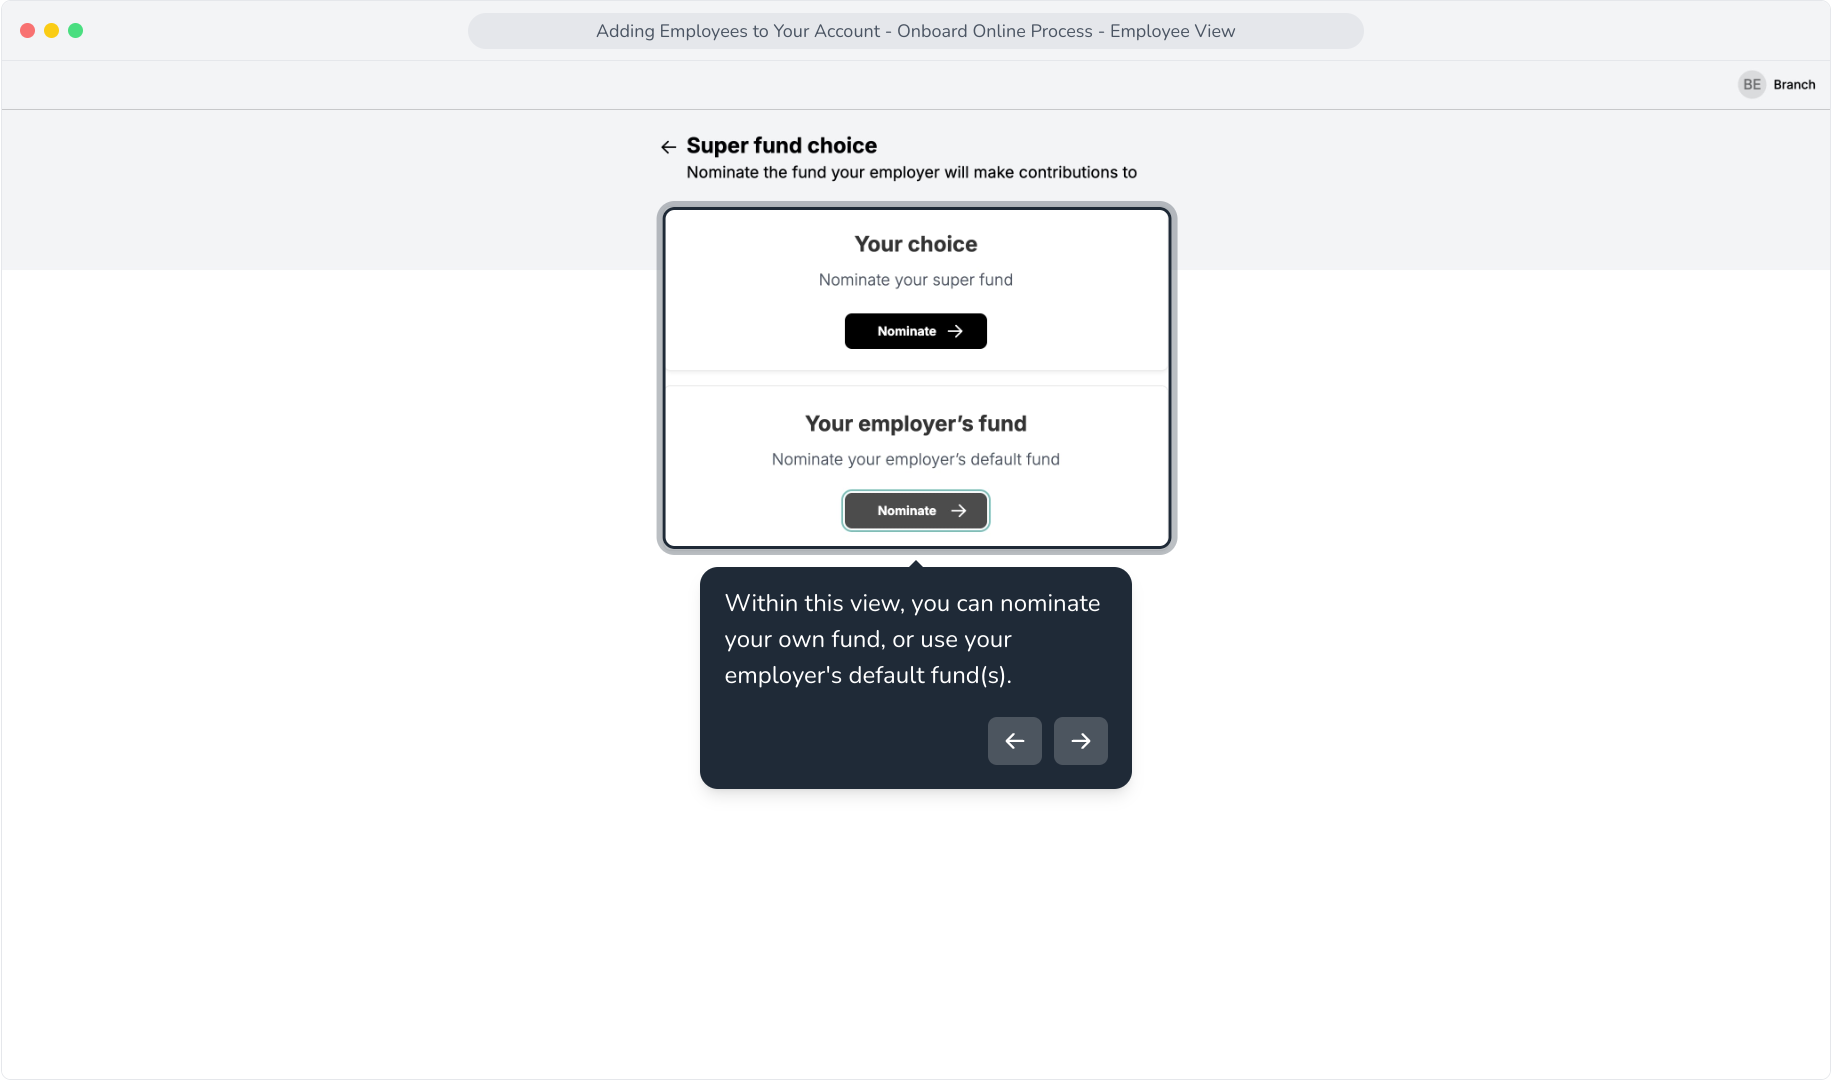
24. We'll proceed with our own.
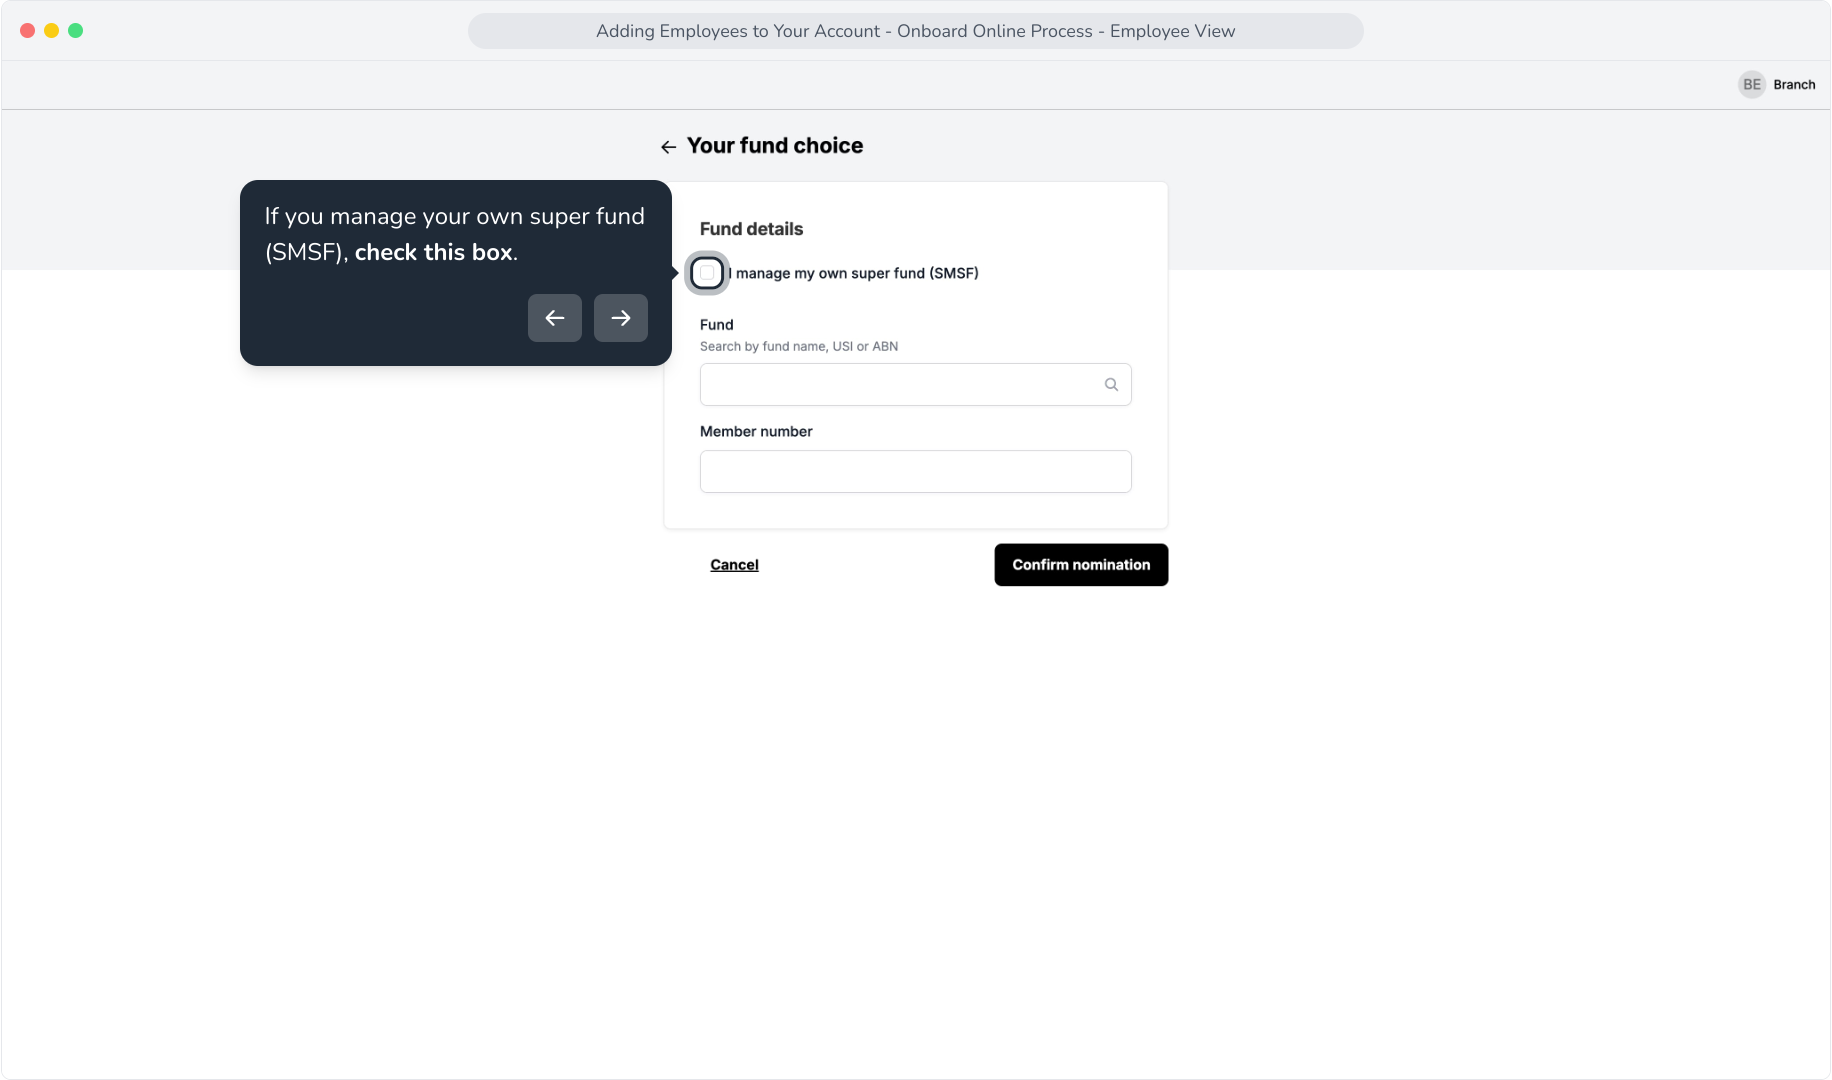
25. If you manage your own super fund (SMSF), check this box.
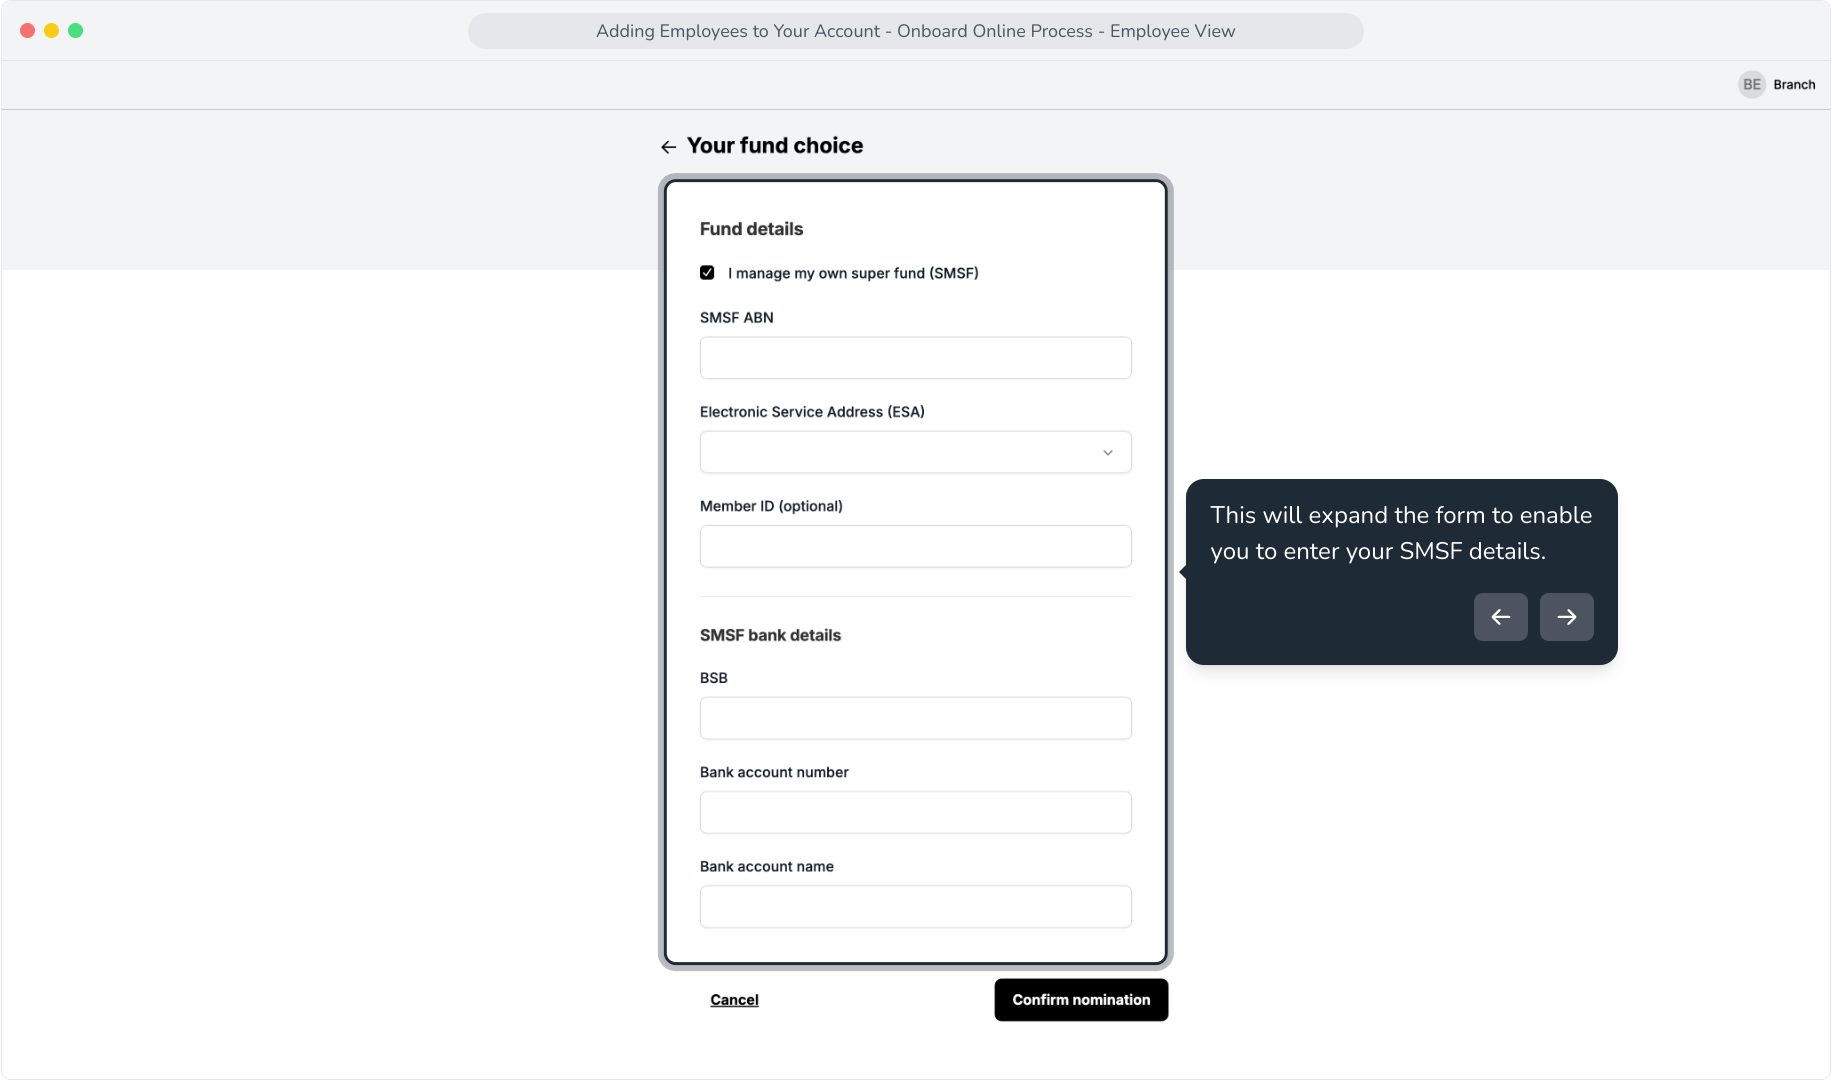
26. This will expand the form to enable you to enter your SMSF details.
27. Use the Fund search to find your super fund.
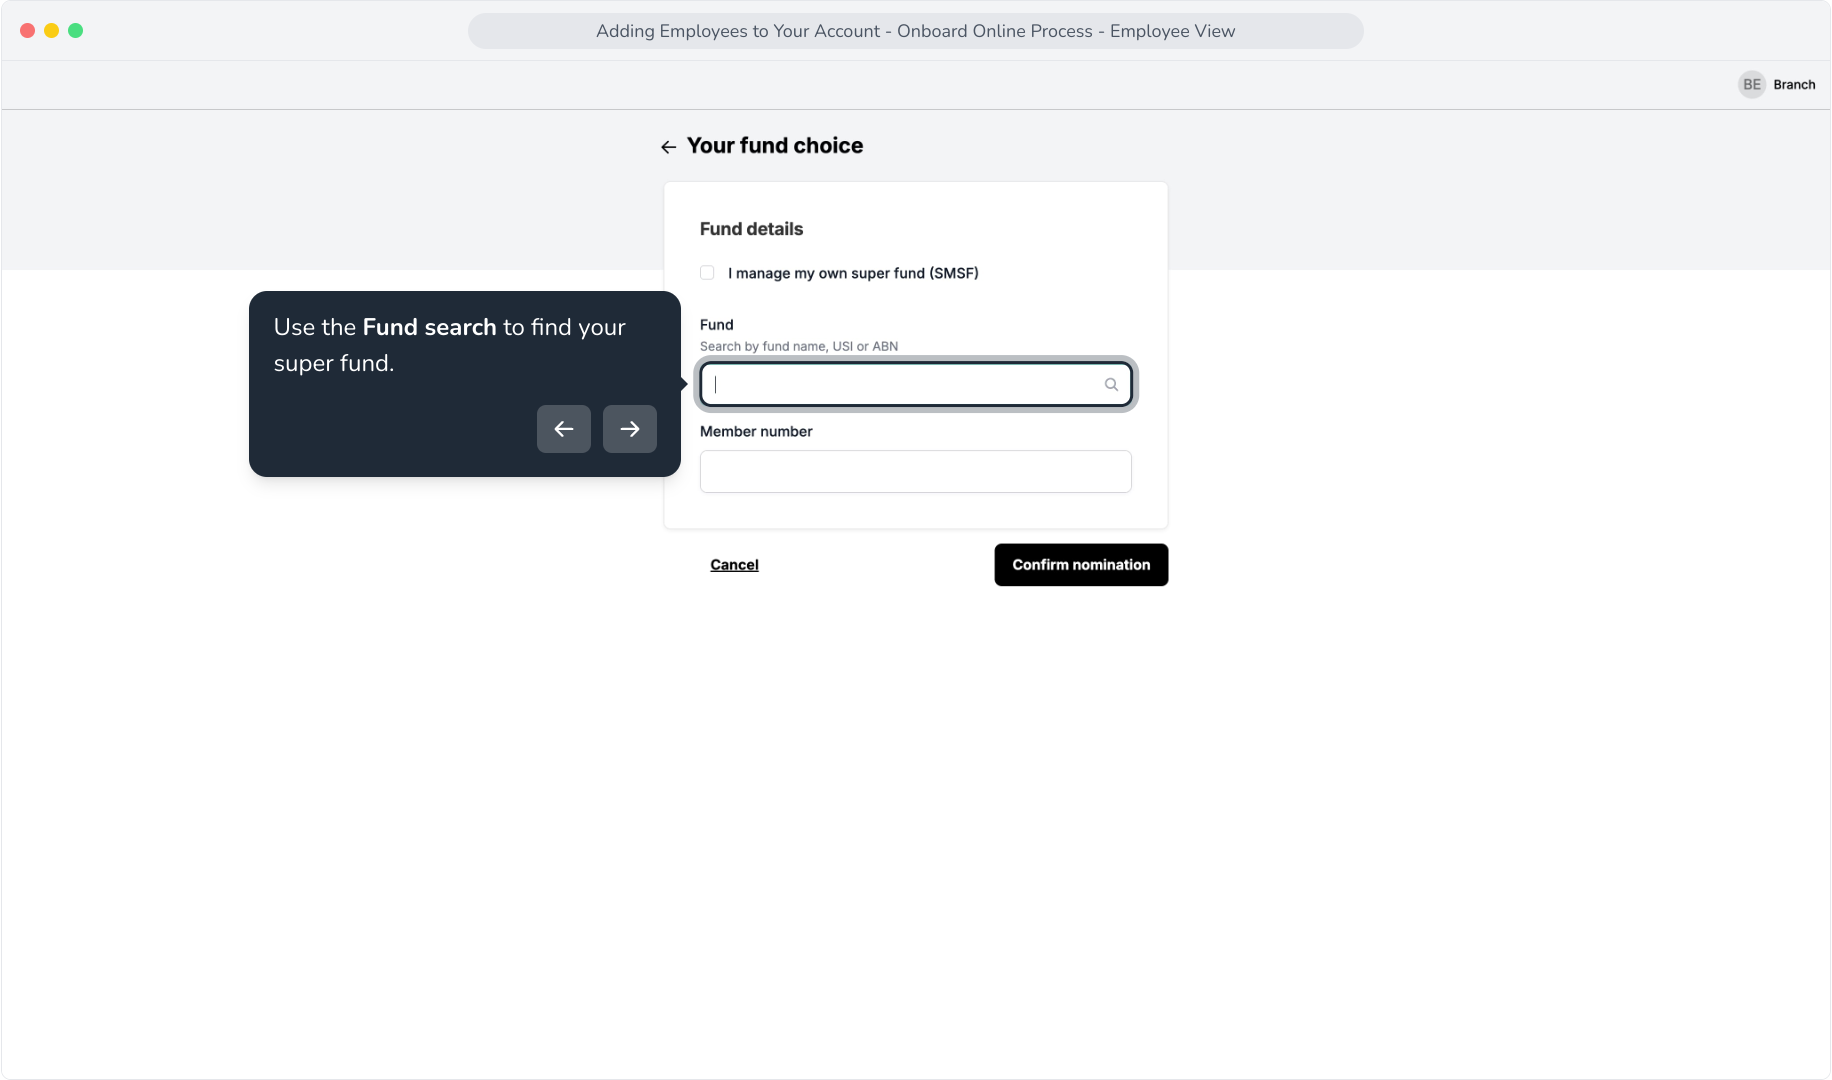
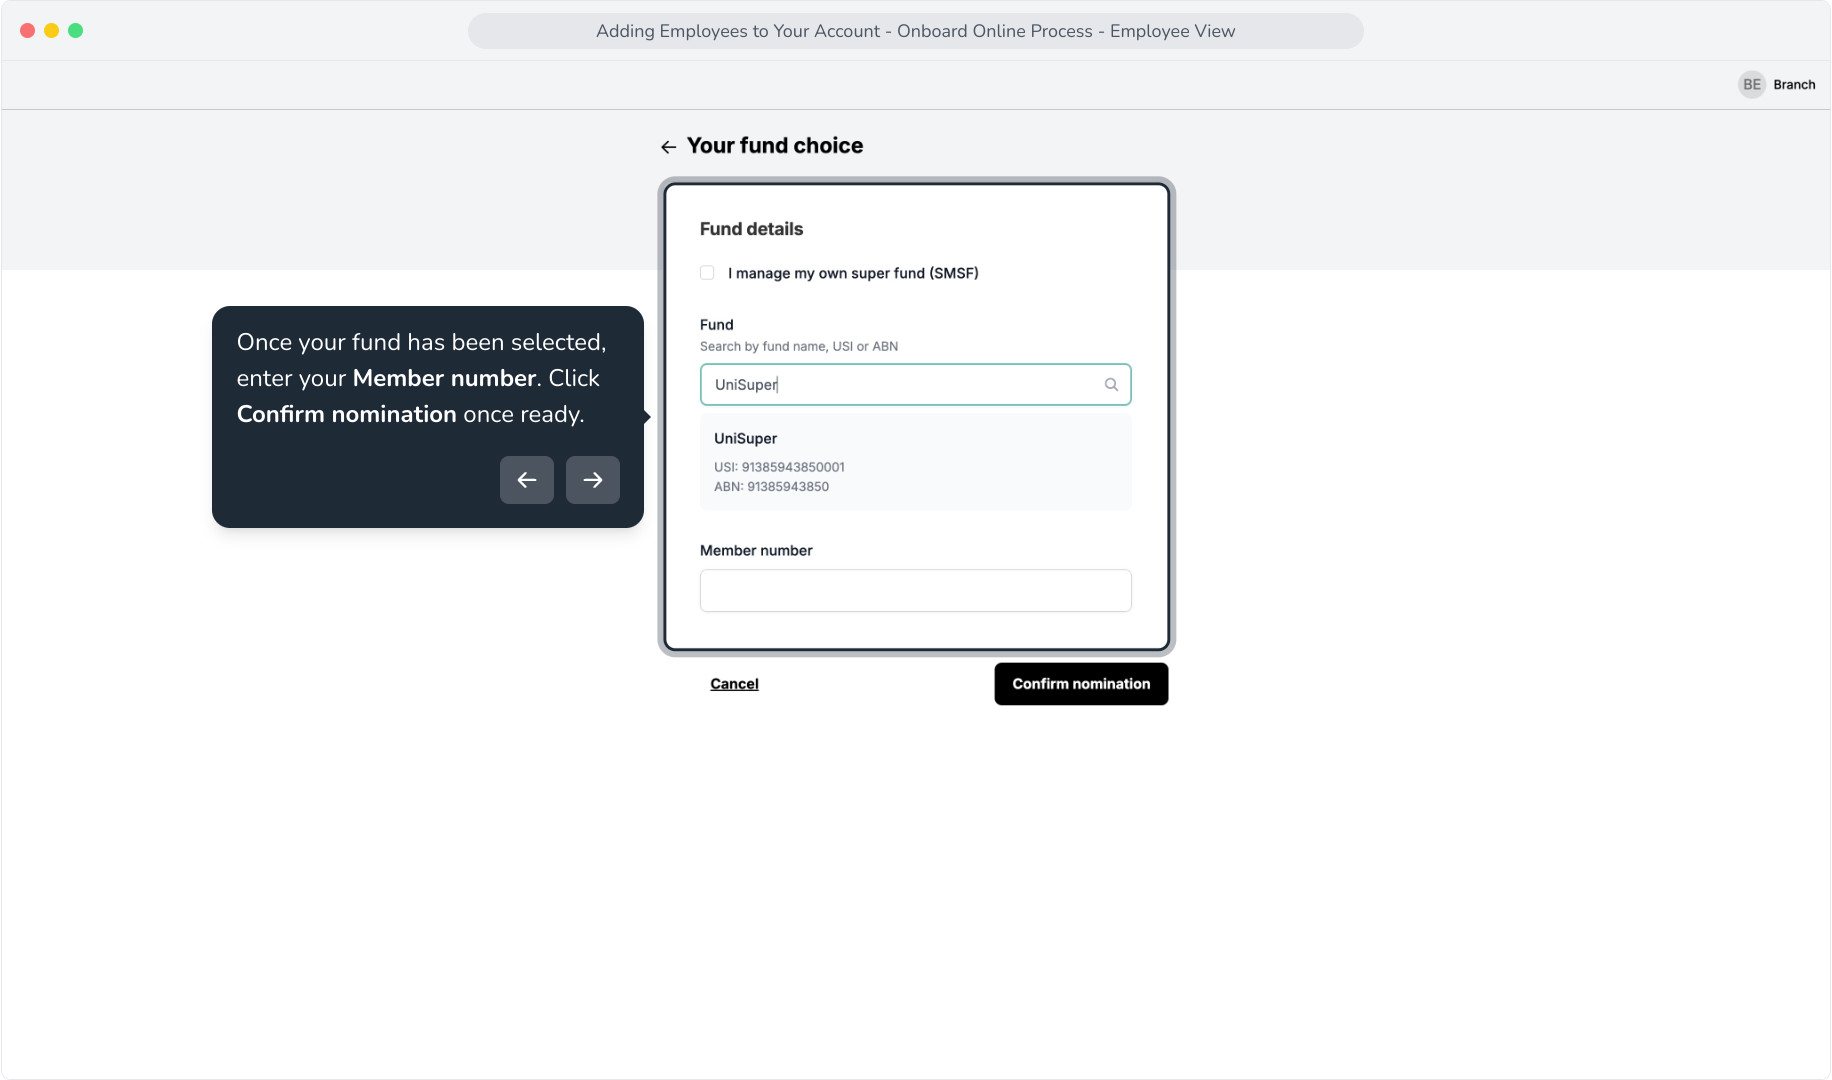
28. Once your fund has been selected, enter your Member number. Click Confirm nomination once ready.
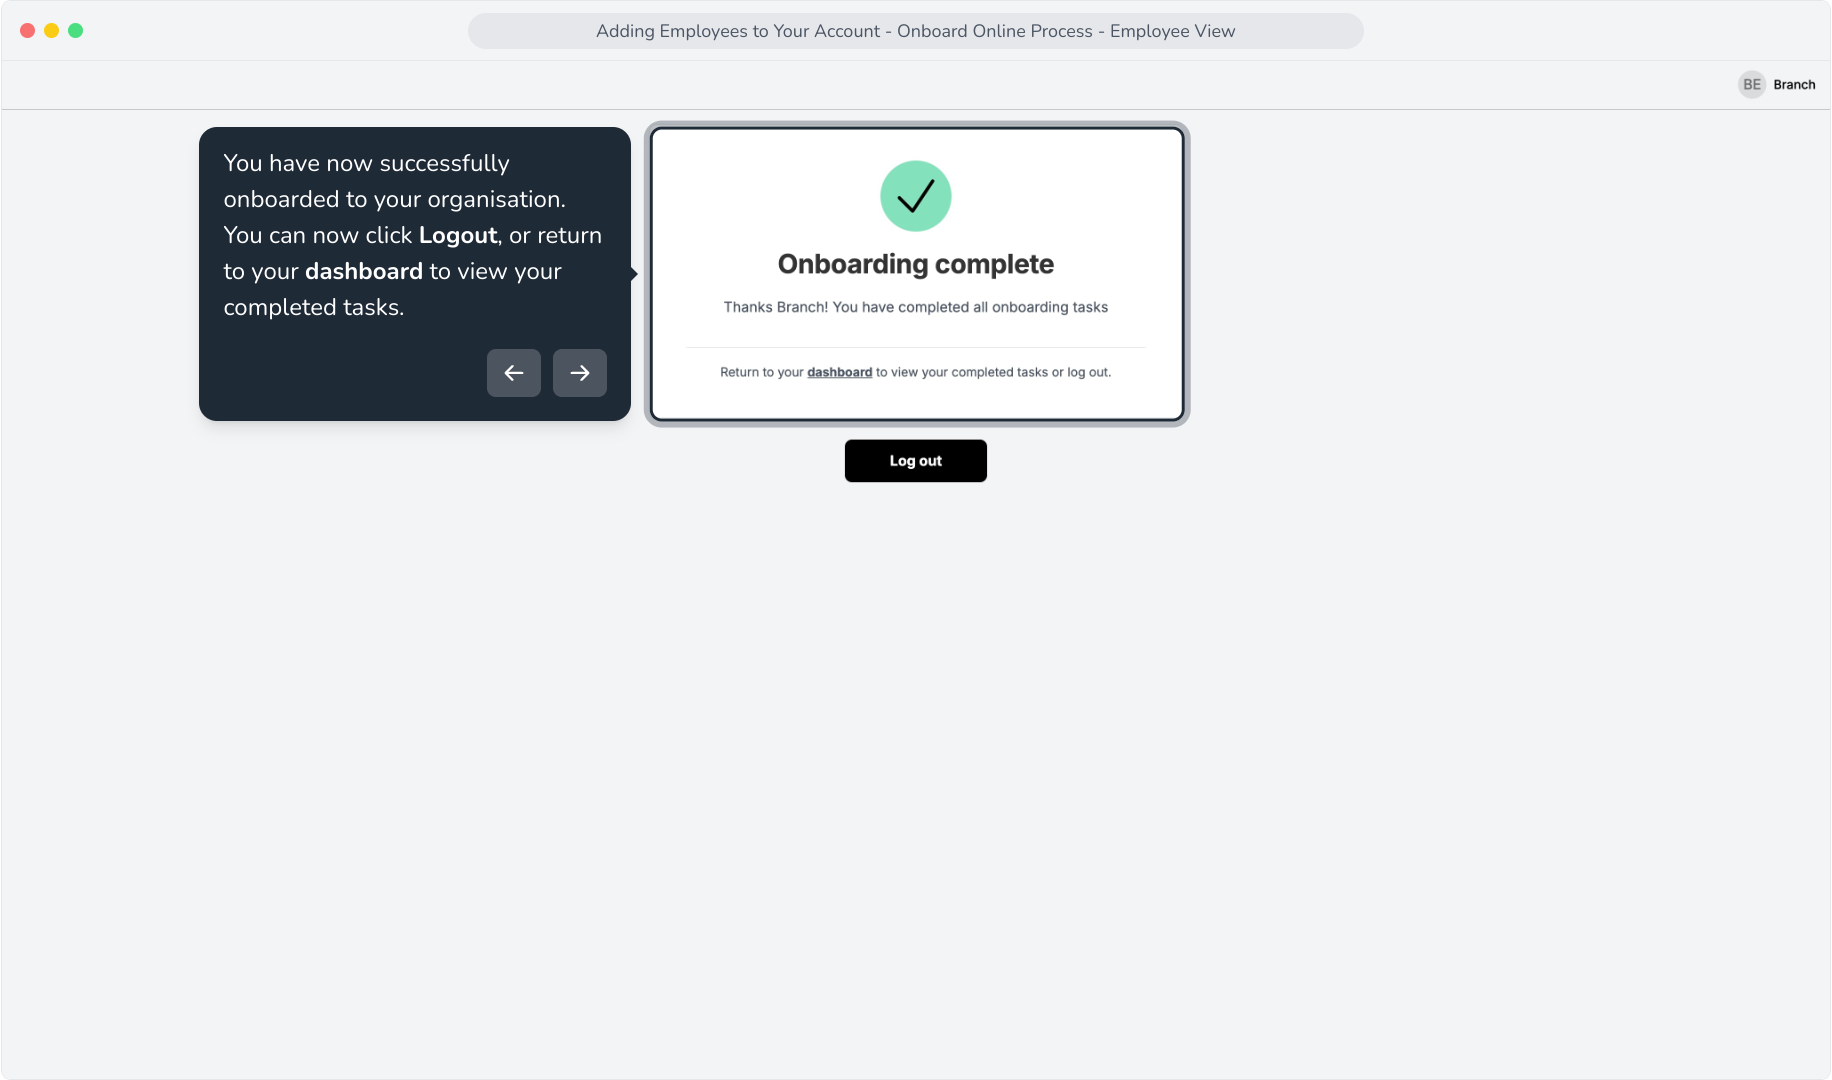
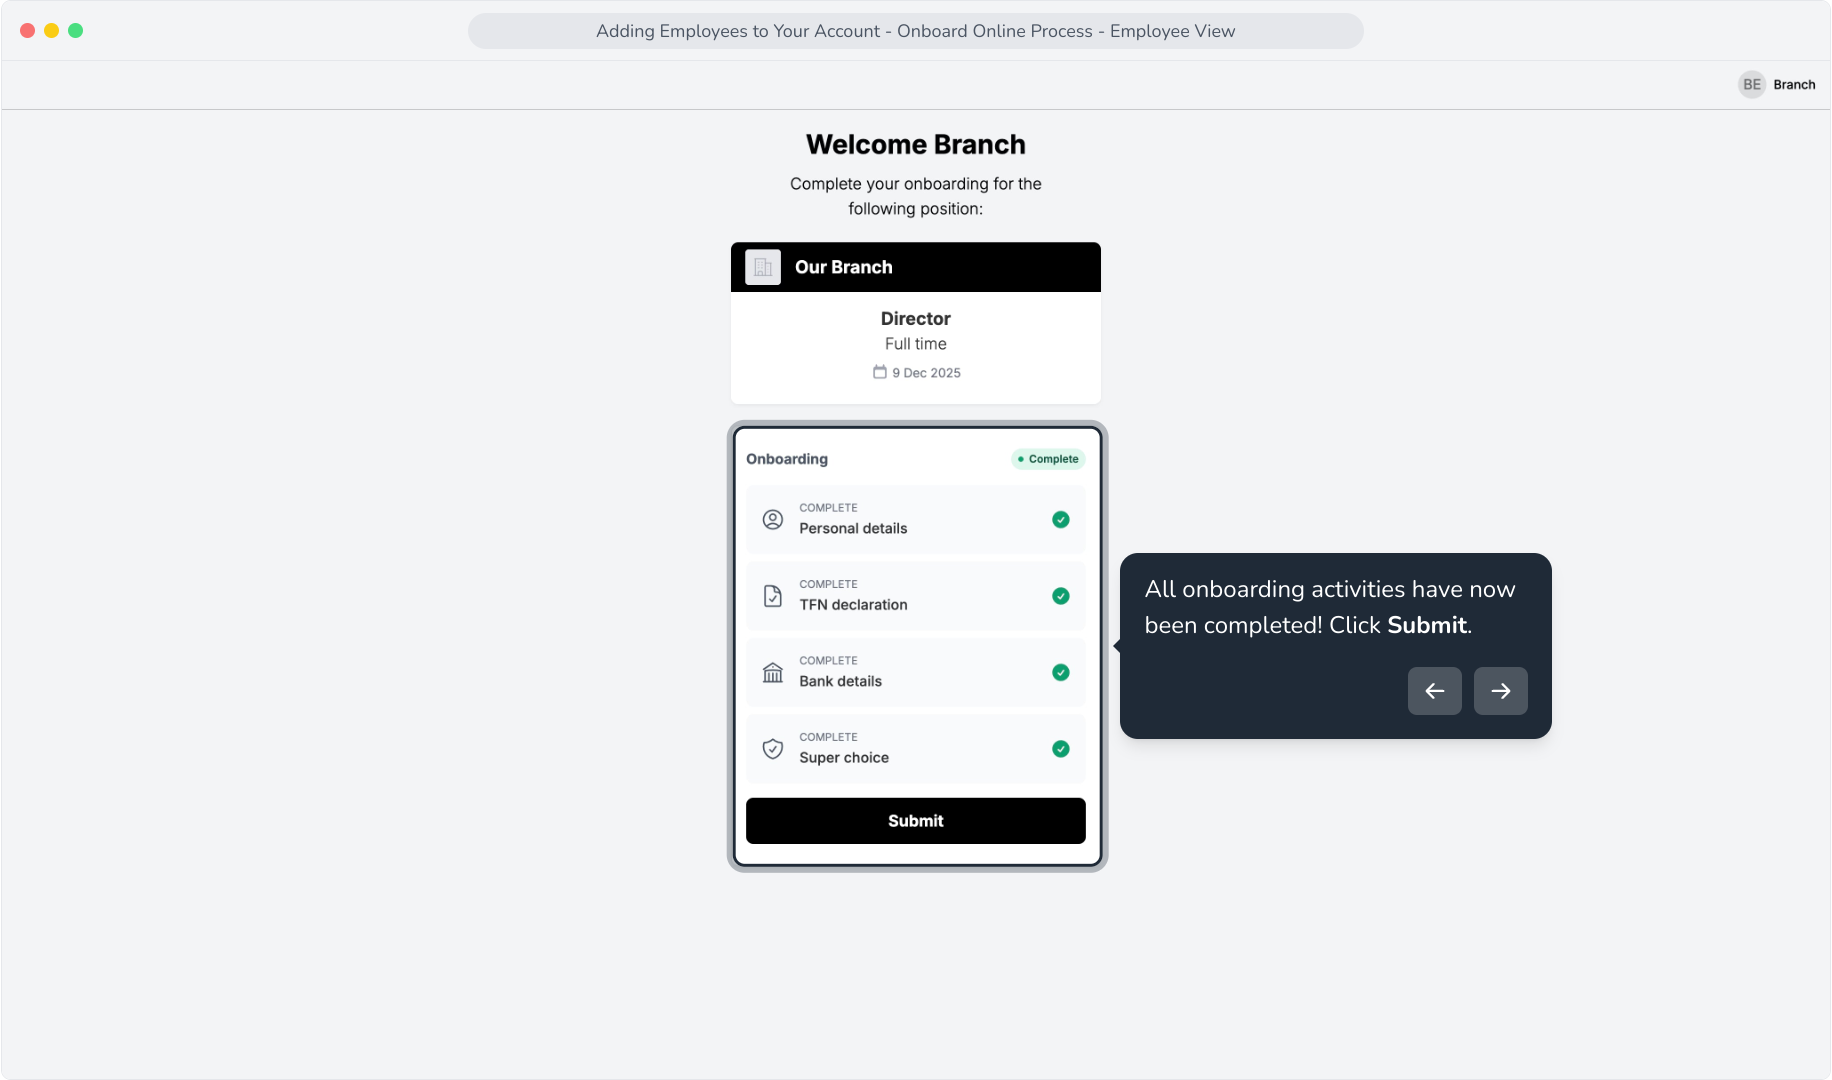
29. All onboarding activities have now been completed! Click Submit.
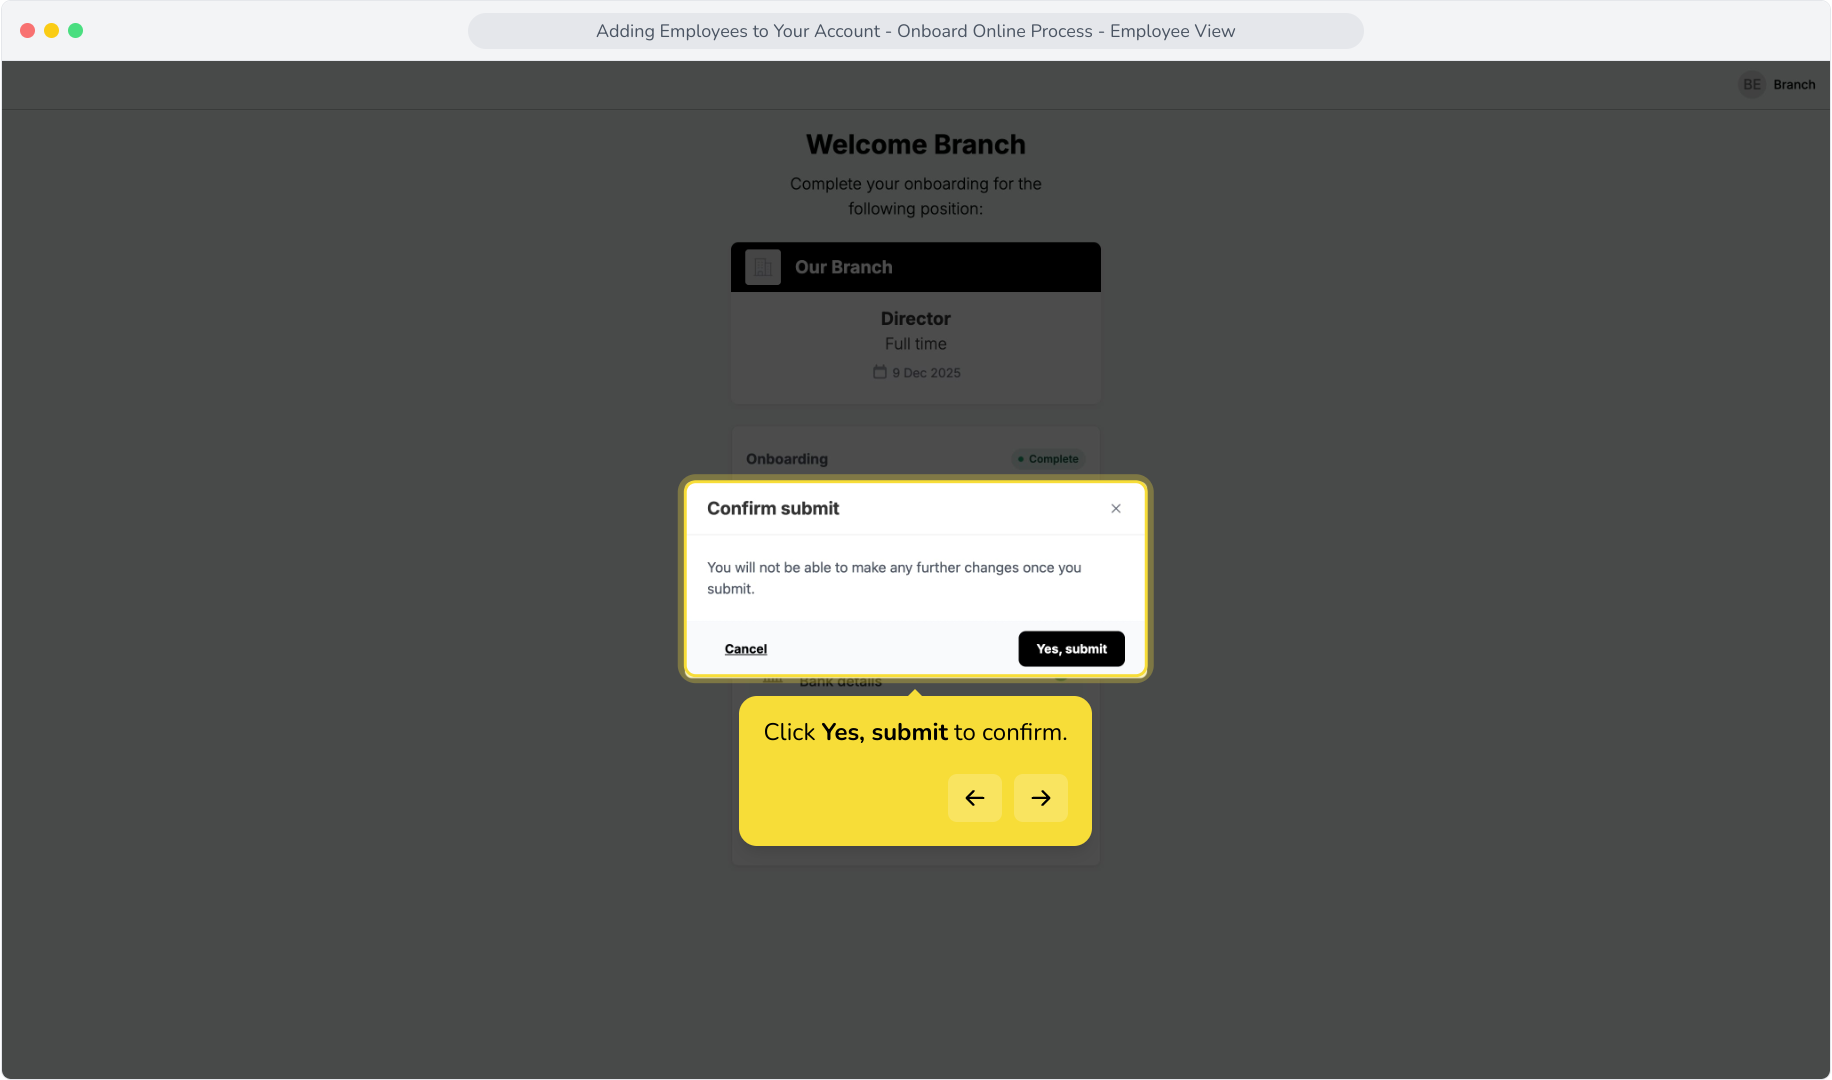
30. Click Yes, submit to confirm.
31. You have now successfully onboarded to your organisation. You can now click Logout, or return to your dashboard to view your completed tasks.