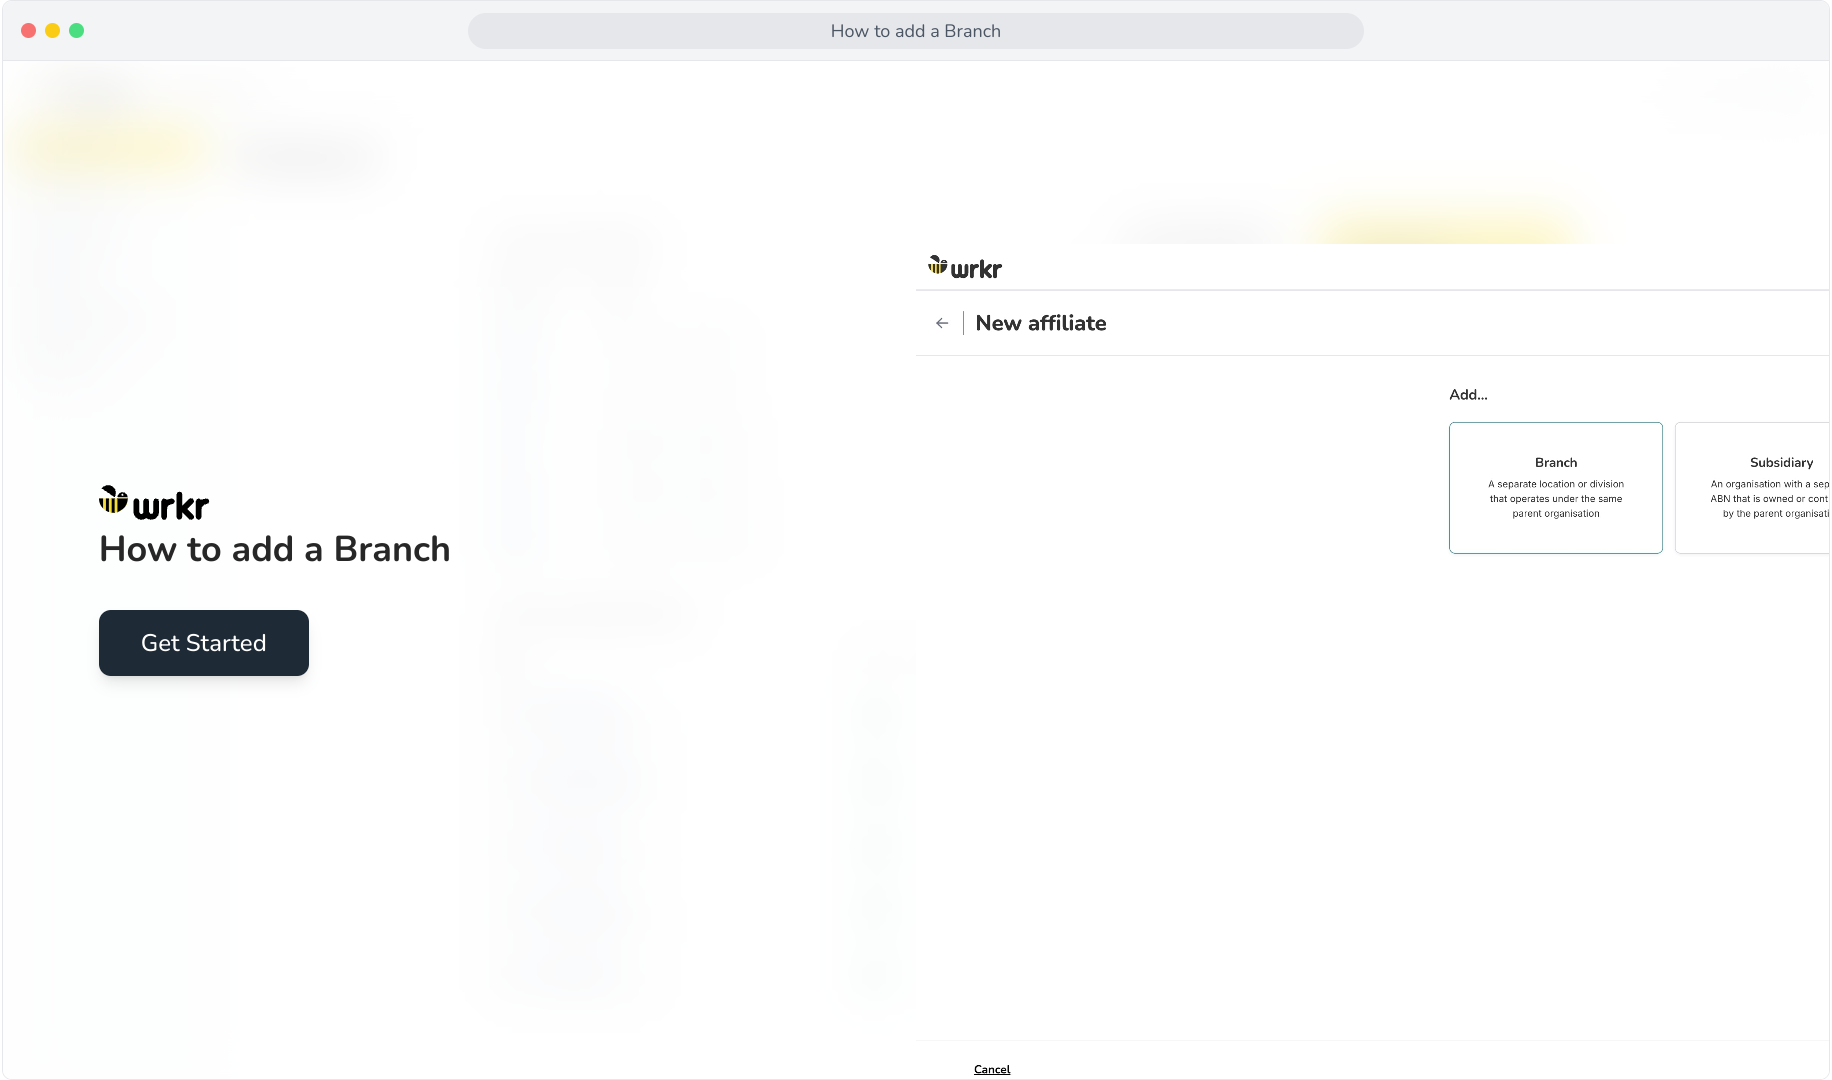
Context: This guide walks through the process of creating a branch for an Organisation within the Wrkr Portal.
Help: Review the steps beneath the interactive demo for additional call-outs.
Interactive Demo
Note: Make the demo full-screen for a better experience. You can mute/un-mute narration to suit your preferences.
Access & Visibility Rules
Important: All users in the Parent organisation can still see Branch organisation data (via Employees, Employer drop-downs, manual grid search, etc.), even without direct access.
Parent organisation users do not automatically get access and will not see the branch in the hierarchy.
The org admin must explicitly set up users for the branch via User Settings.
Step by Step
1. How to add a Branch
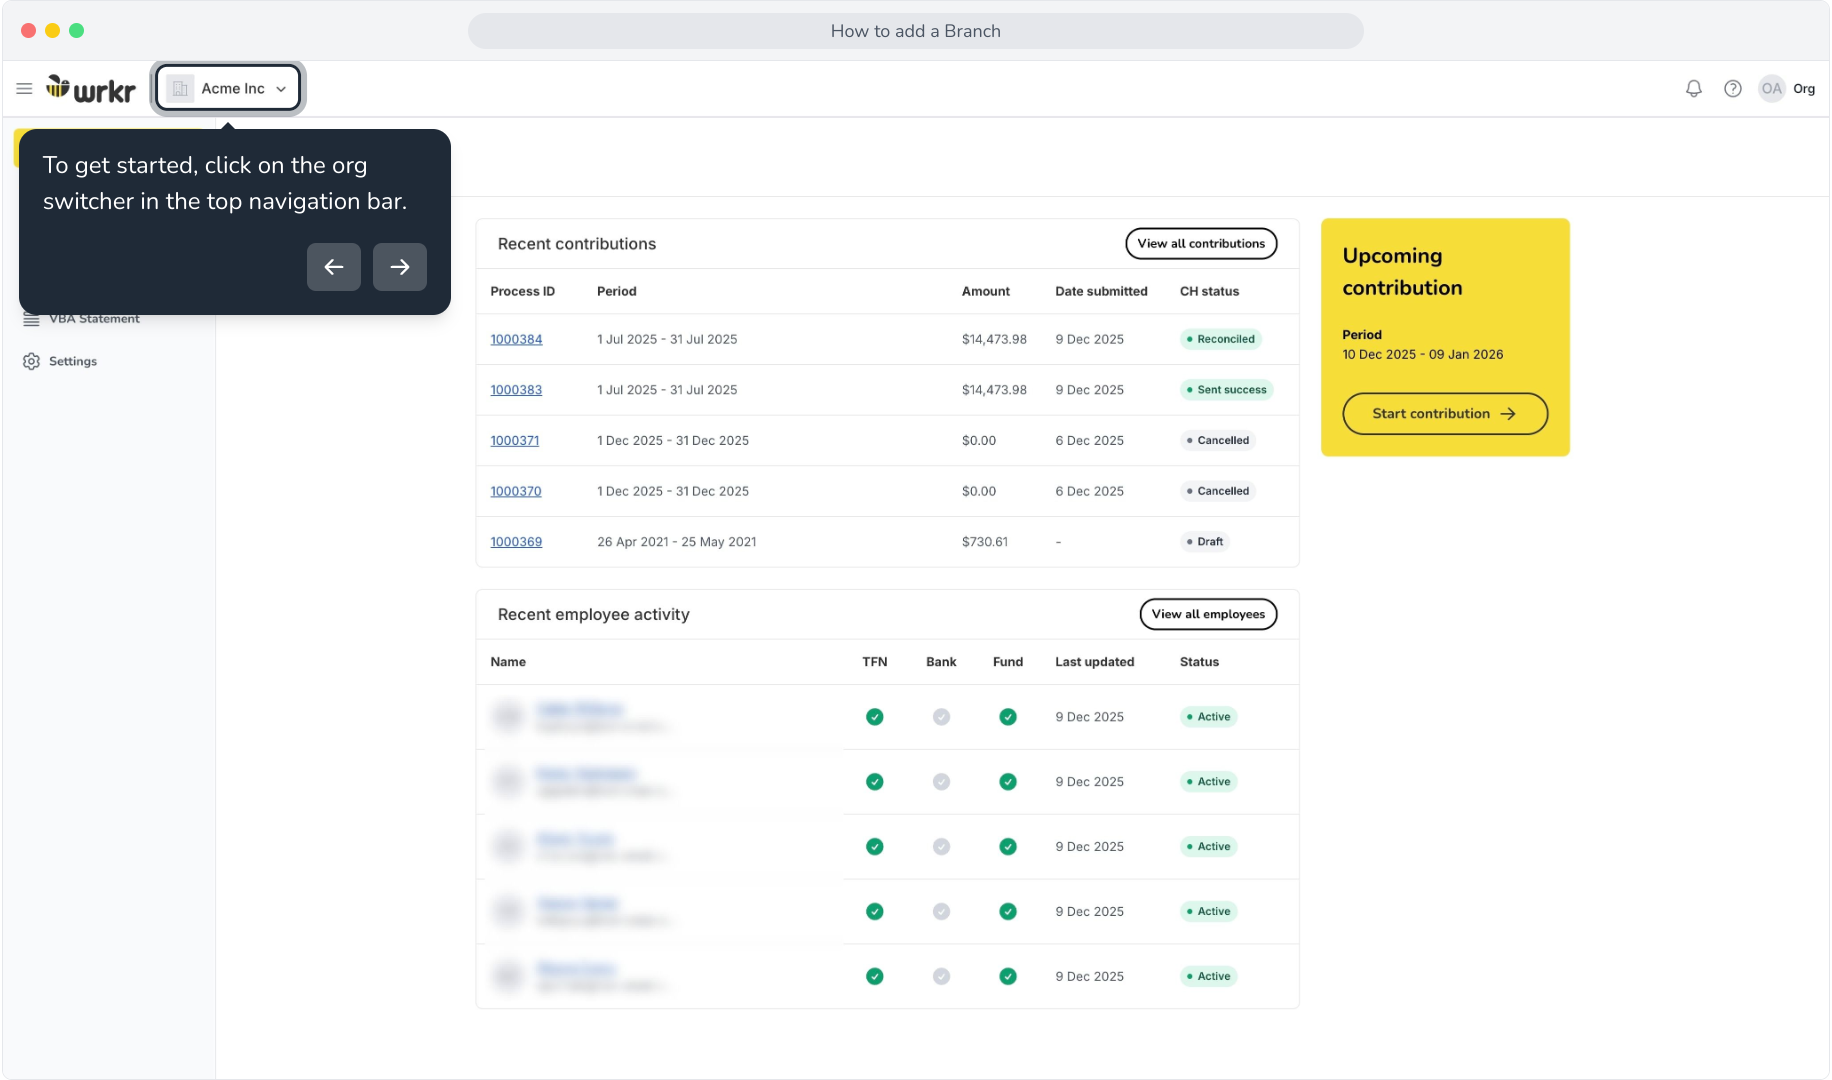
2. To get started, click on the org switcher in the top navigation bar.
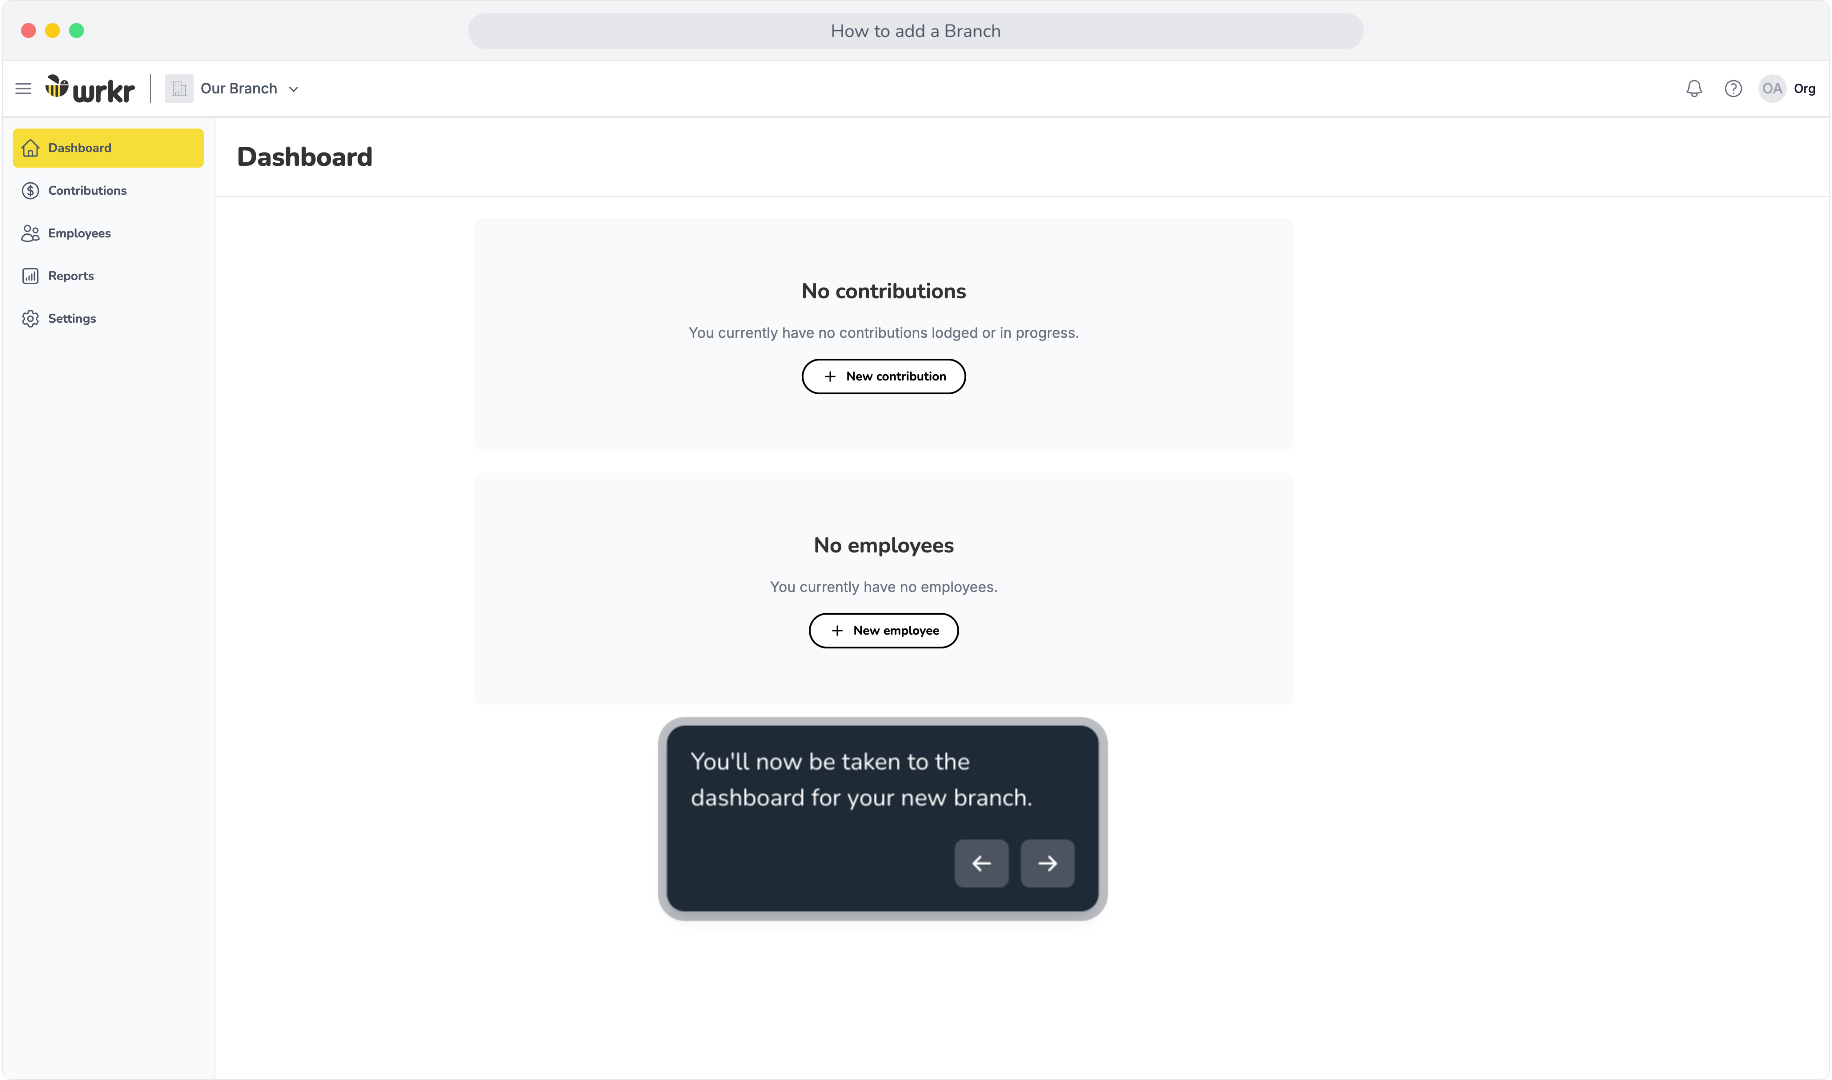
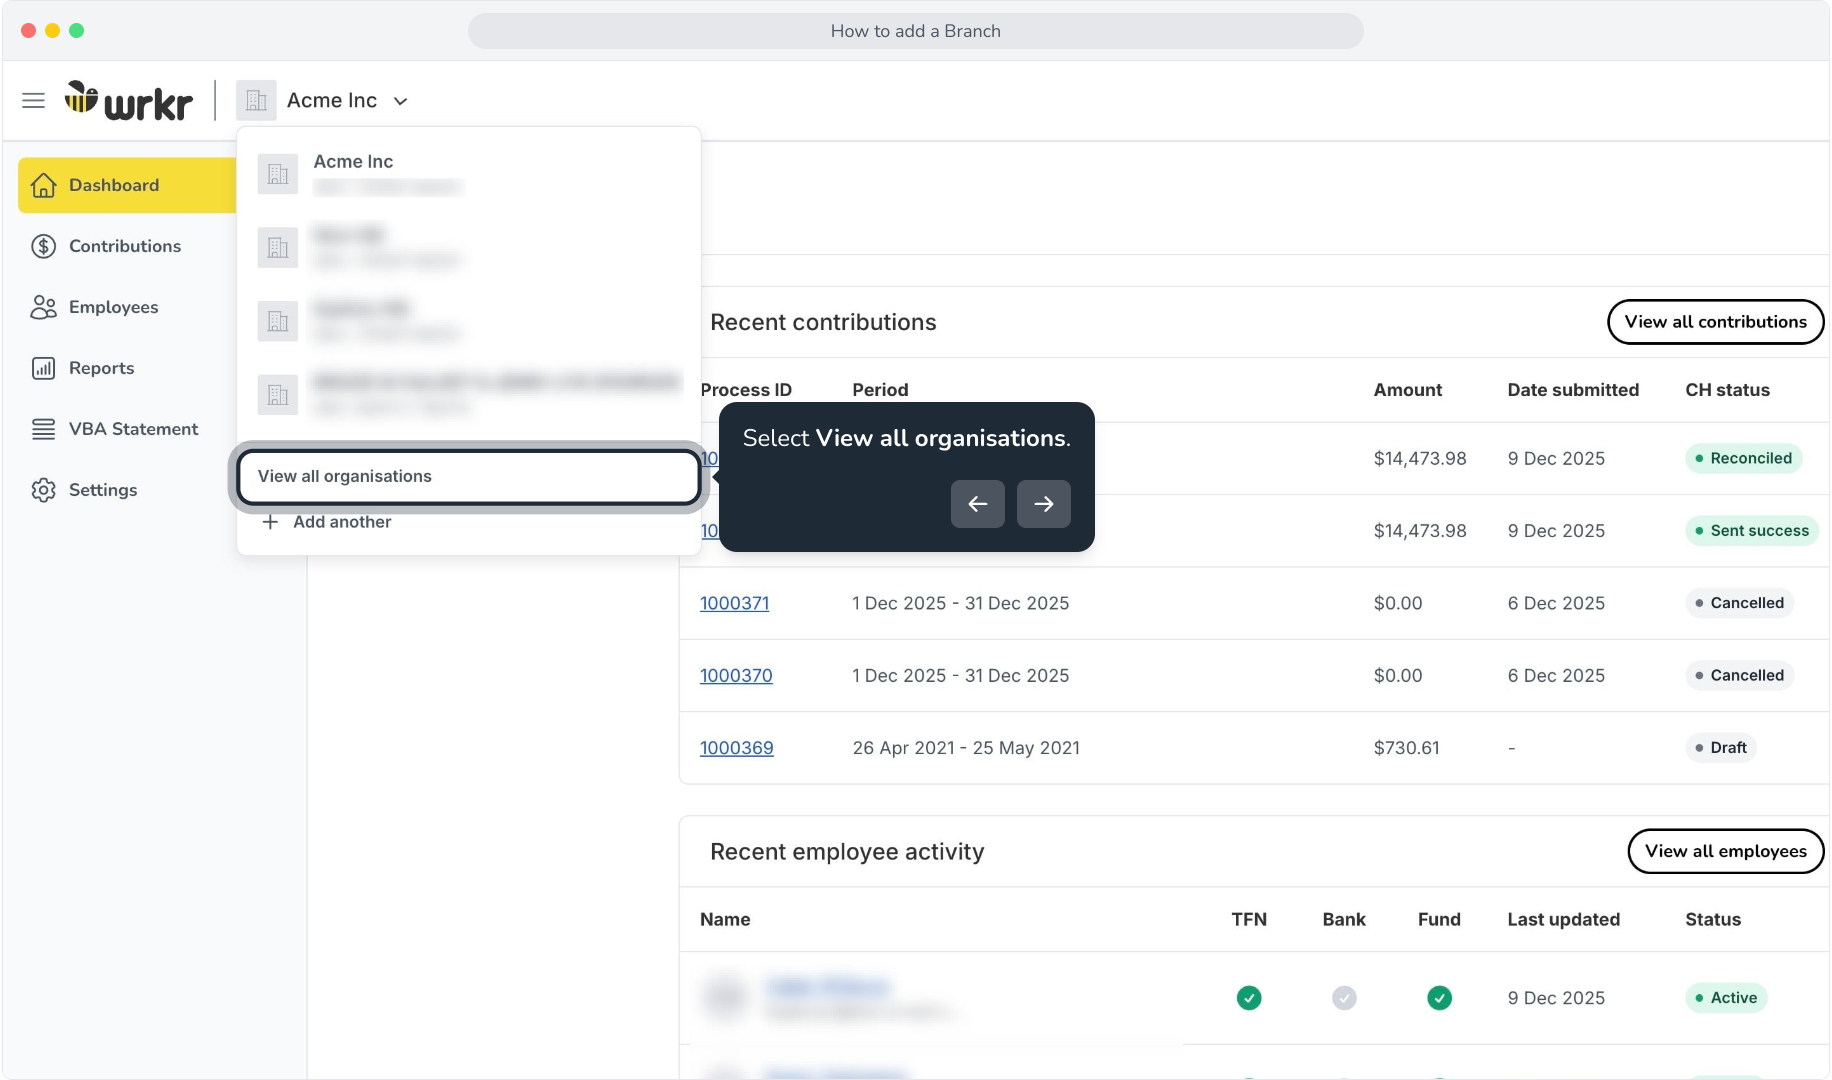
3. Select View all organisations.
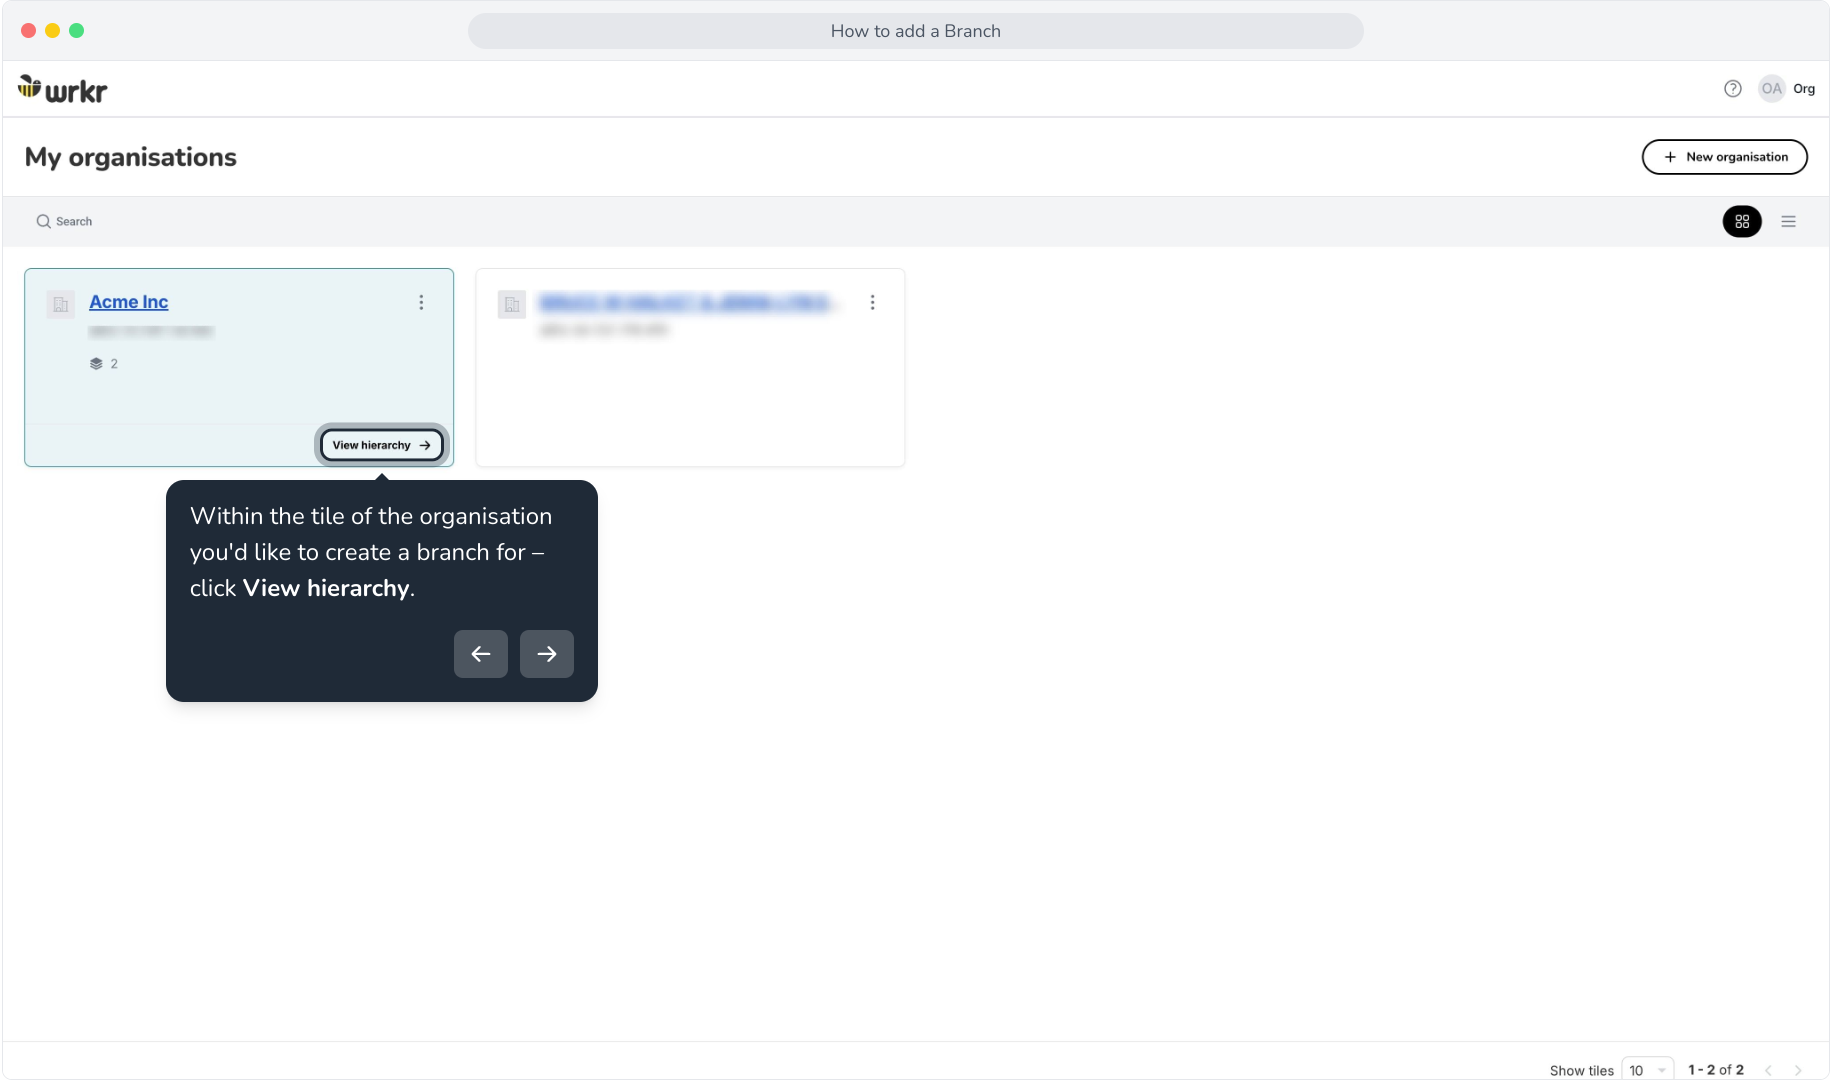
4. Within the tile of the organisation you'd like to create a branch for – click View hierarchy.
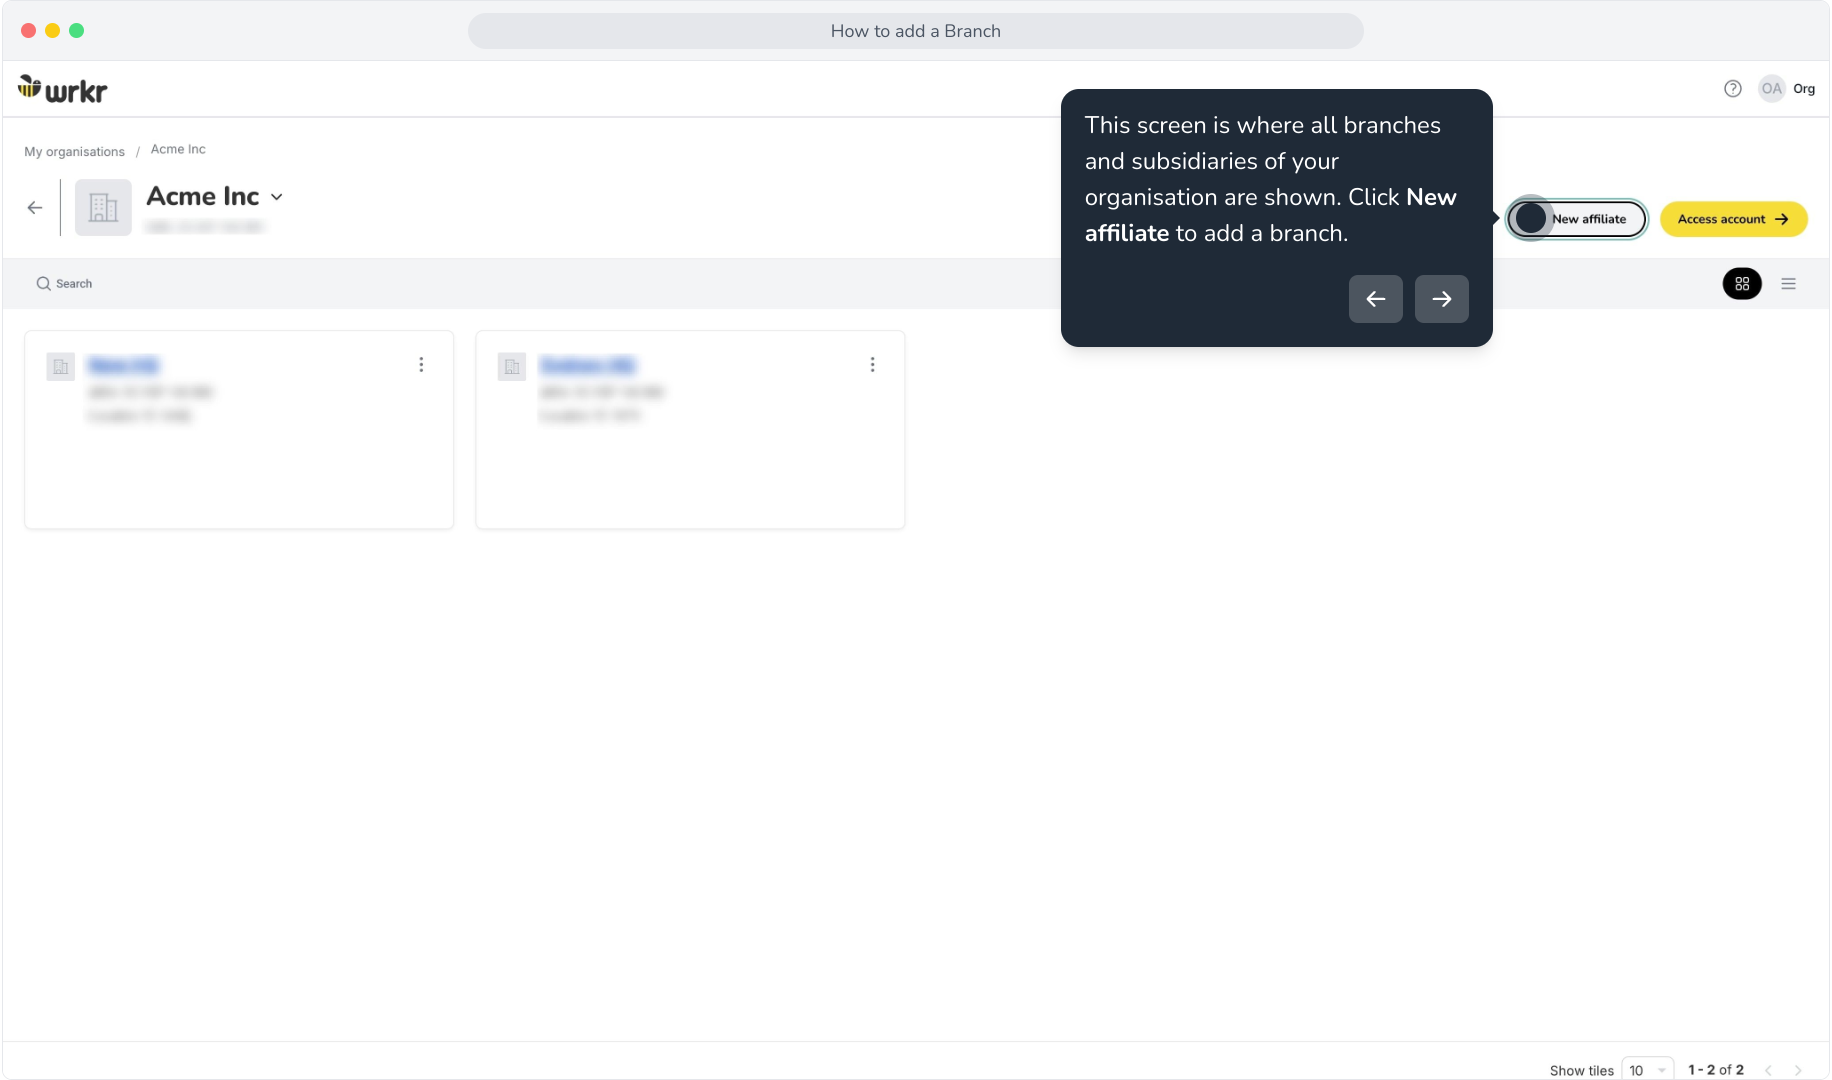
5. This screen is where all branches and subsidiaries of your organisation are shown. Click New affiliate to add a branch.
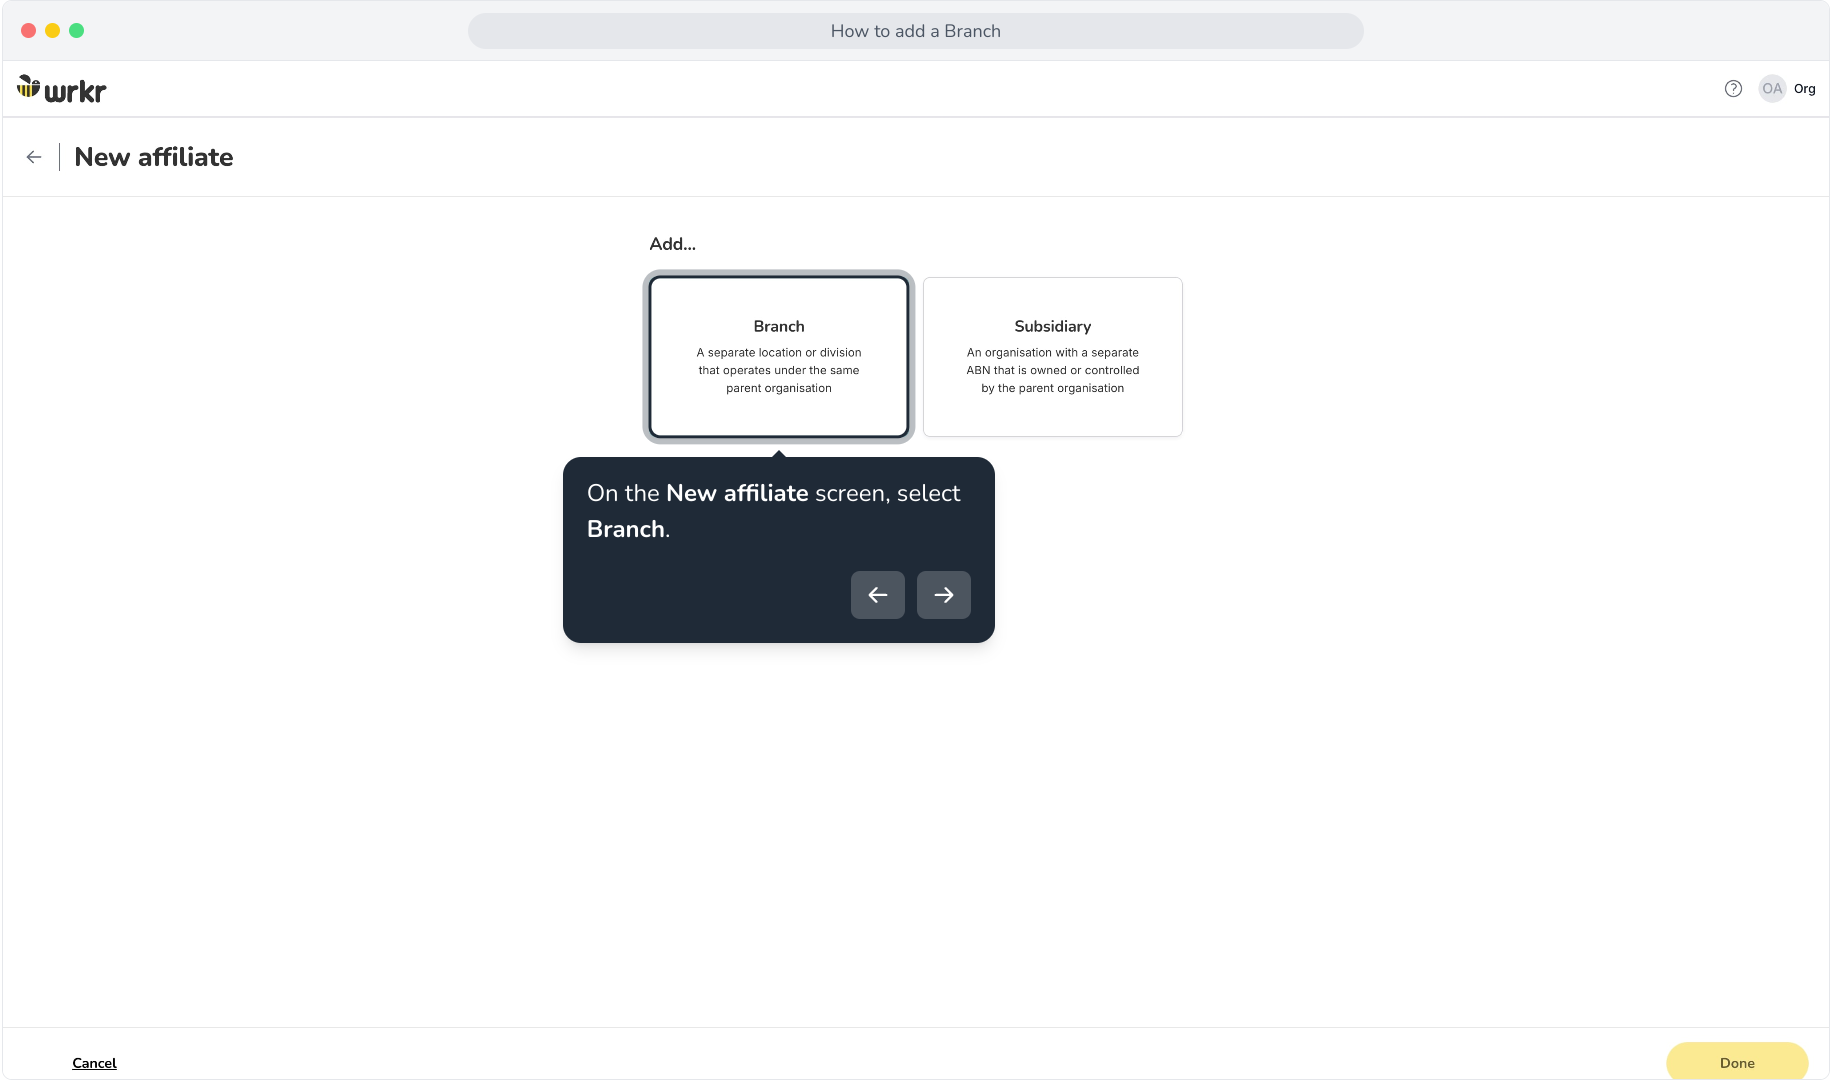
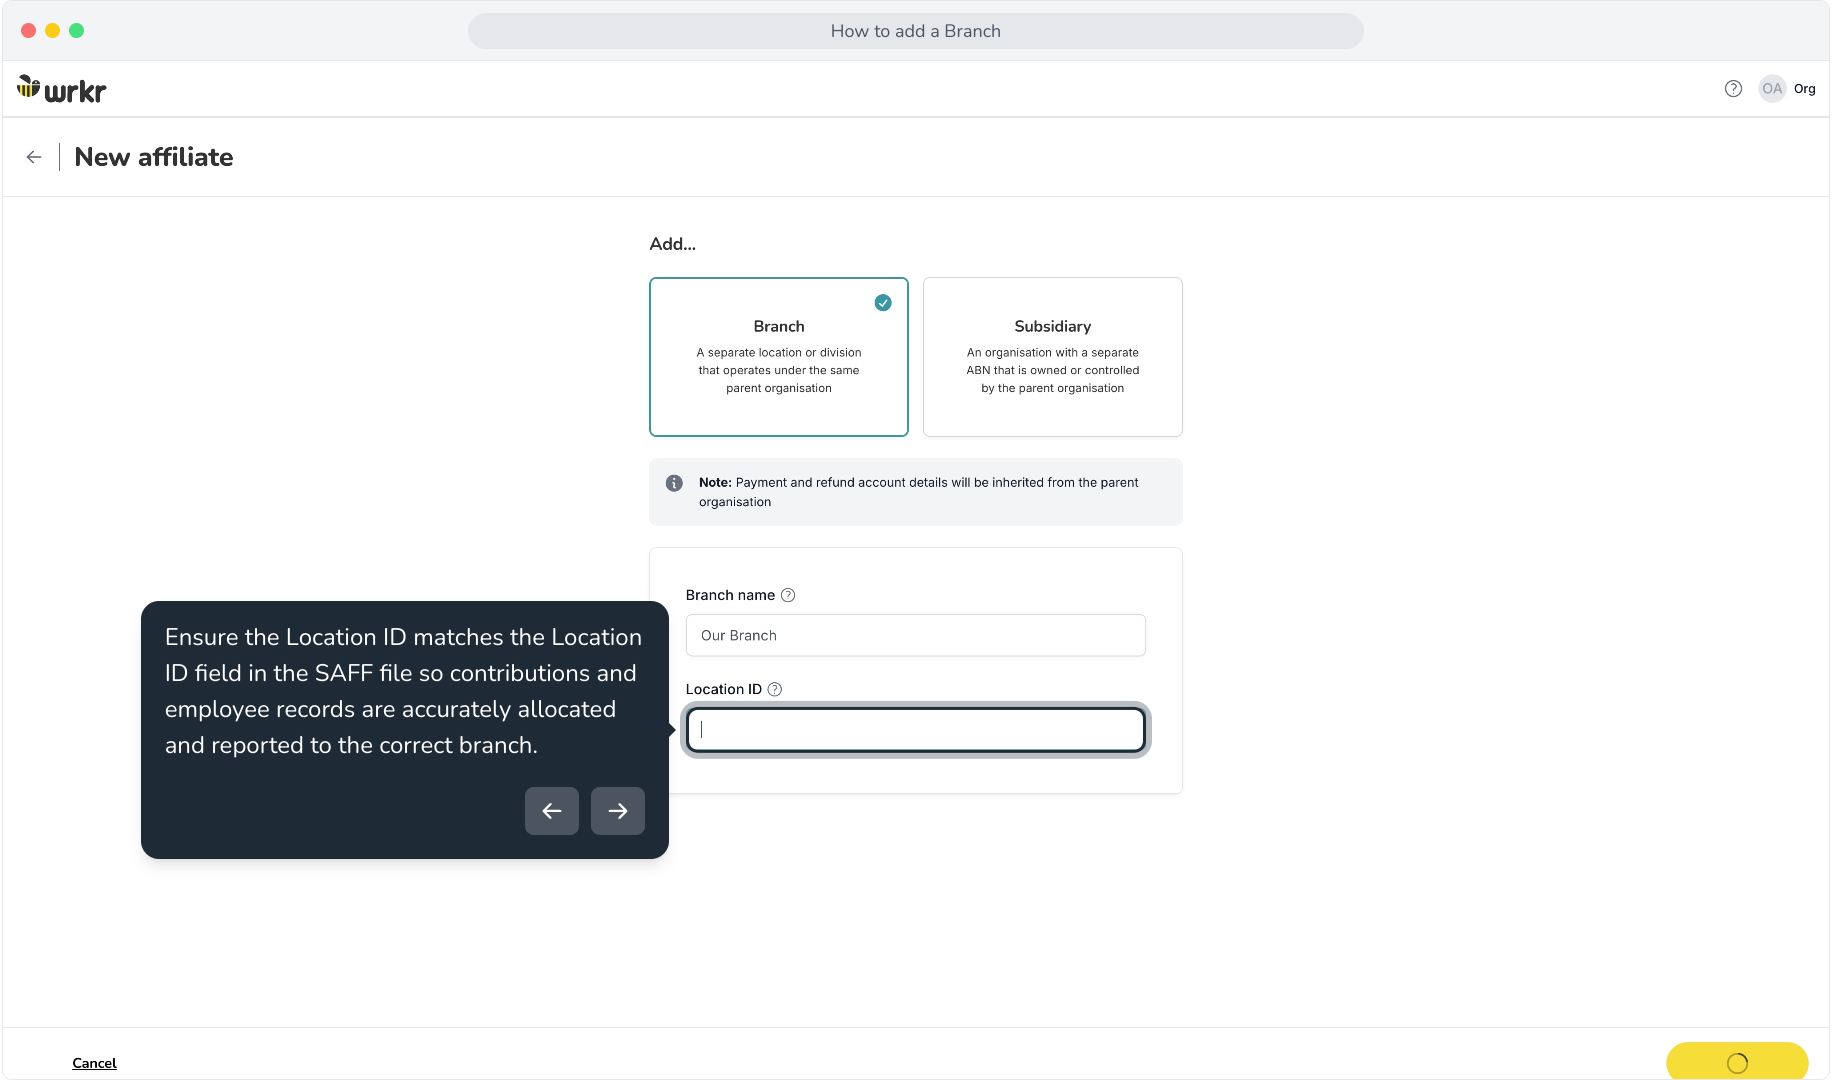
6. On the New affiliate screen, select Branch.
7. Branch name is a unique name to distinguish the branch. This can also be referred to as the trading name.
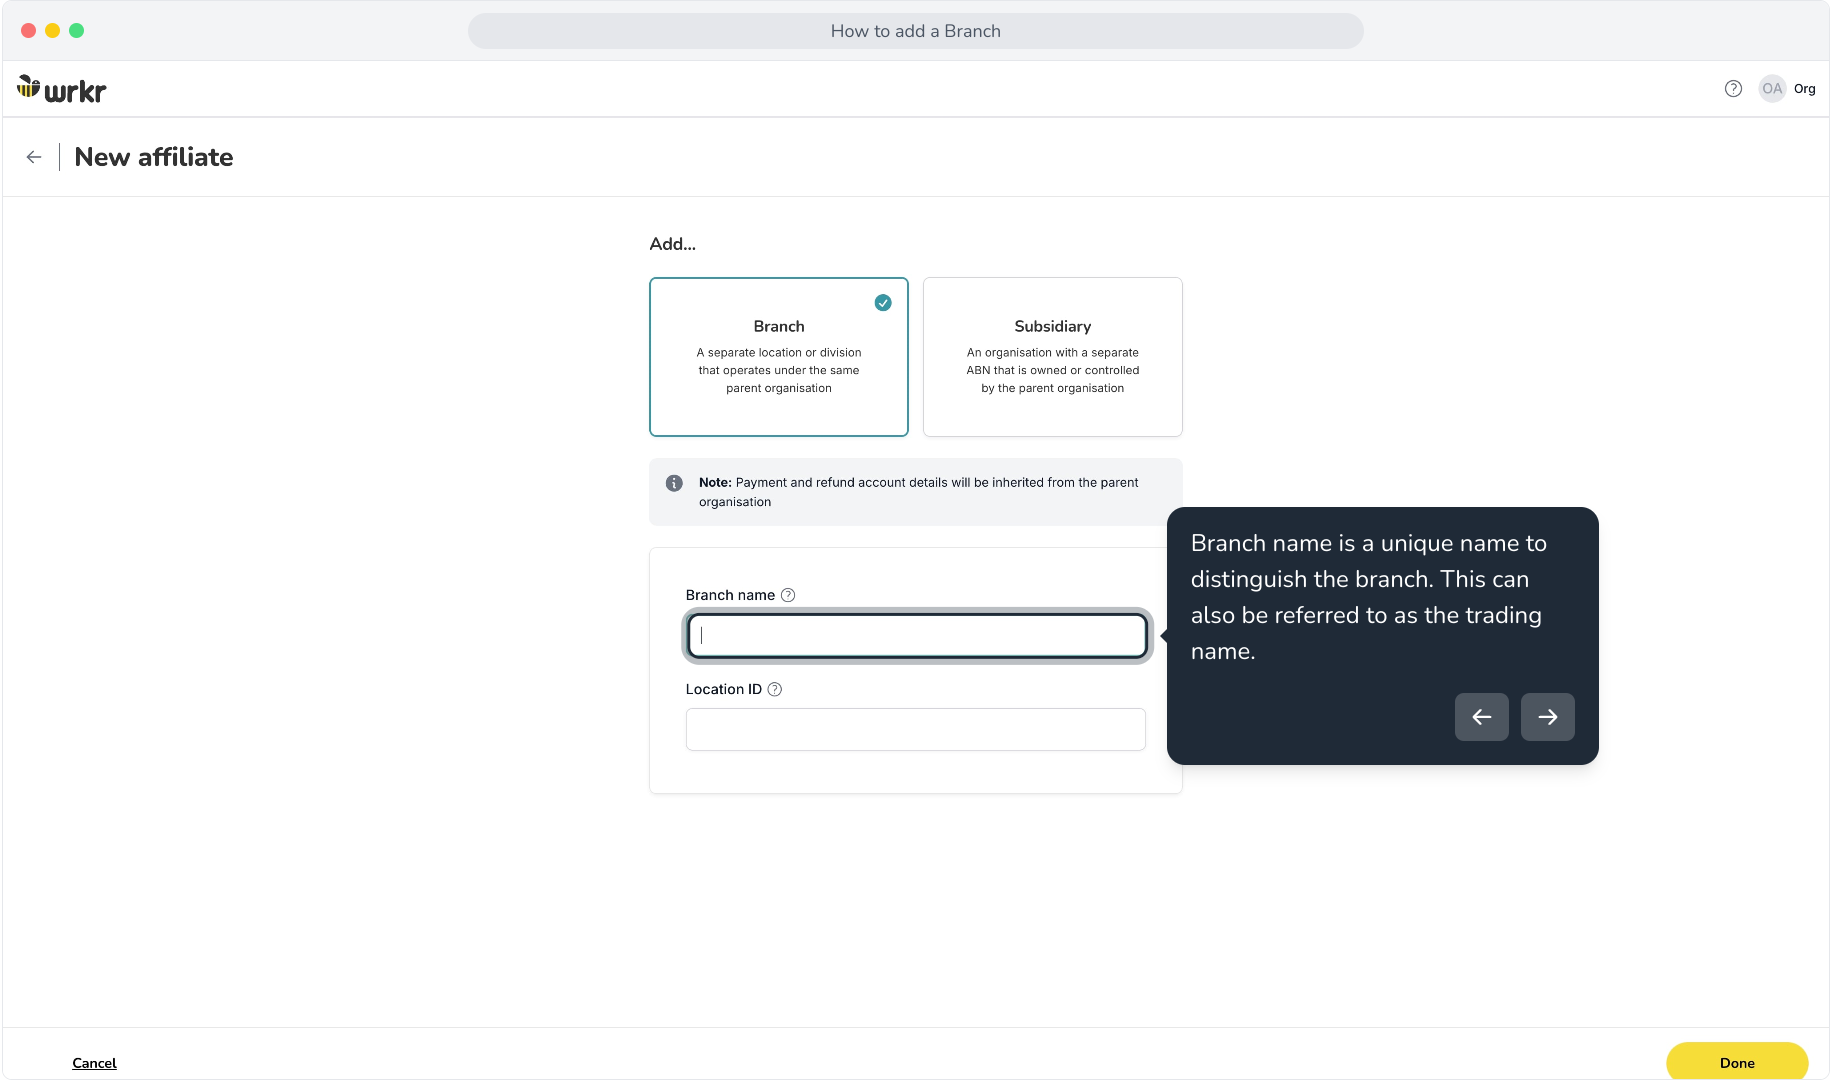
8. Ensure the Location ID matches the Location ID field in the SAFF file so contributions and employee records are accurately allocated and reported to the correct branch.
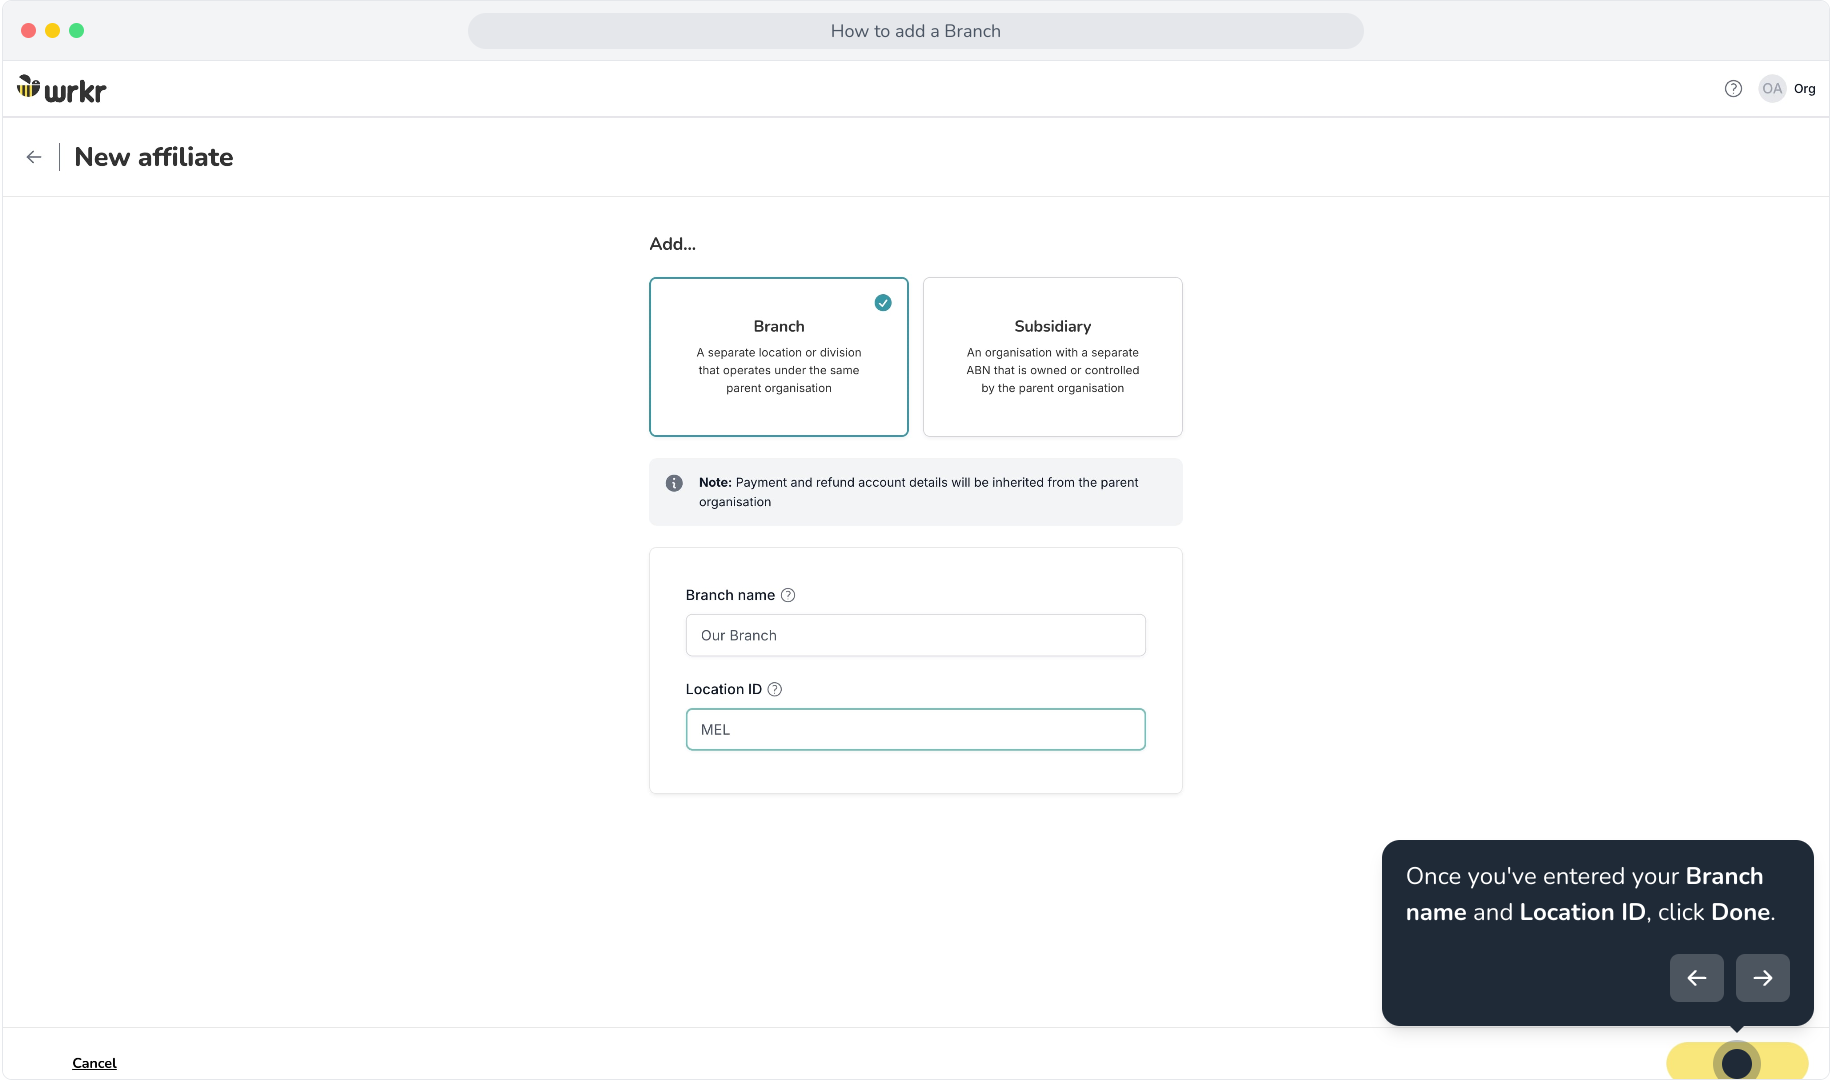
9. Once you've entered your Branch name and Location ID, click Done.
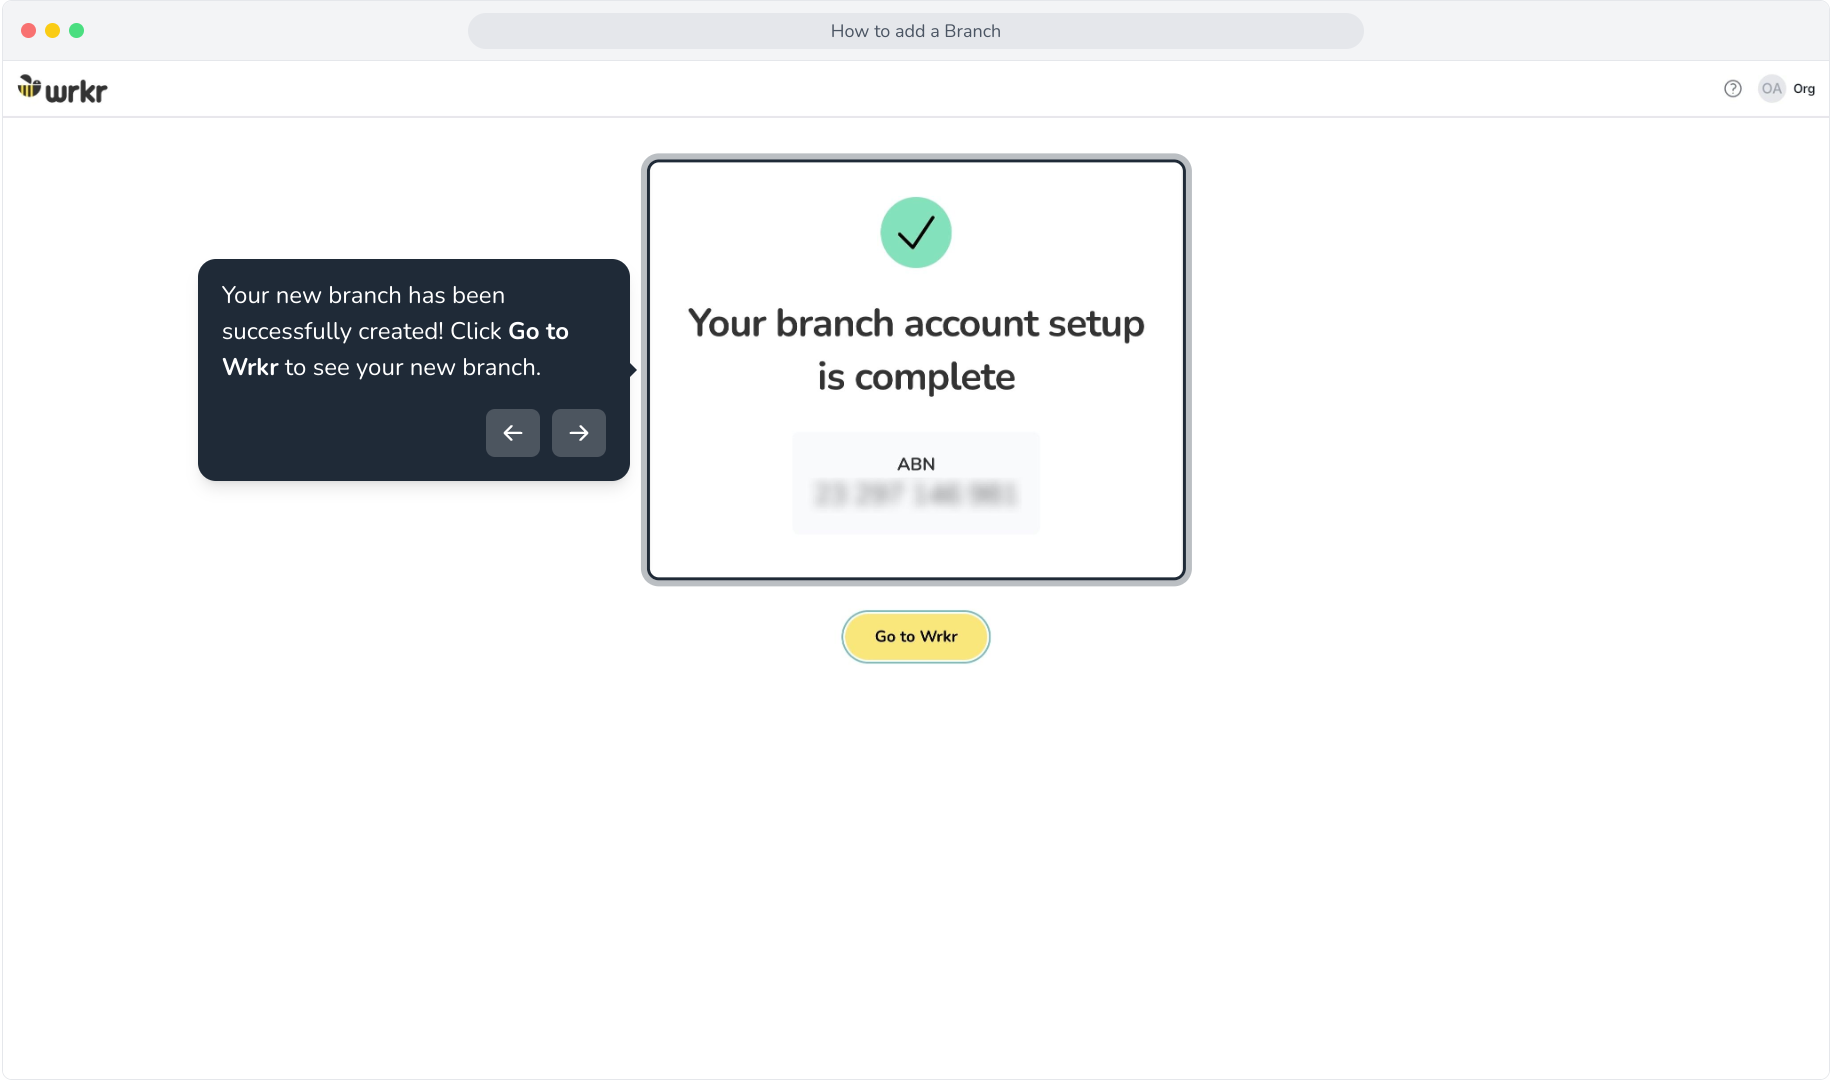
10. Your new branch has been successfully created! Click Go to Wrkr to see your new branch.
11. You'll now be taken to the dashboard for your new branch.