Context: This guide demonstrates the process of setting up direct debit as your preferred payment method for contributions. The guide covers both flows for self-authorised and delegated flows, and details the steps required for ID and bank account verification.
Interactive Demo
Note: Make the demo full-screen for a better experience. You can mute/un-mute narration to suit your preferences.
Step by Step
1. Set Up Direct Debit for Contributions

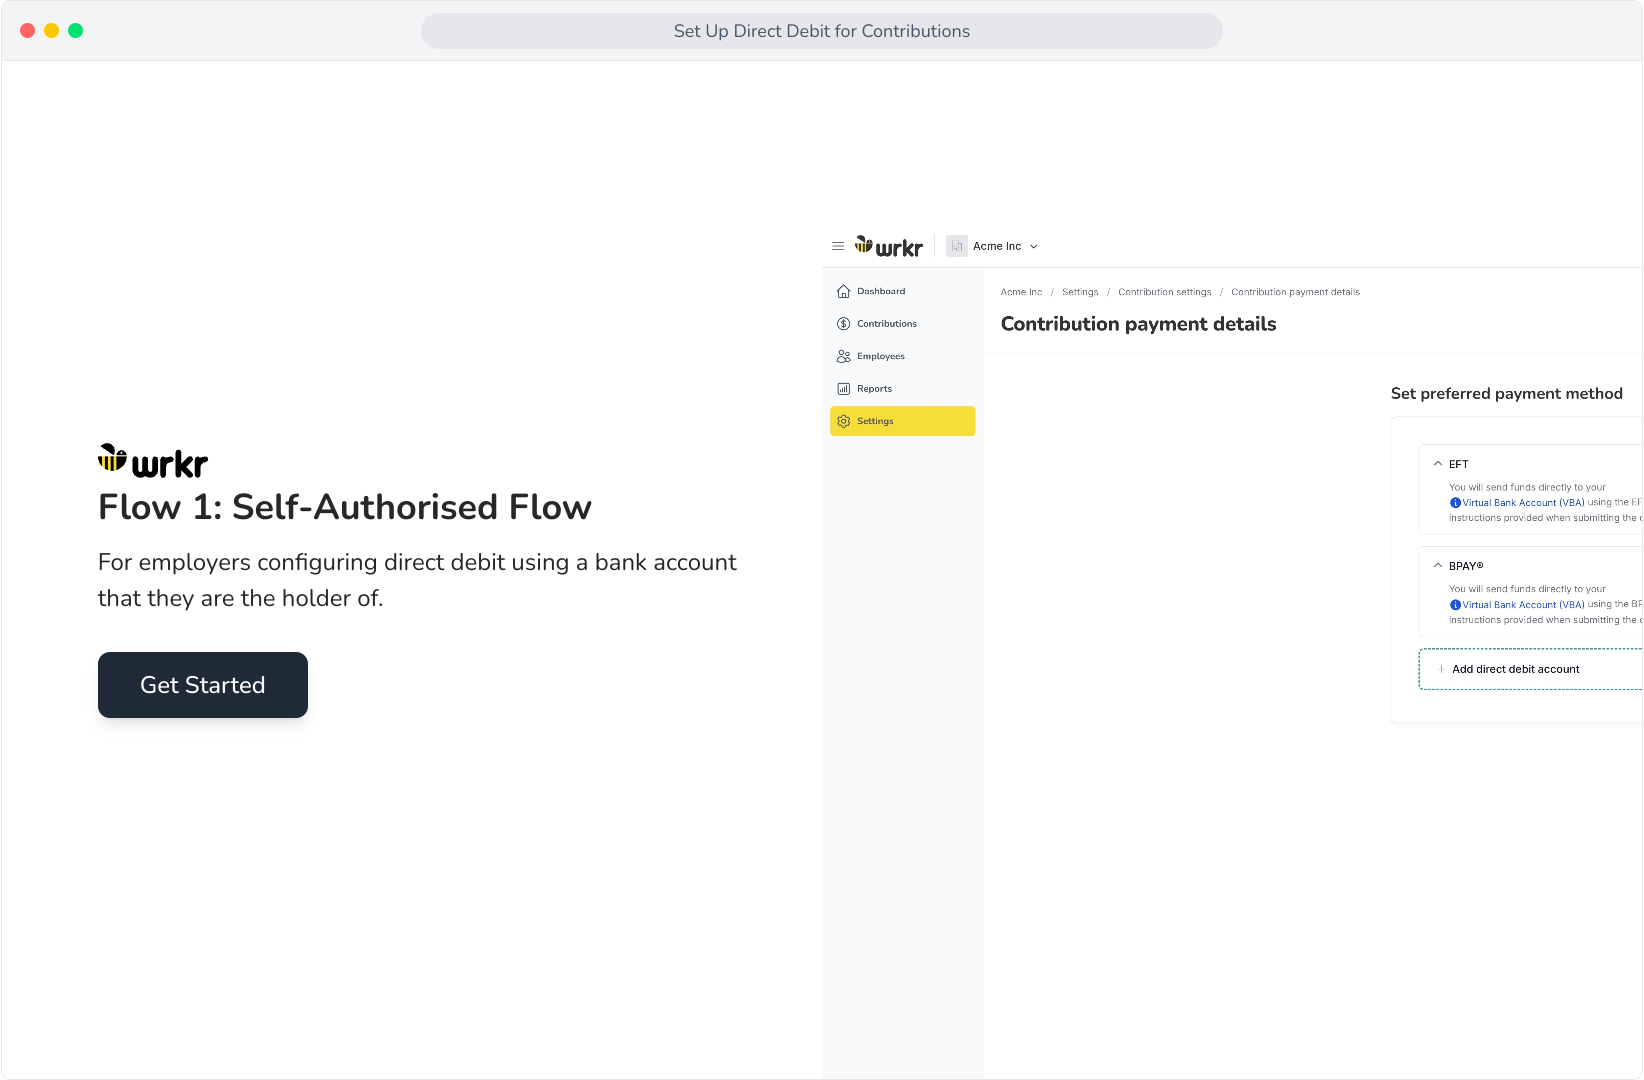
Direct Debit Setup – Self Authorised Flow
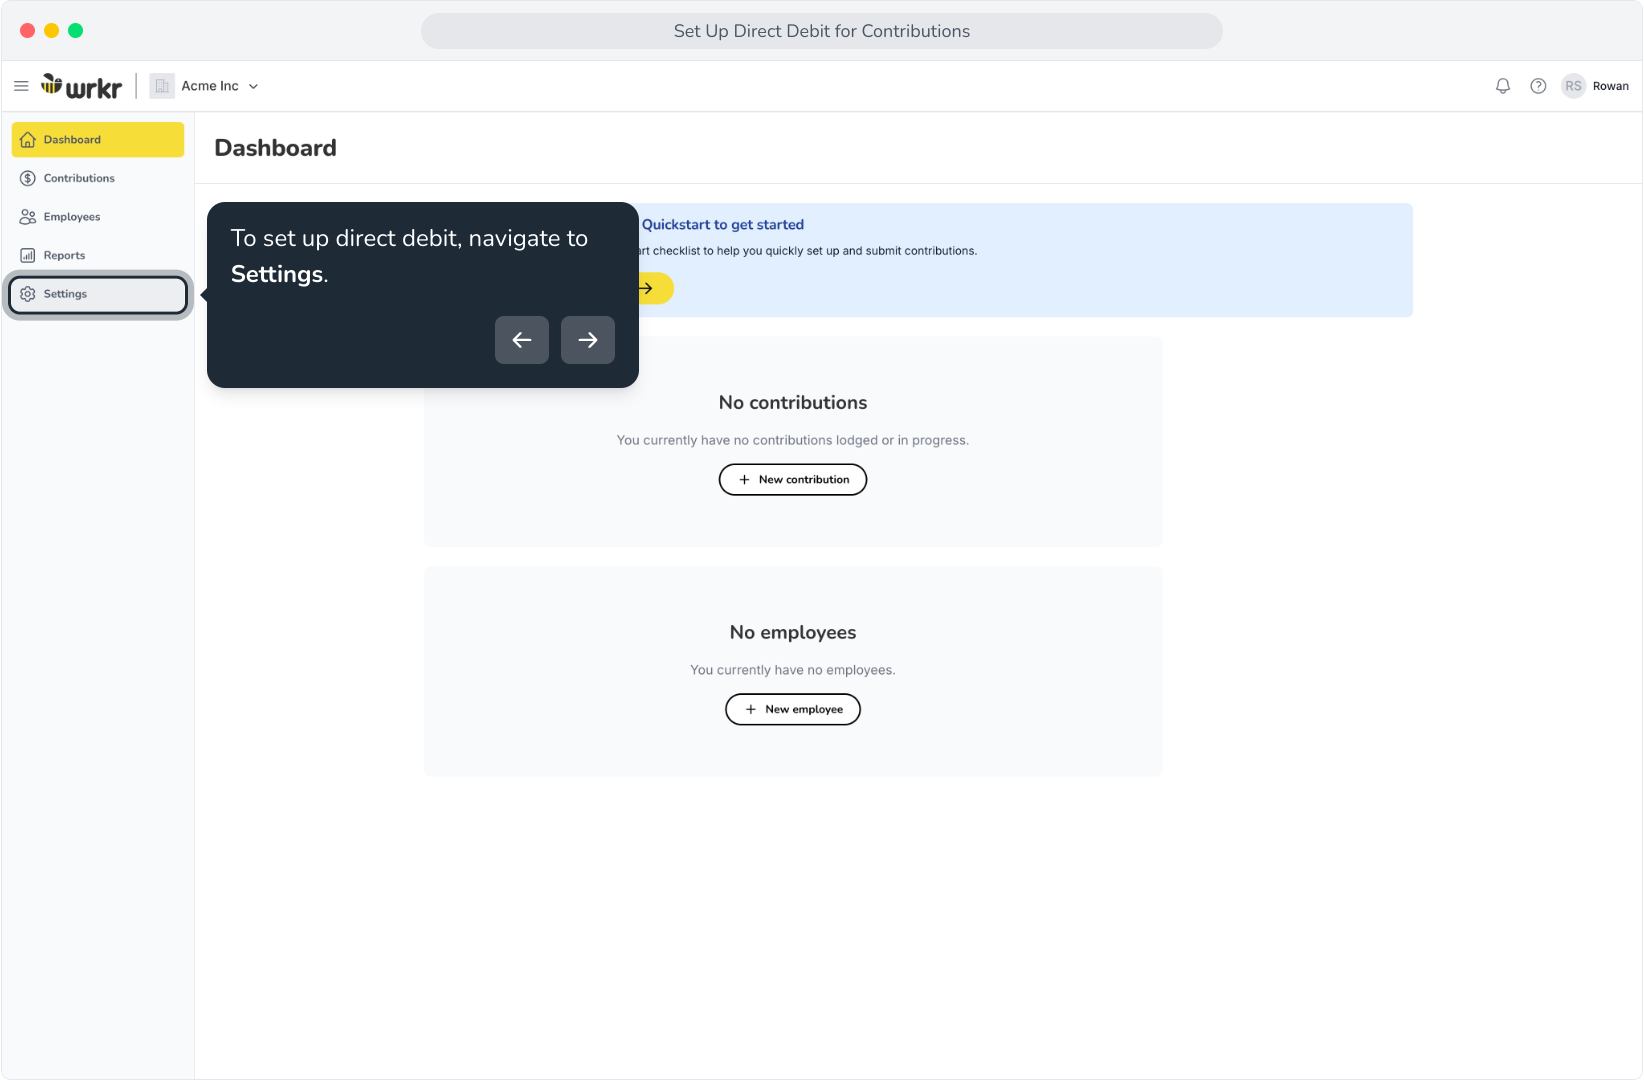
3. To set up direct debit, navigate to Settings.
4. Select Contribution settings.

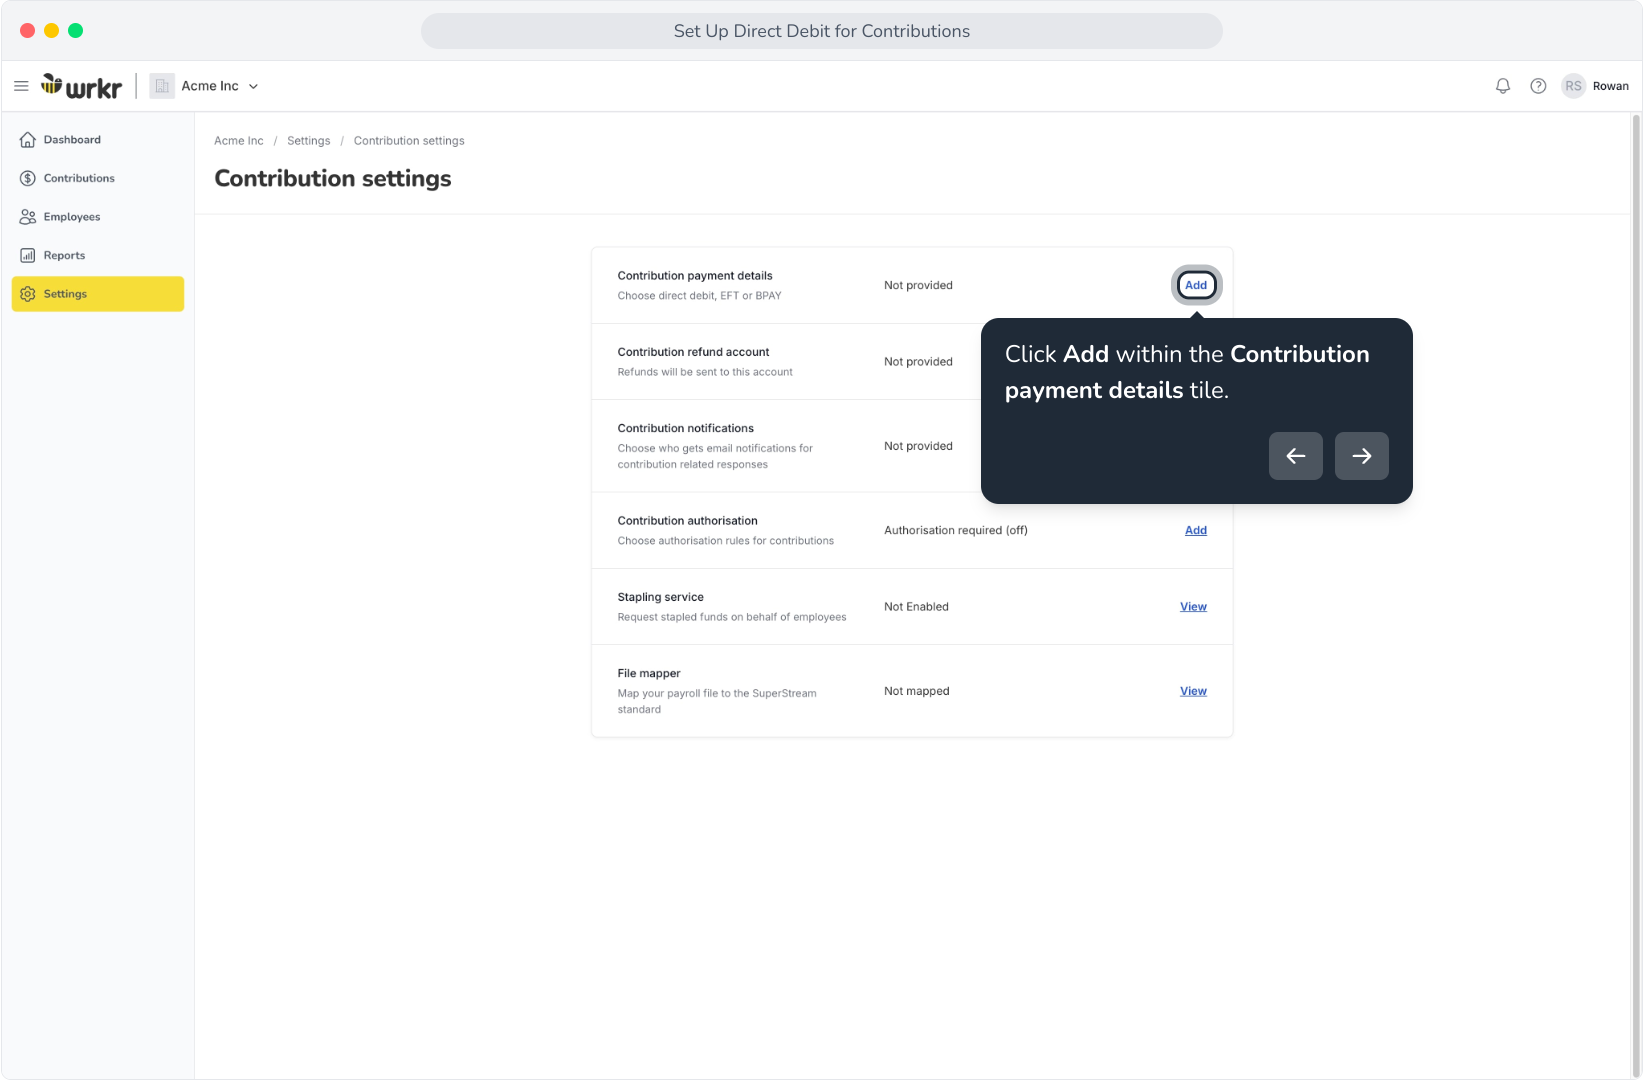
5. Click Add within the Contribution payment details tile.
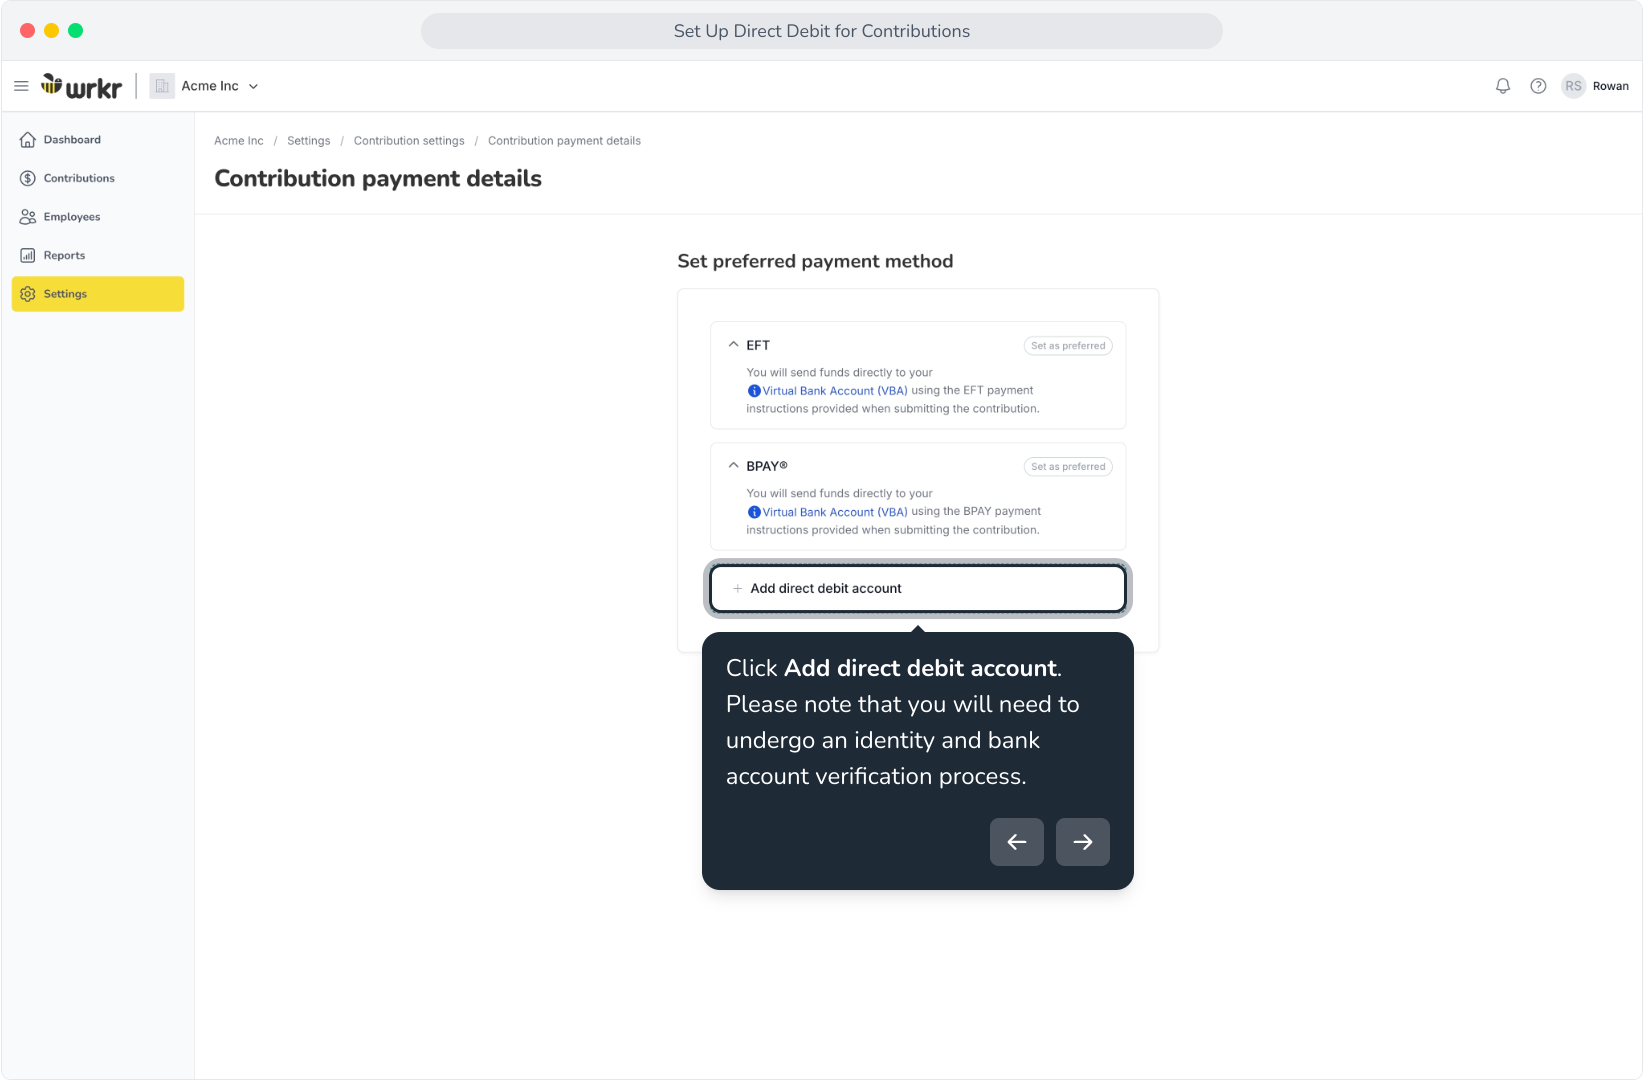
6. Click Add direct debit account. Please note that you will need to undergo an identity and bank account verification process.

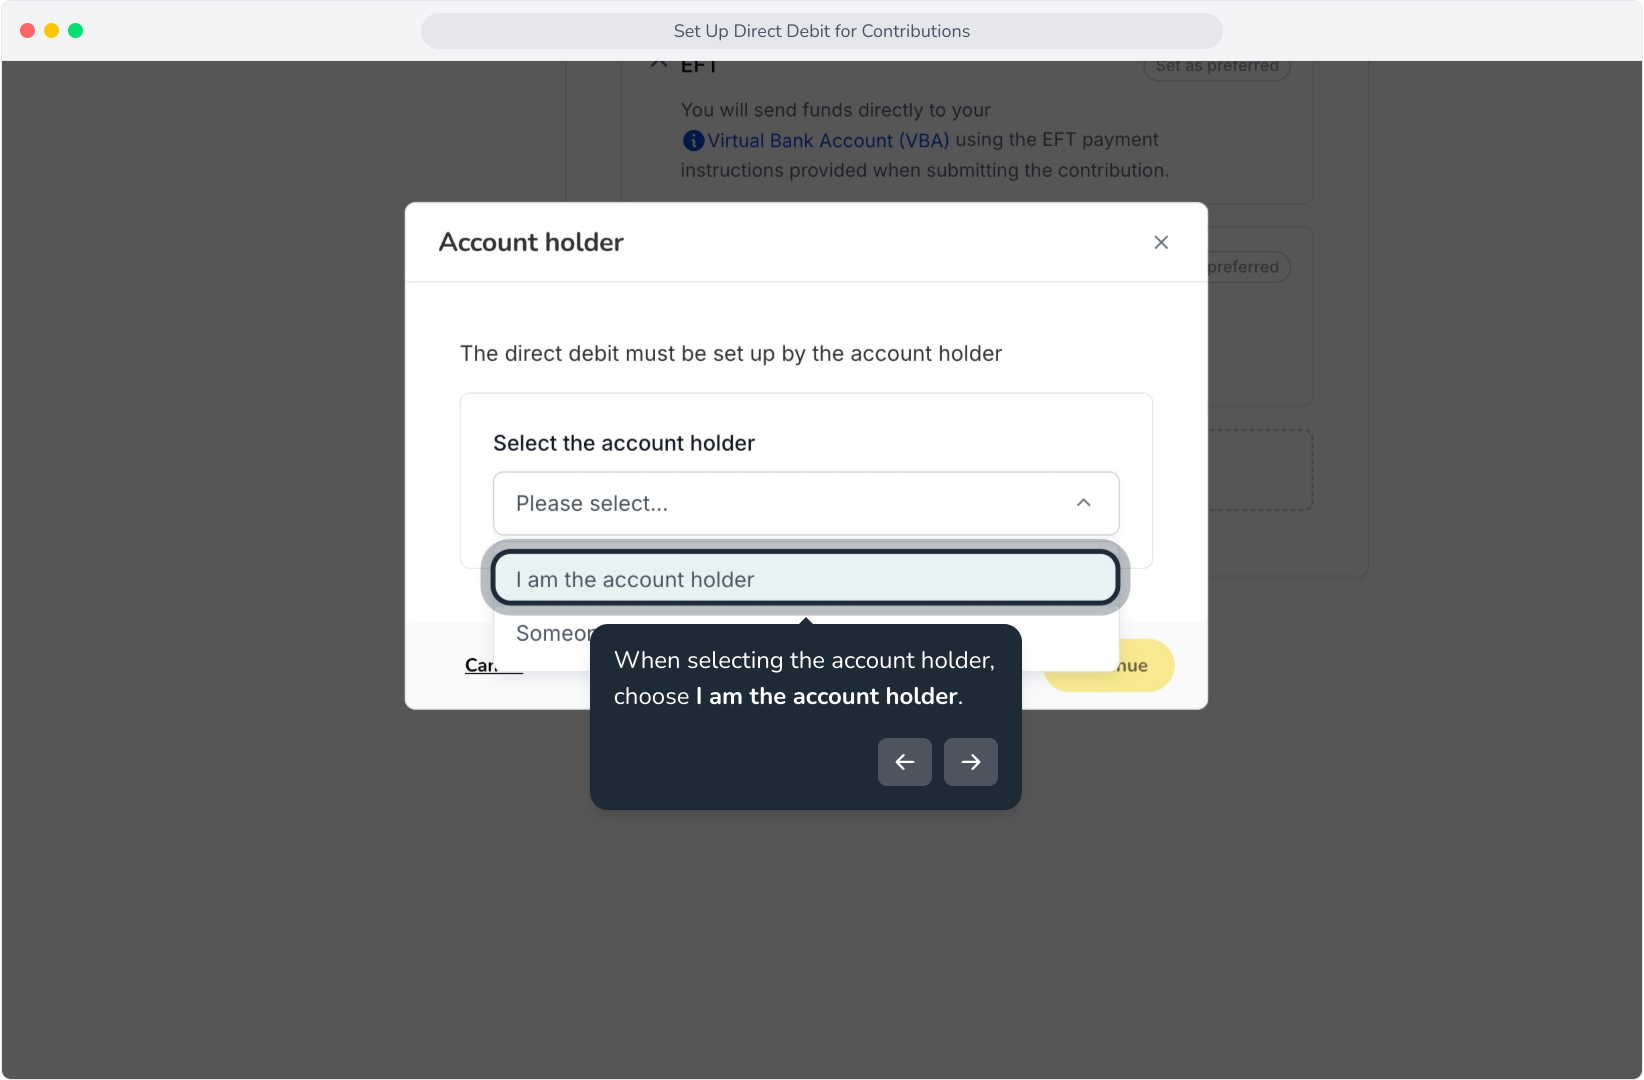
7. When selecting the account holder, choose I am the account holder.
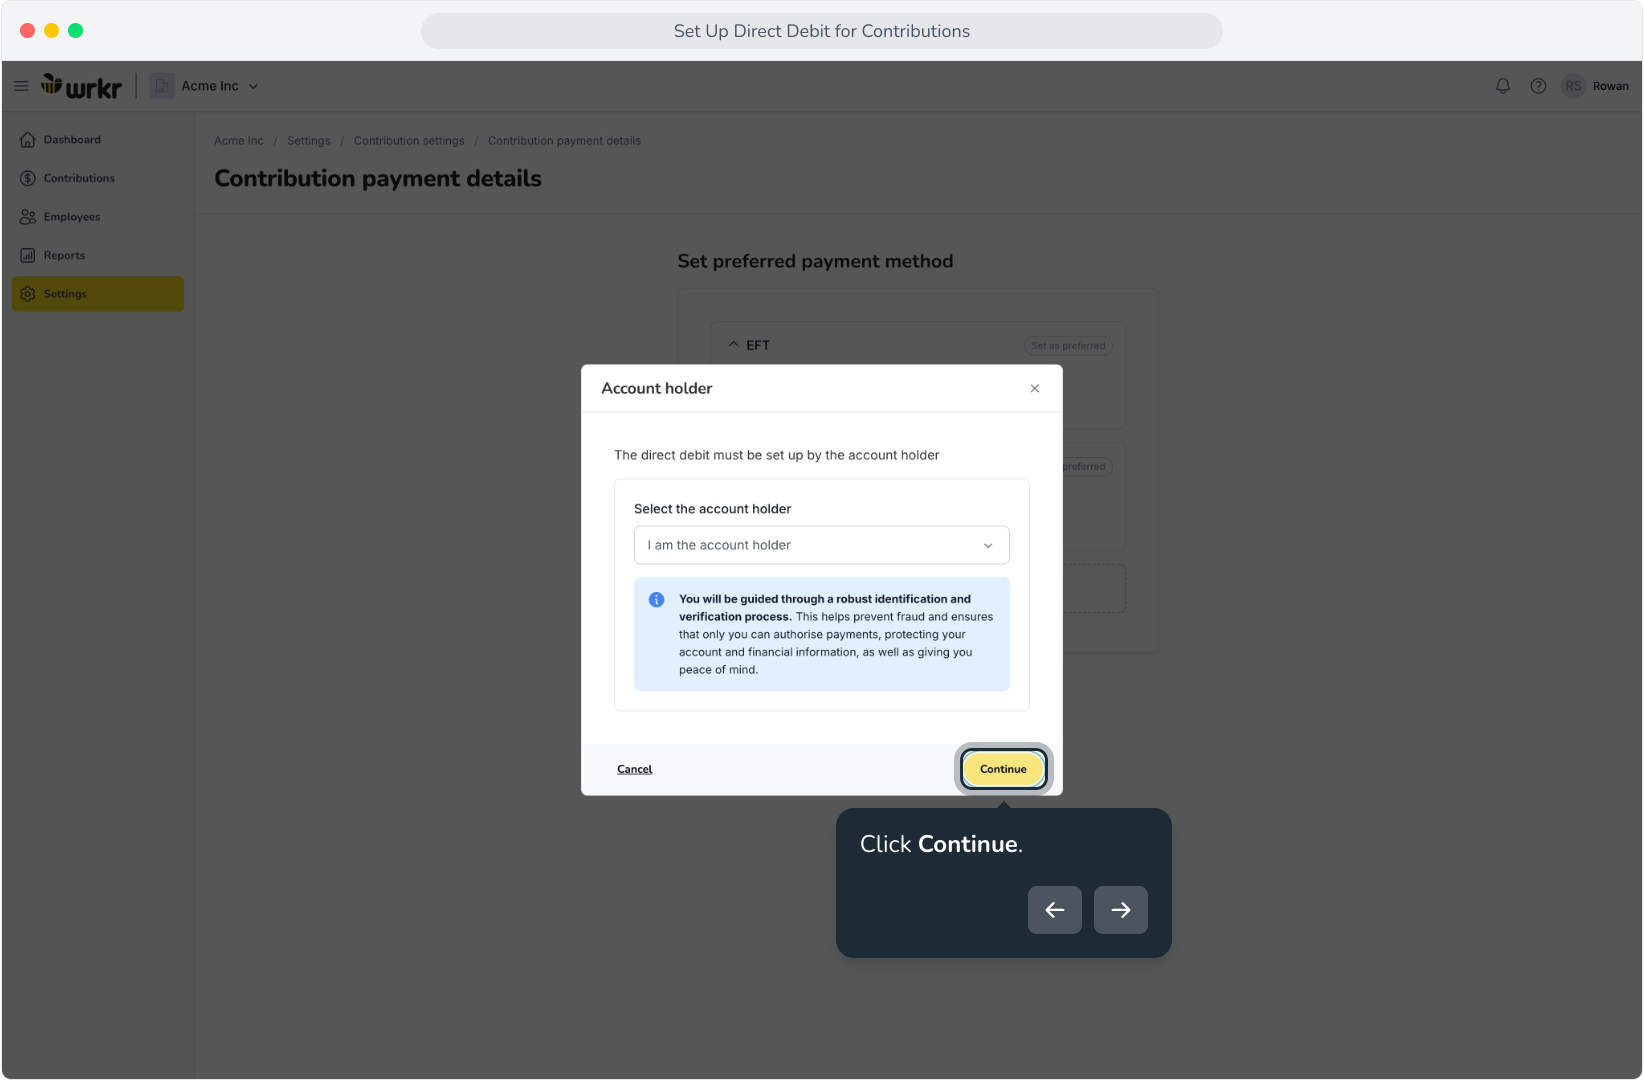
8. Click Continue.
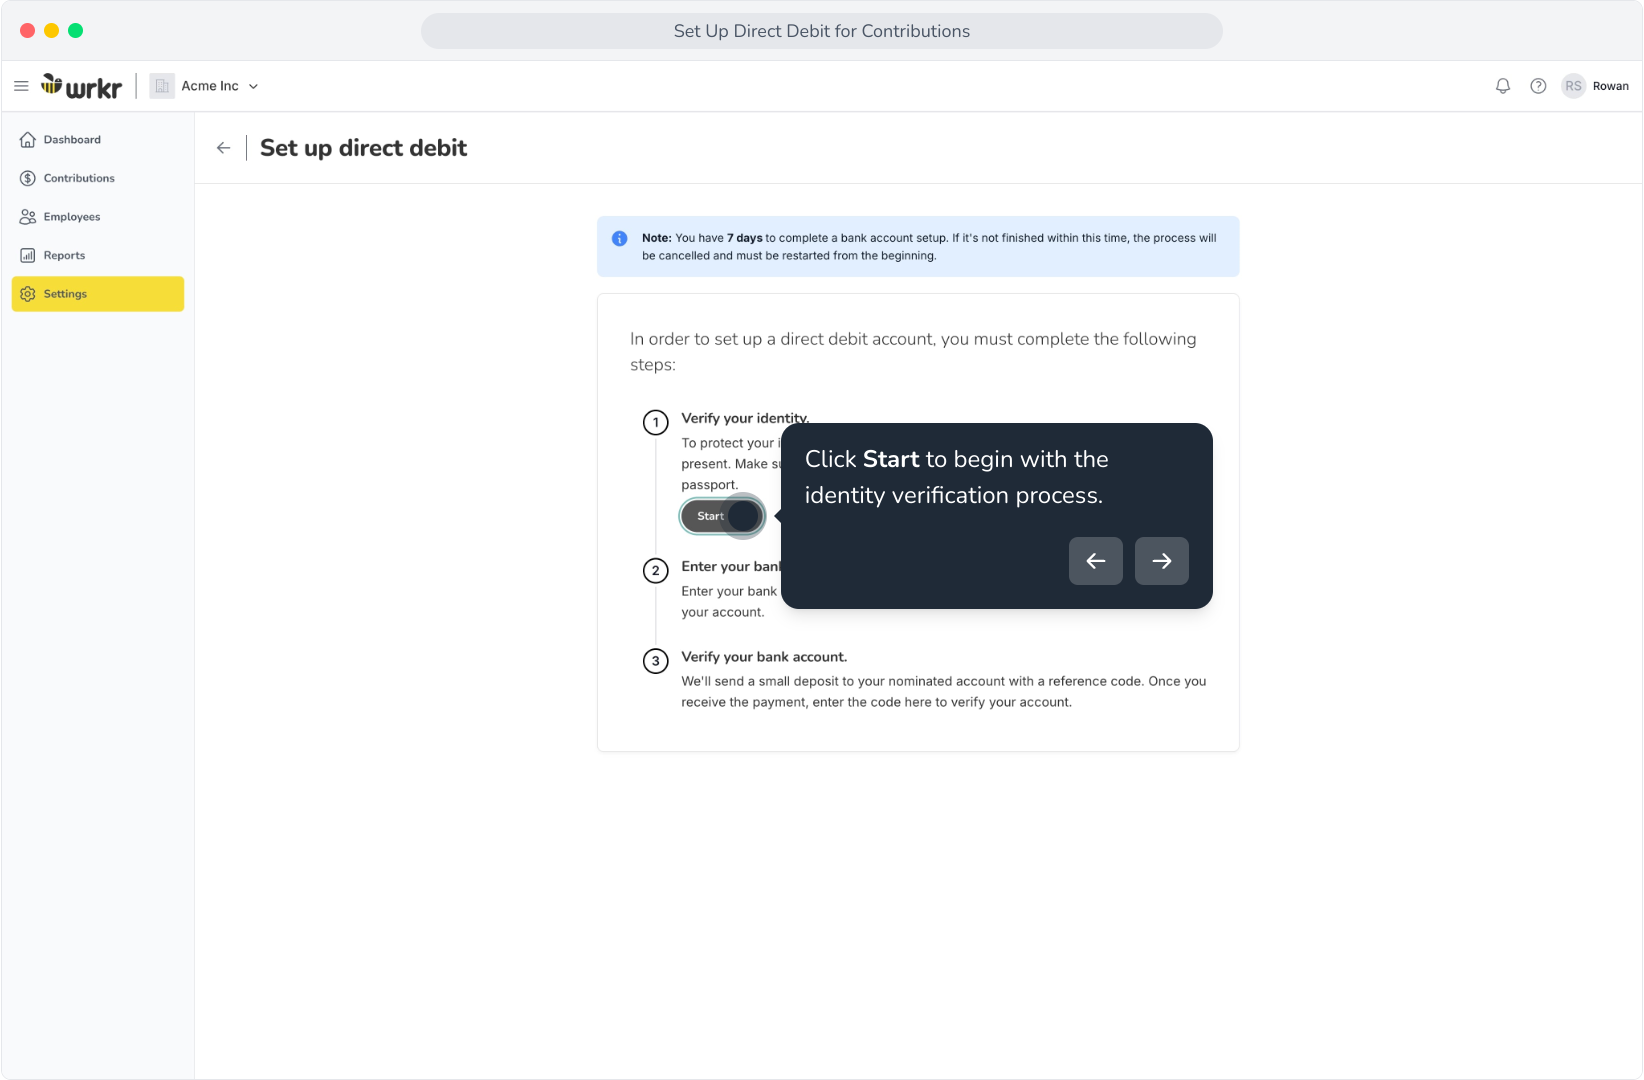
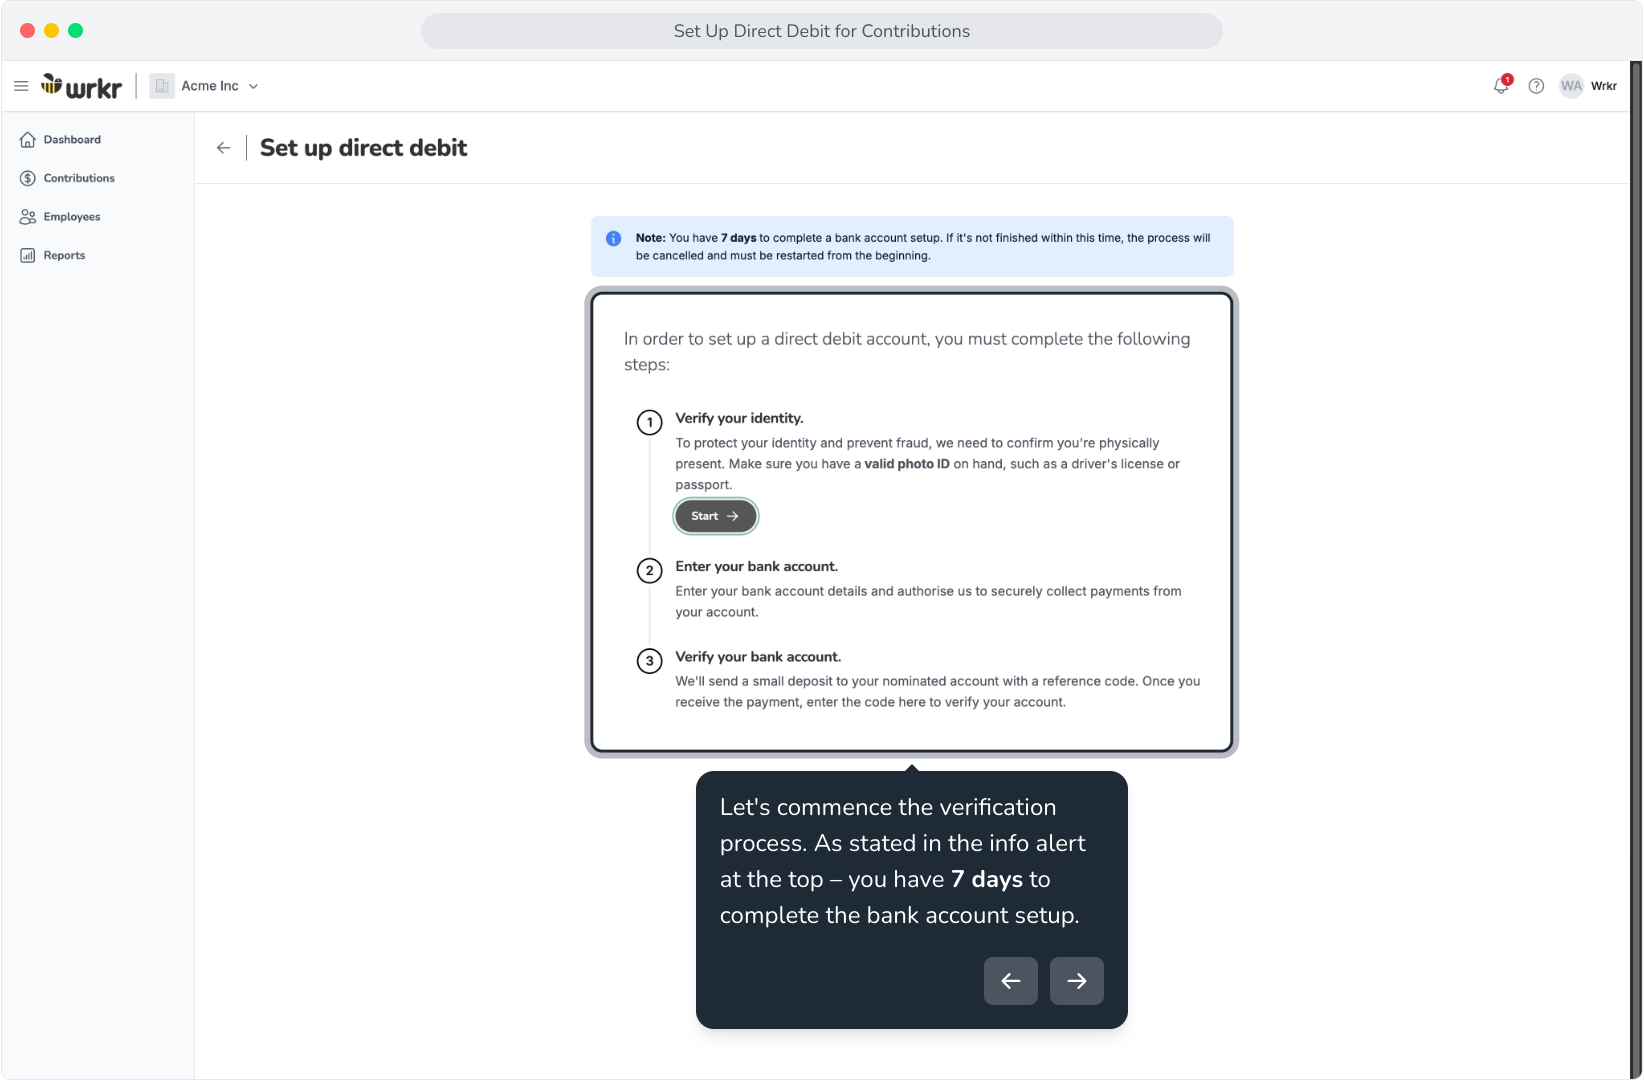
9. Let's commence the verification process. As stated in the info alert at the top – you have 7 days to complete the bank account setup.

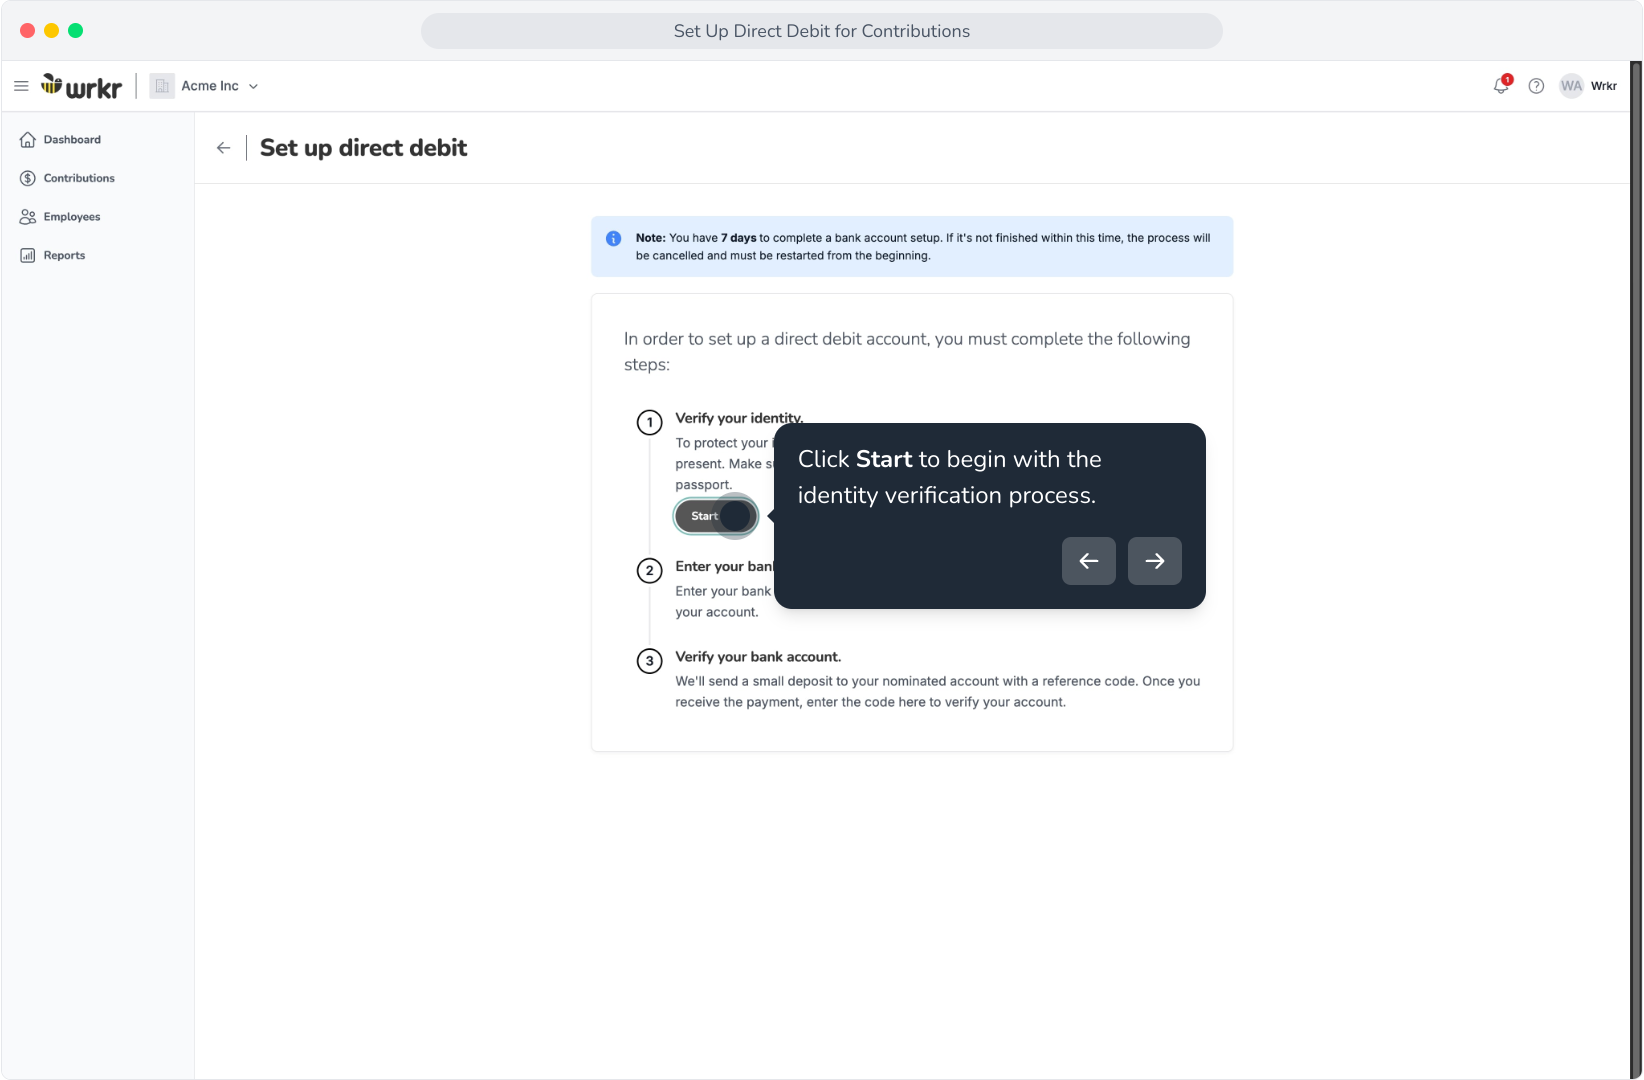
10. Click Start to begin with the identity verification process.
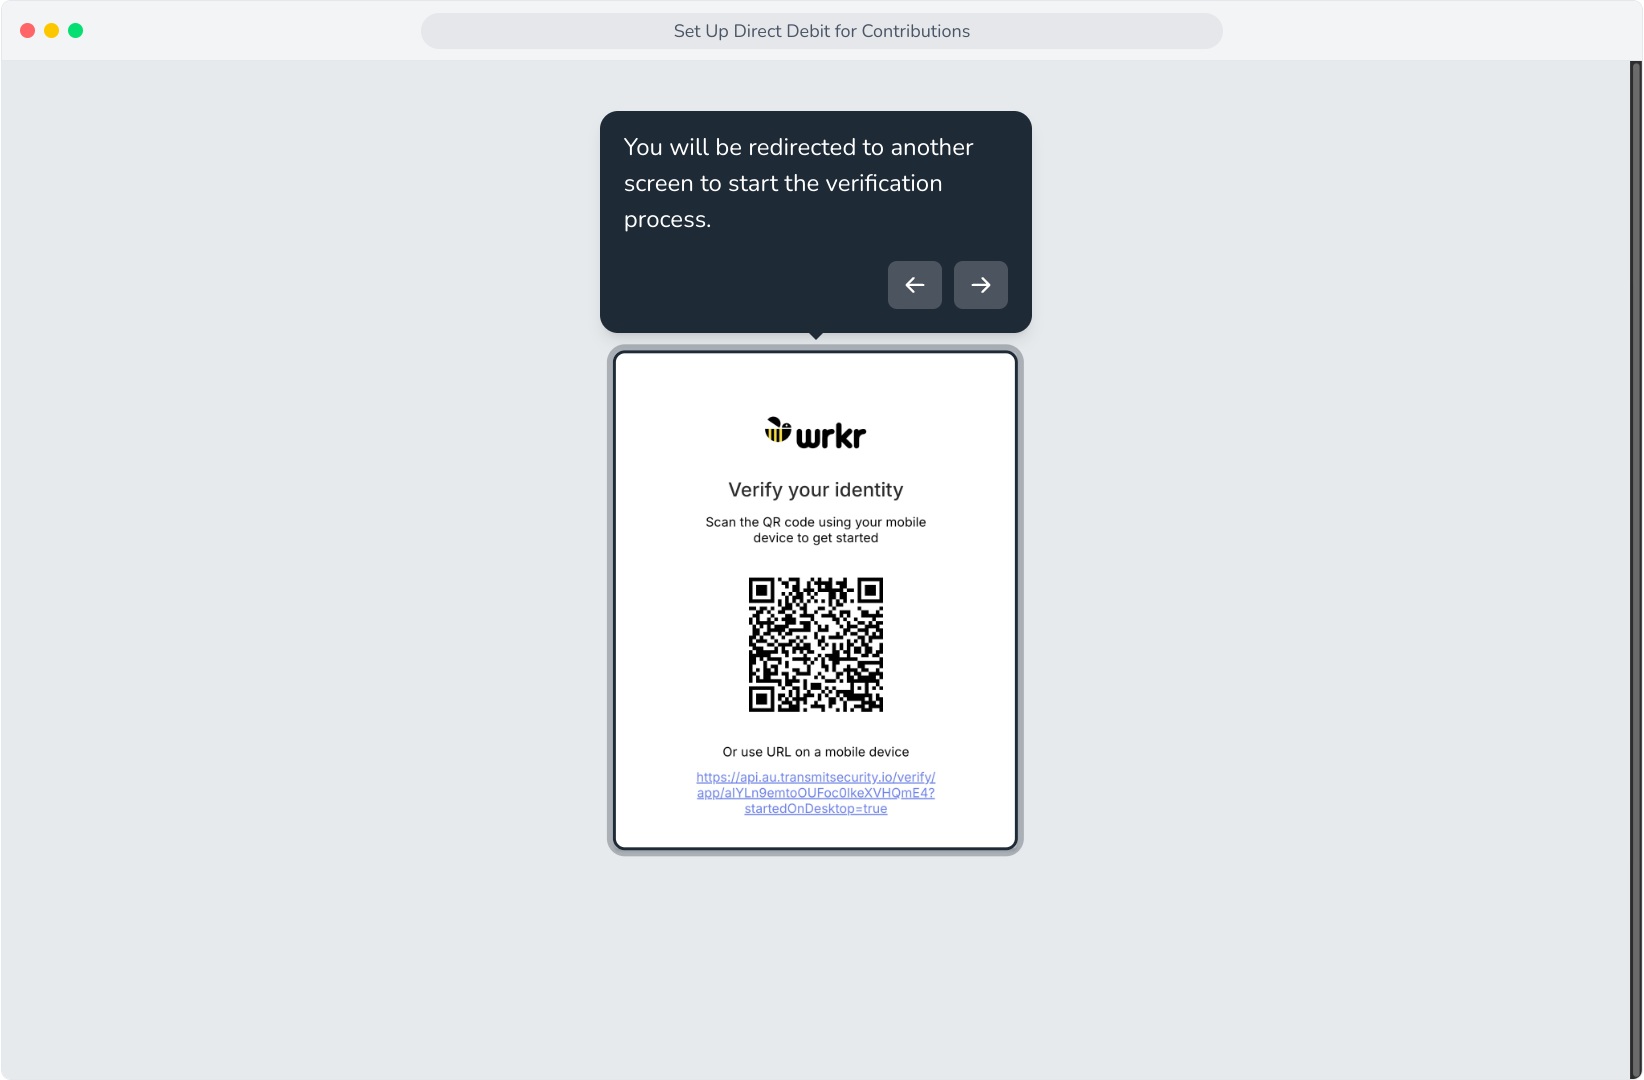
11. You will be redirected to another screen to start the verification process.
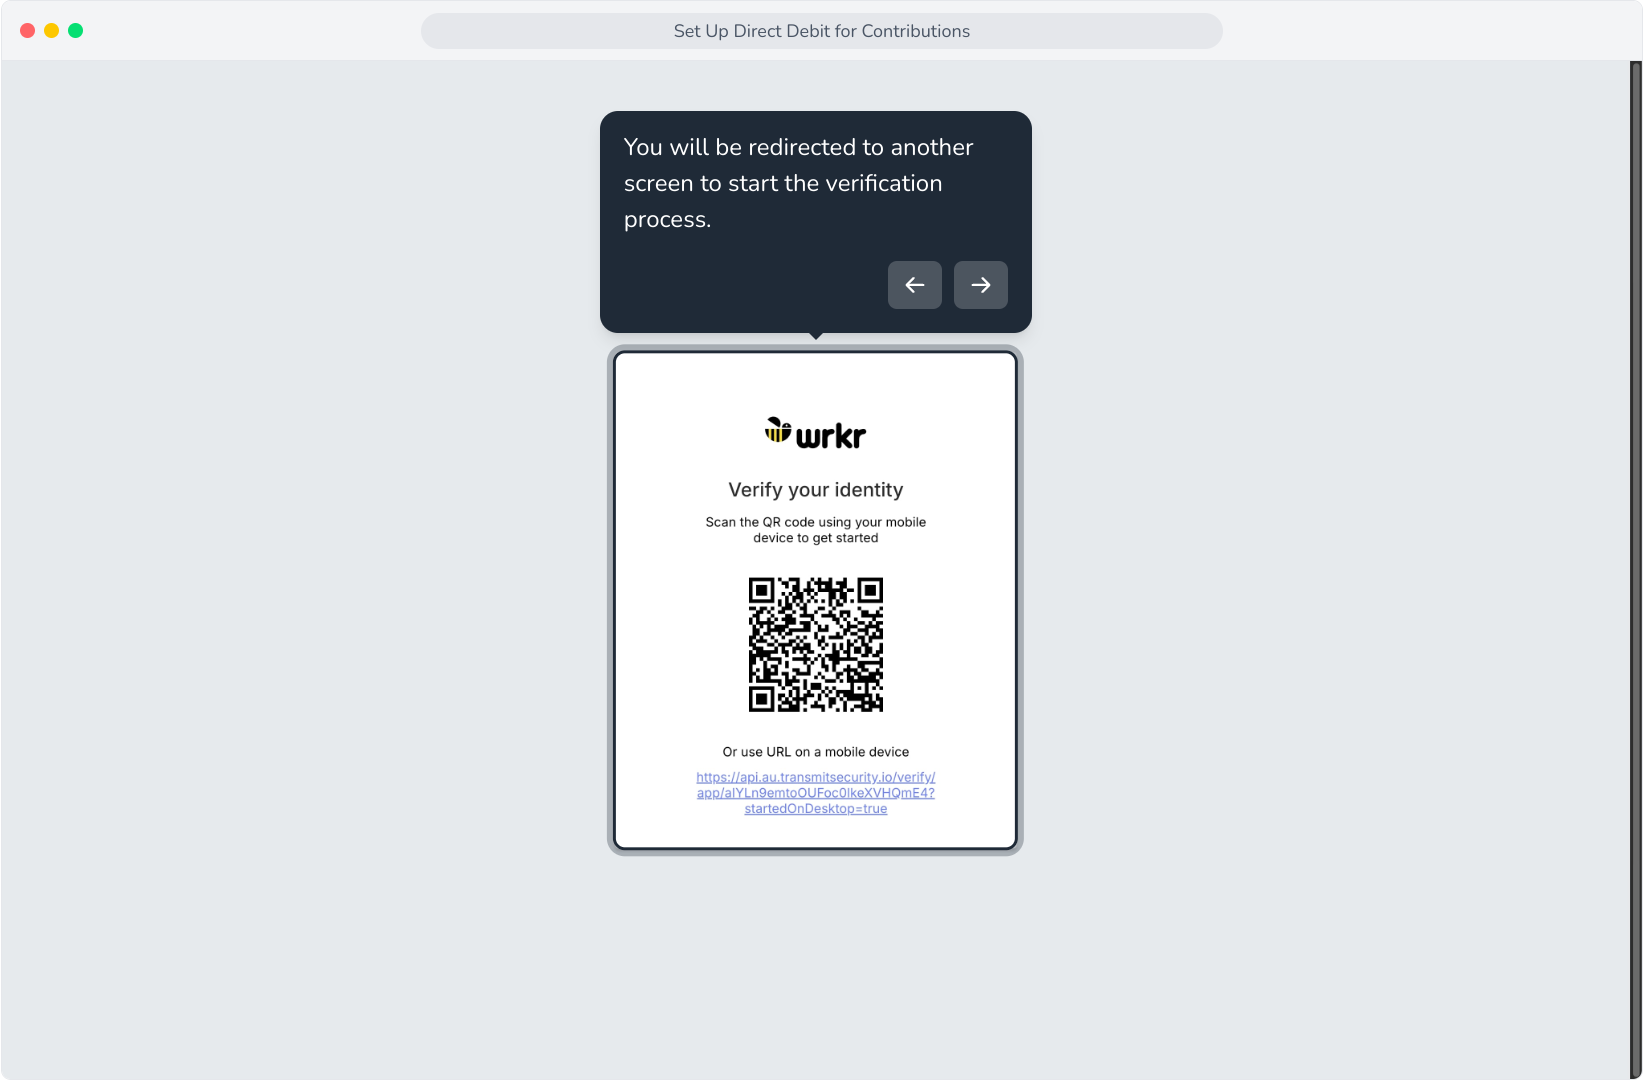
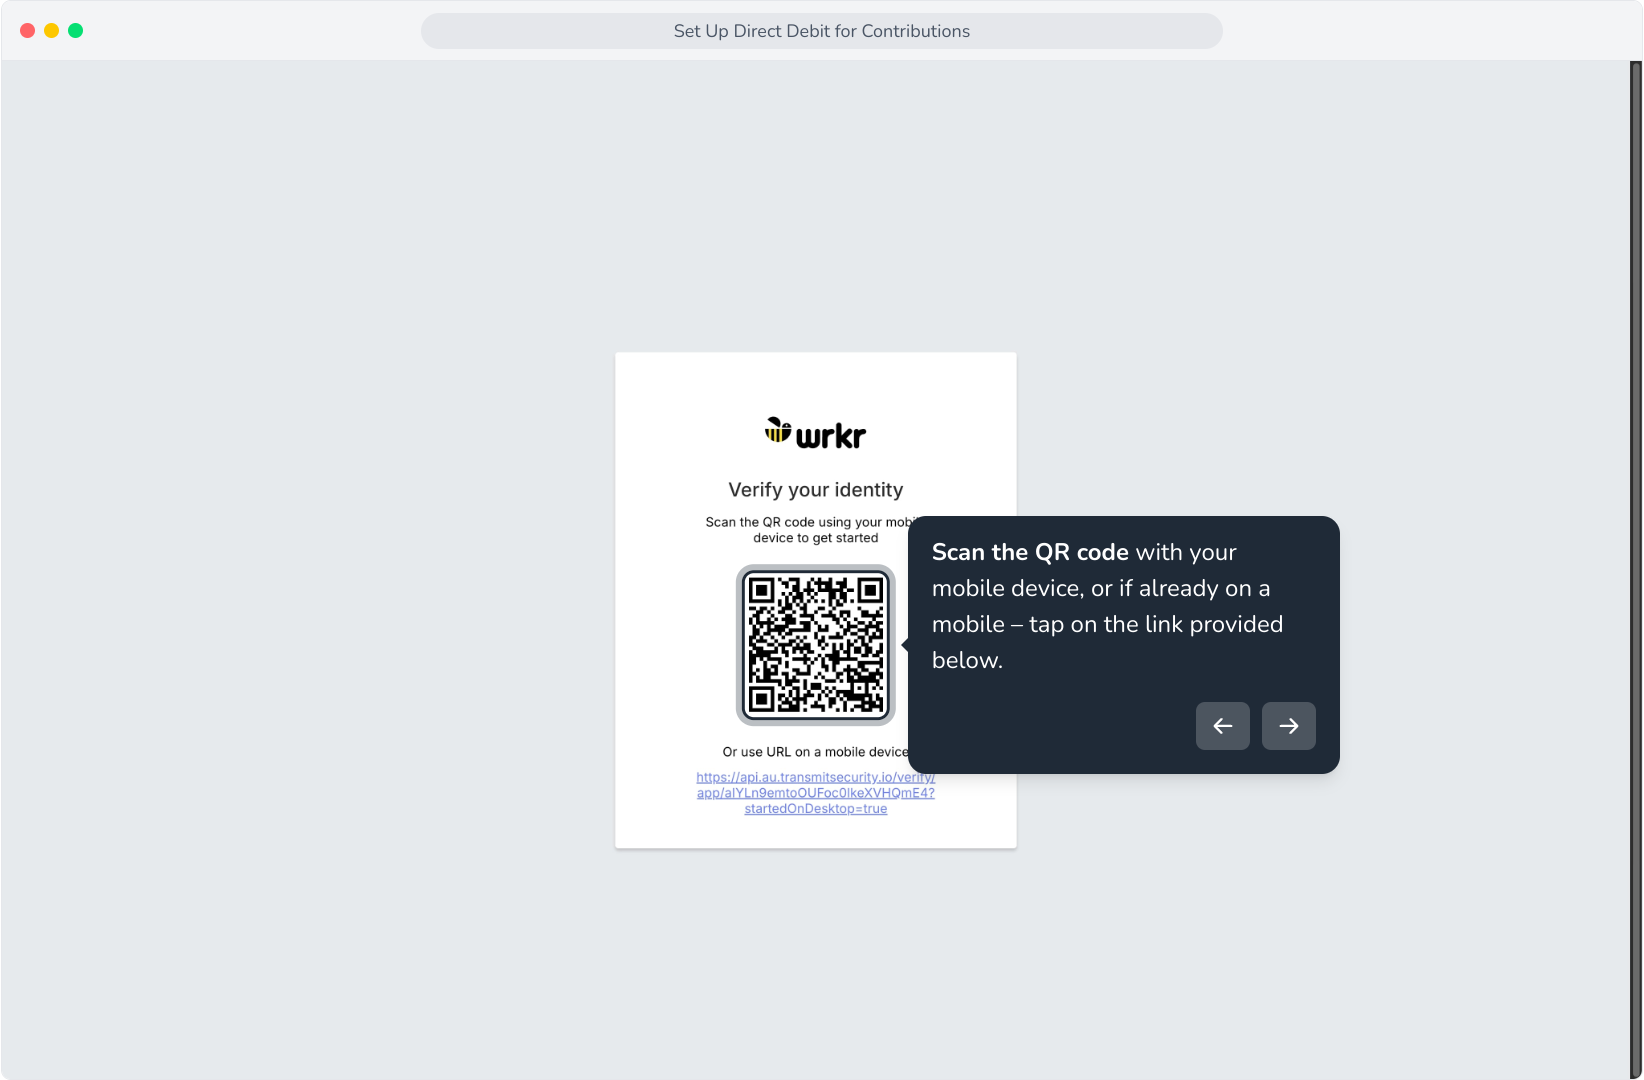
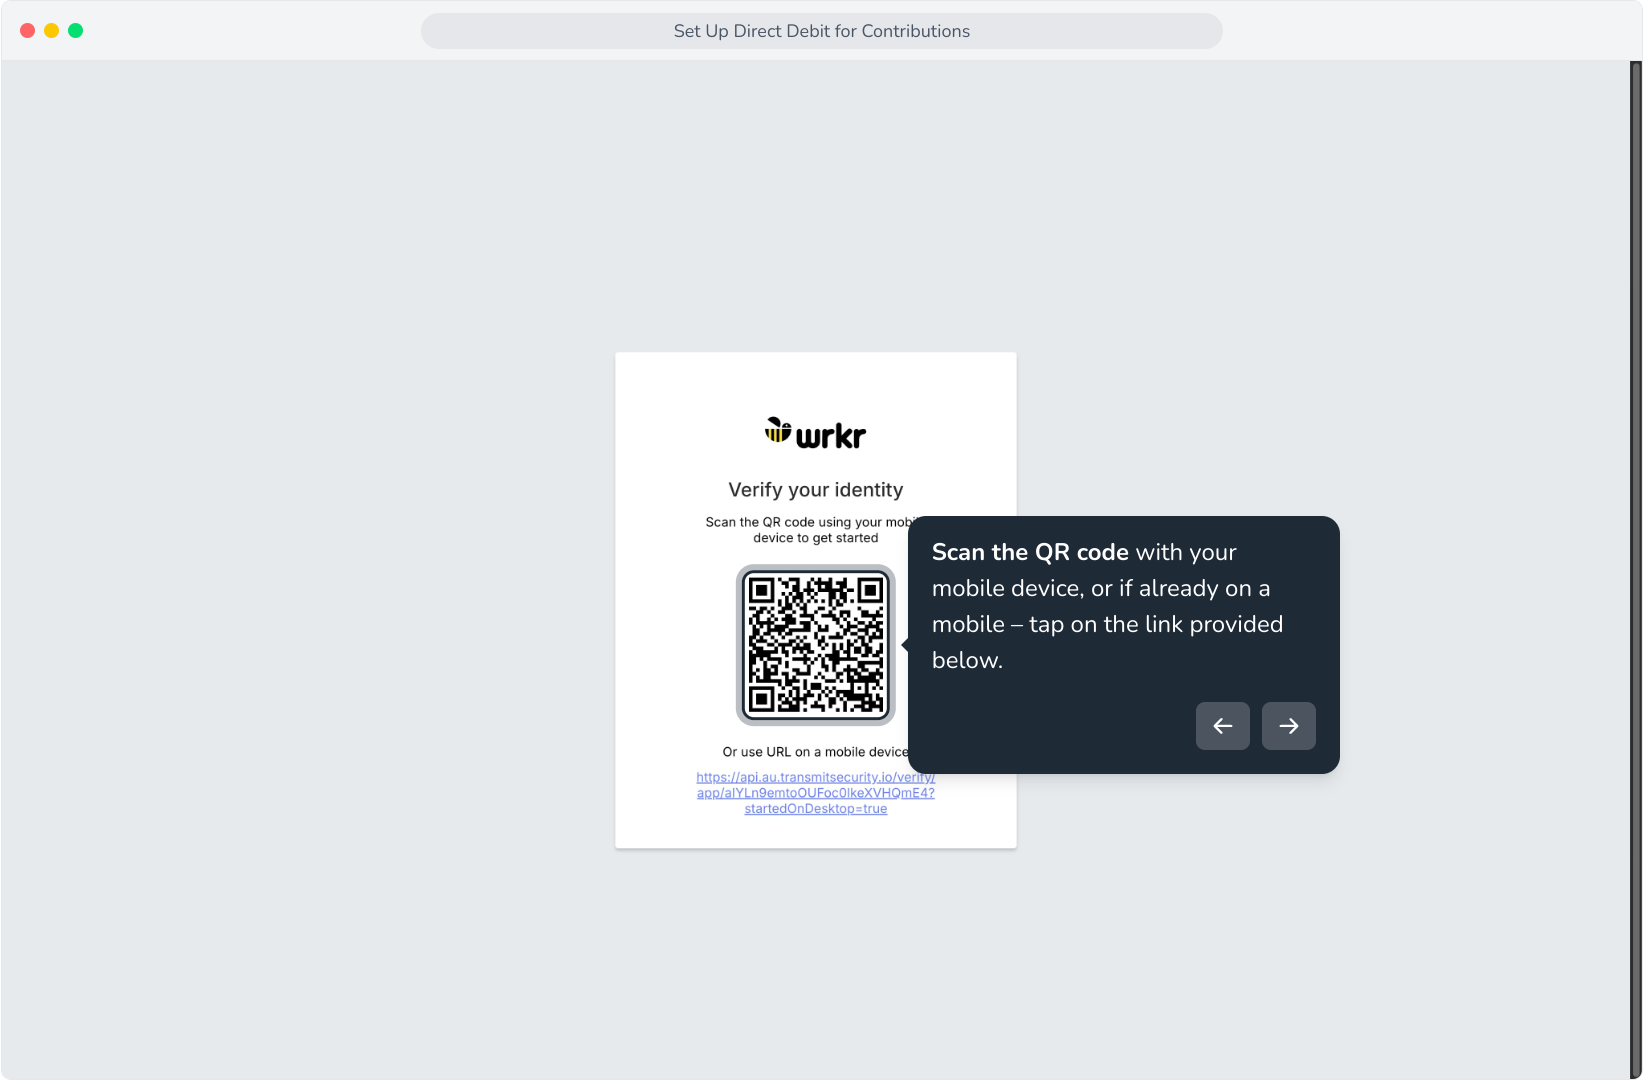
12. Scan the QR code with your mobile device, or if already on a mobile – tap on the link provided below.
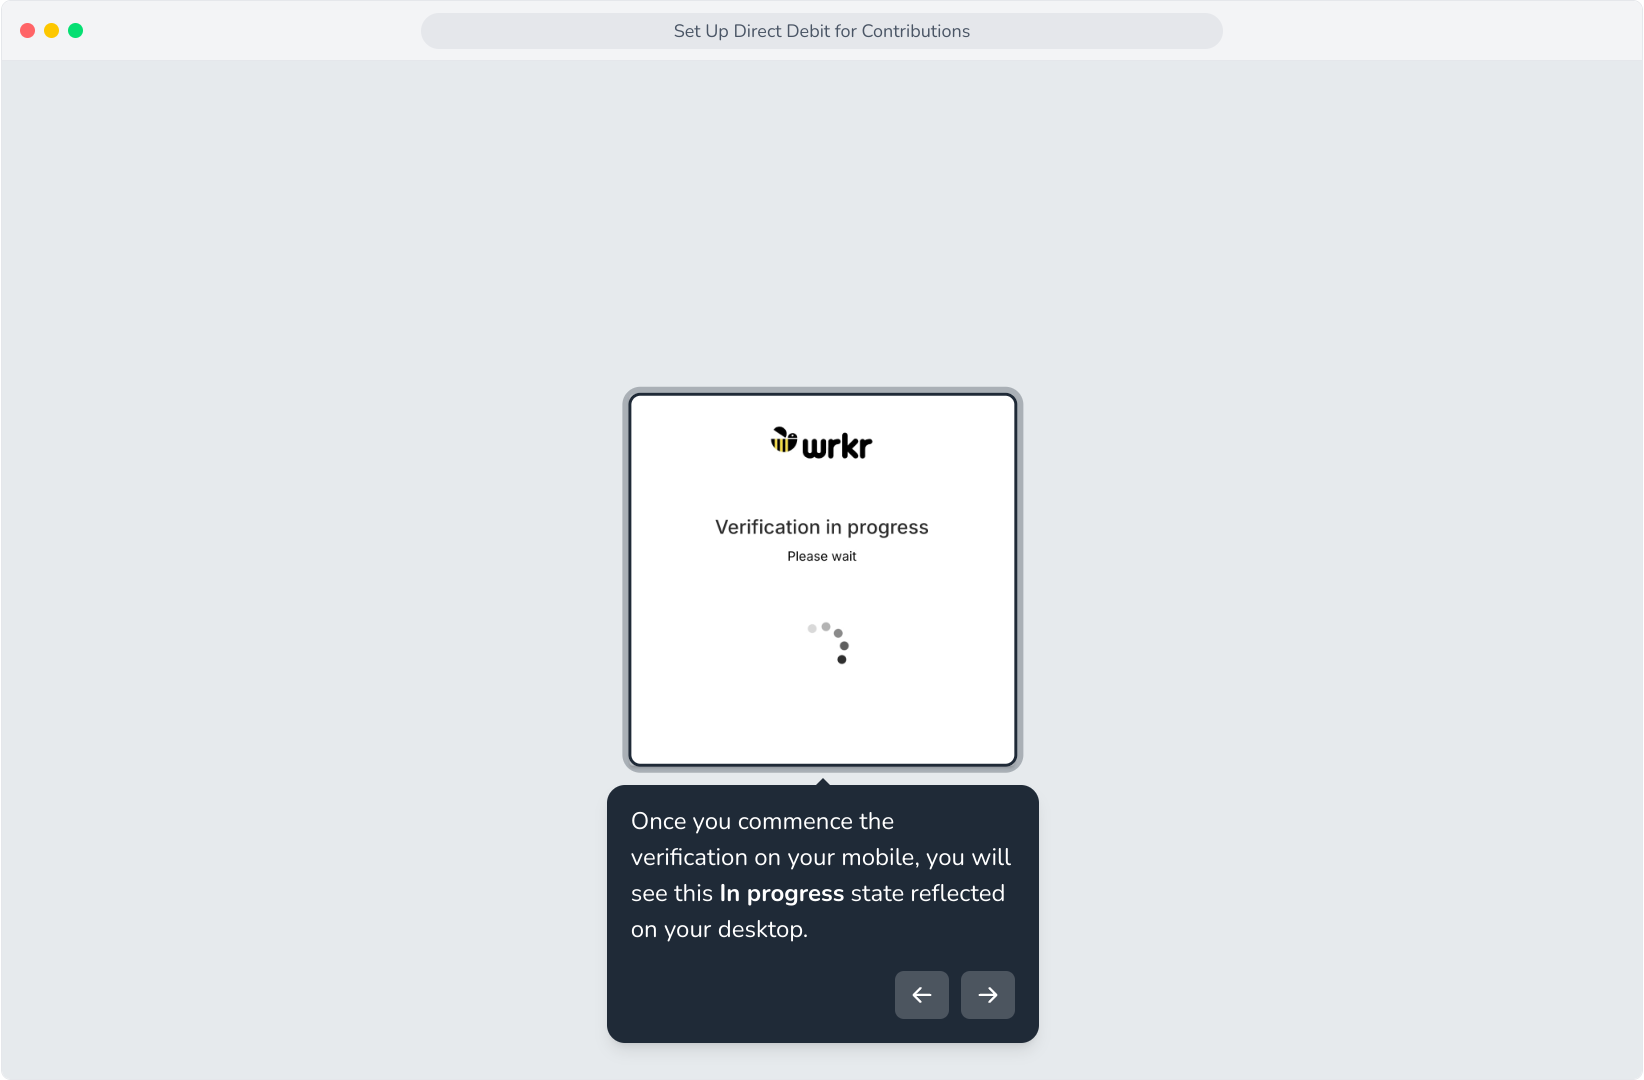
13. Once you commence the verification on your mobile, you will see this In progress state reflected on your desktop.
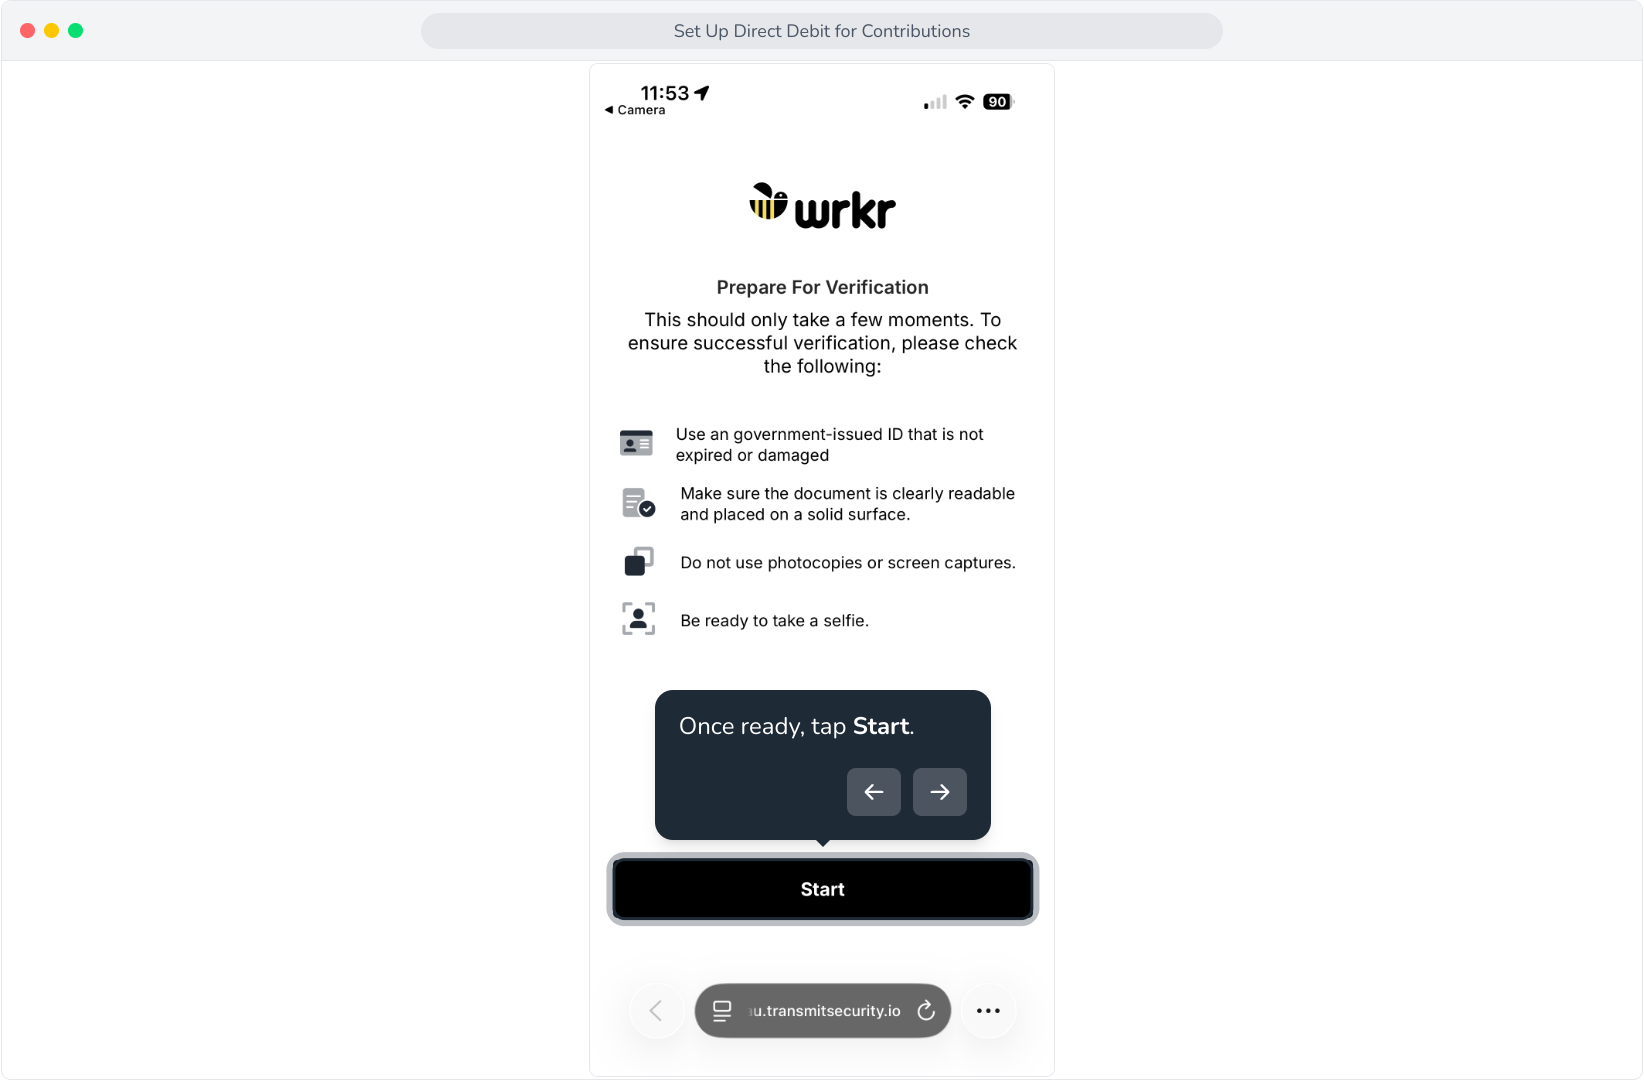
14. After scanning the QR code, you will be taken to this screen. Please prepare a valid, official identity document. For example, your Australian driver's license.
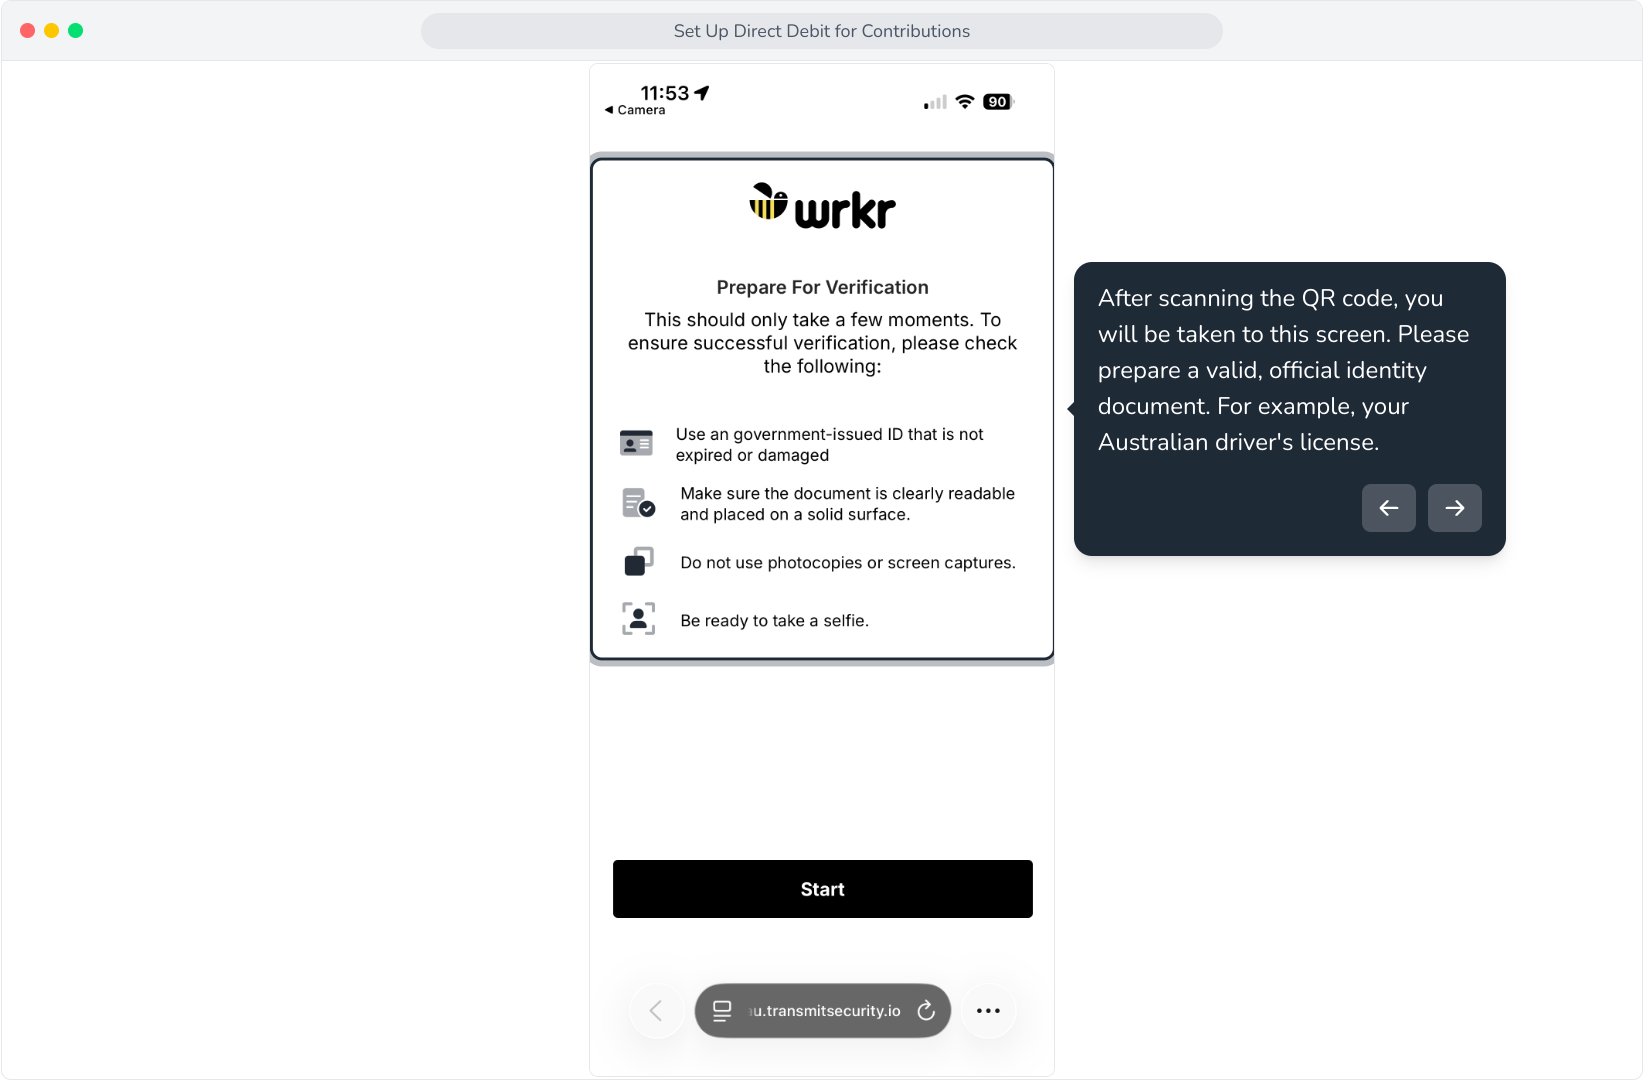
15. Once ready, tap Start.

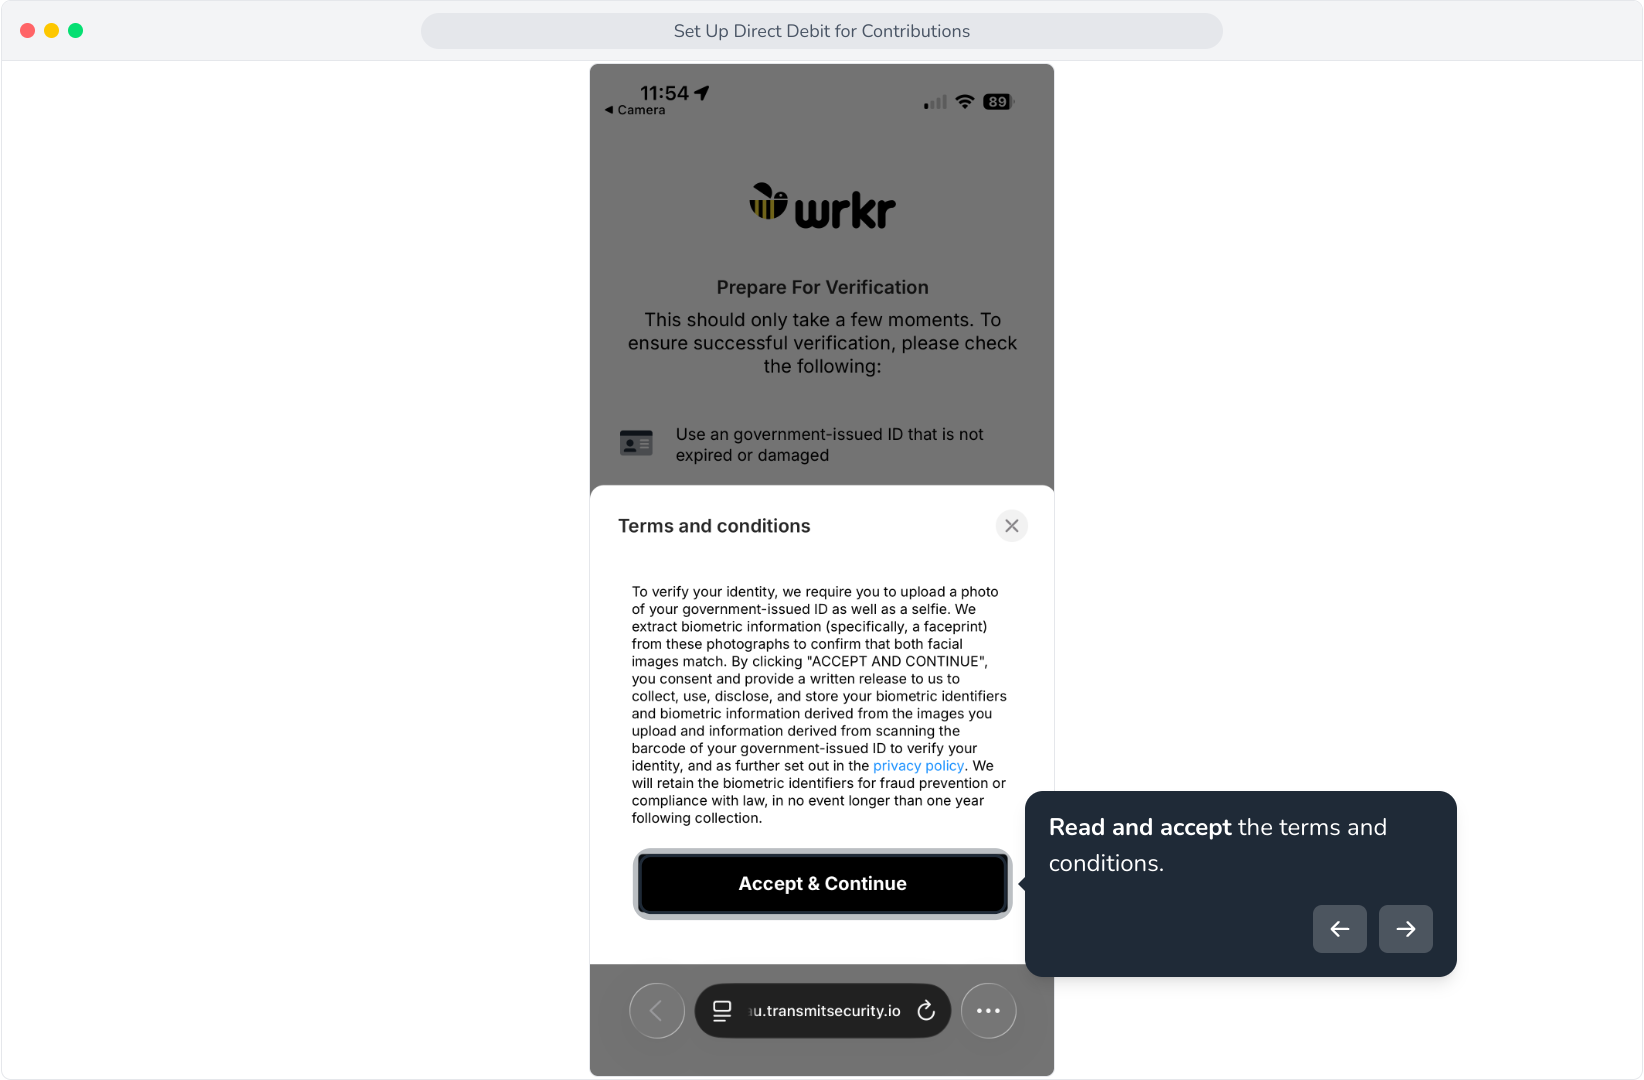
16. Read and accept the terms and conditions.
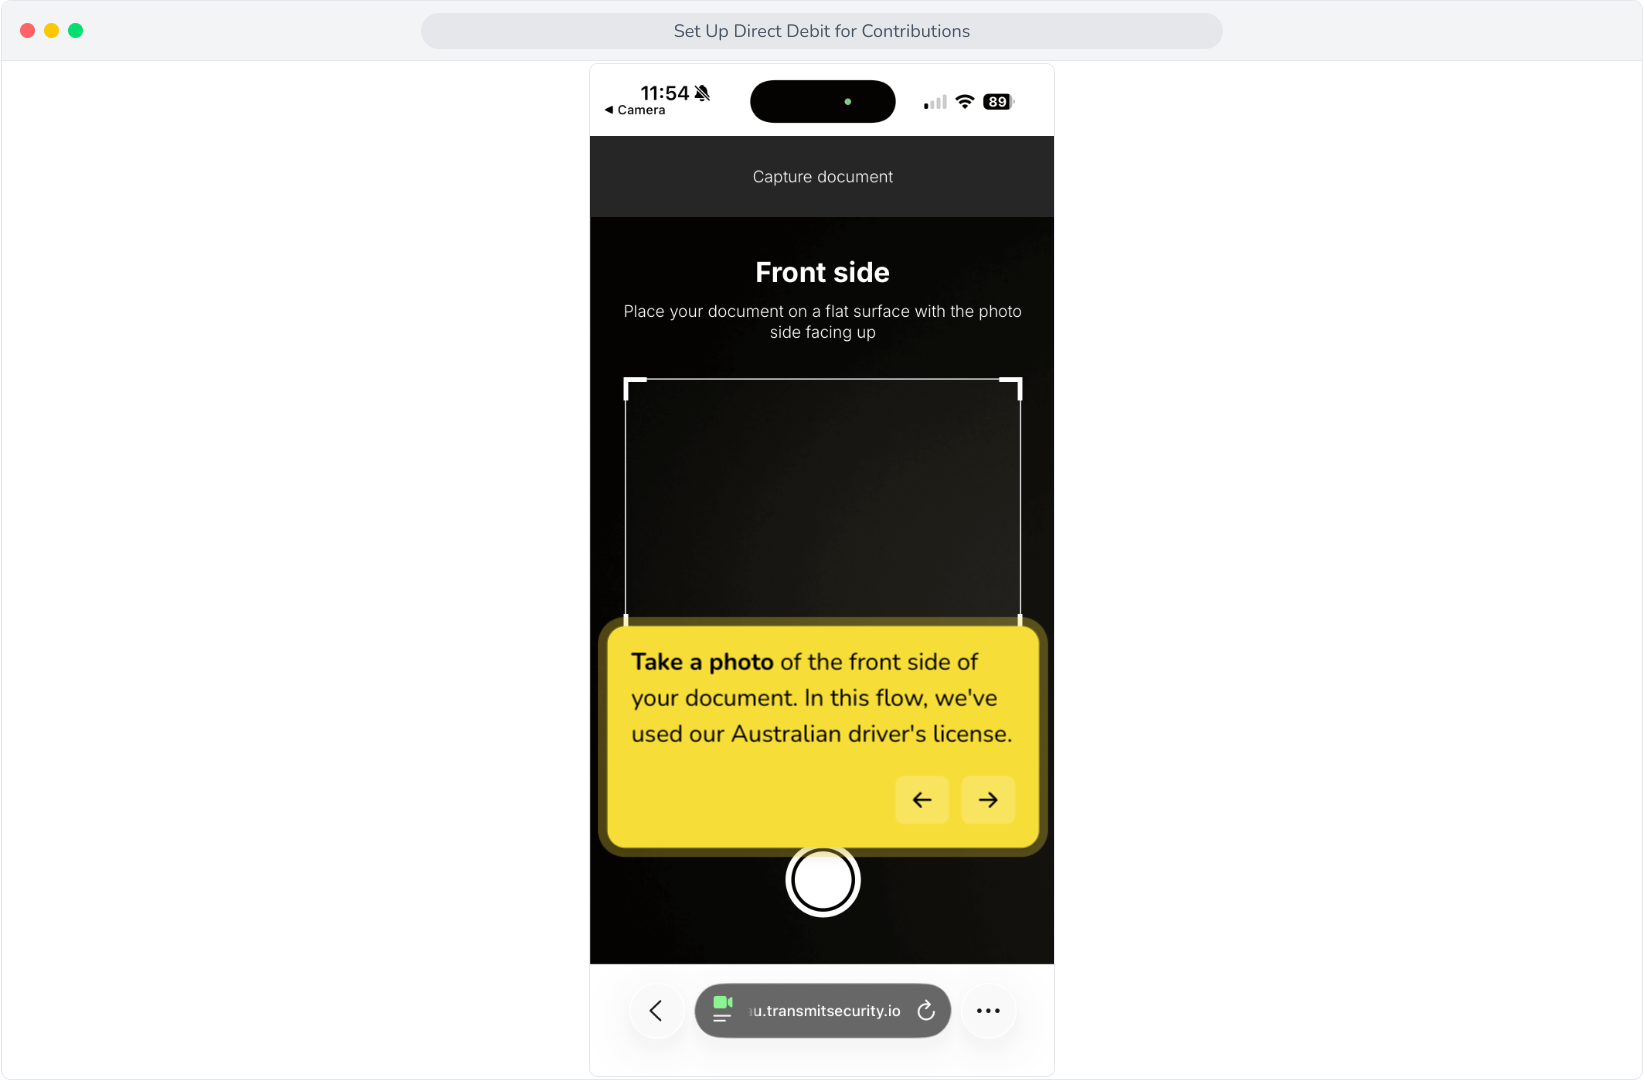
17. Take a photo of the front side of your document. In this flow, we've used our Australian driver's license.
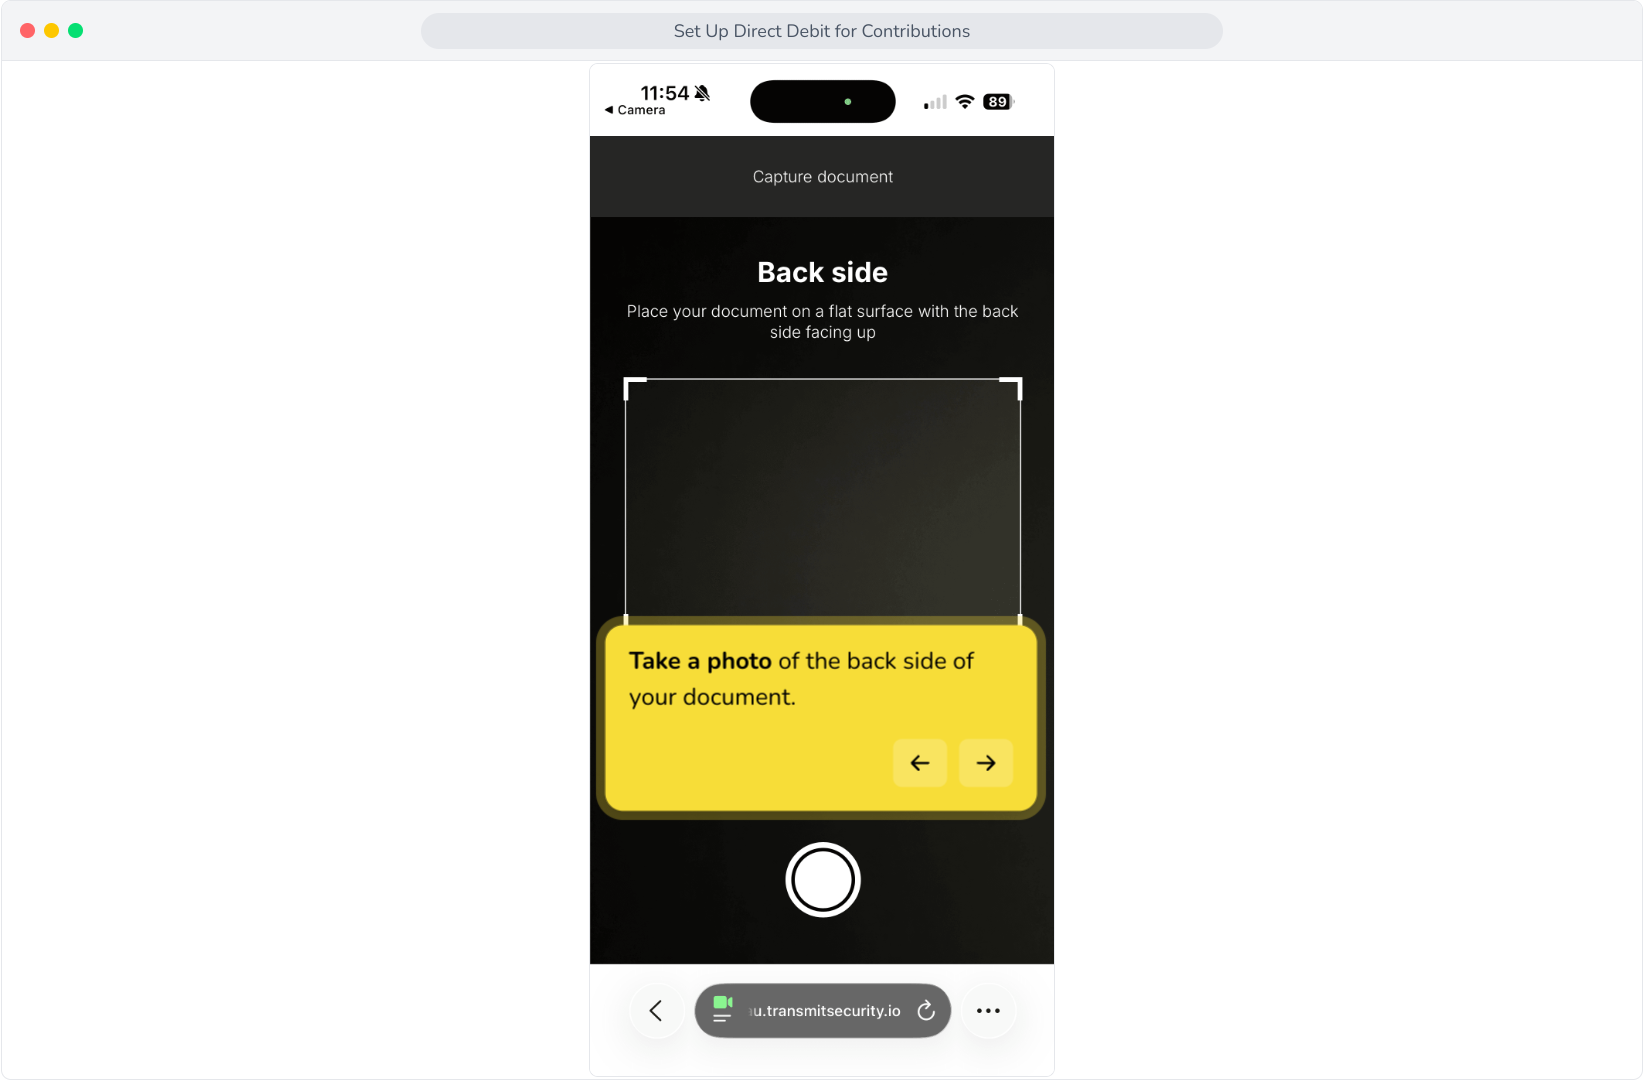
18. Take a photo of the back side of your document.

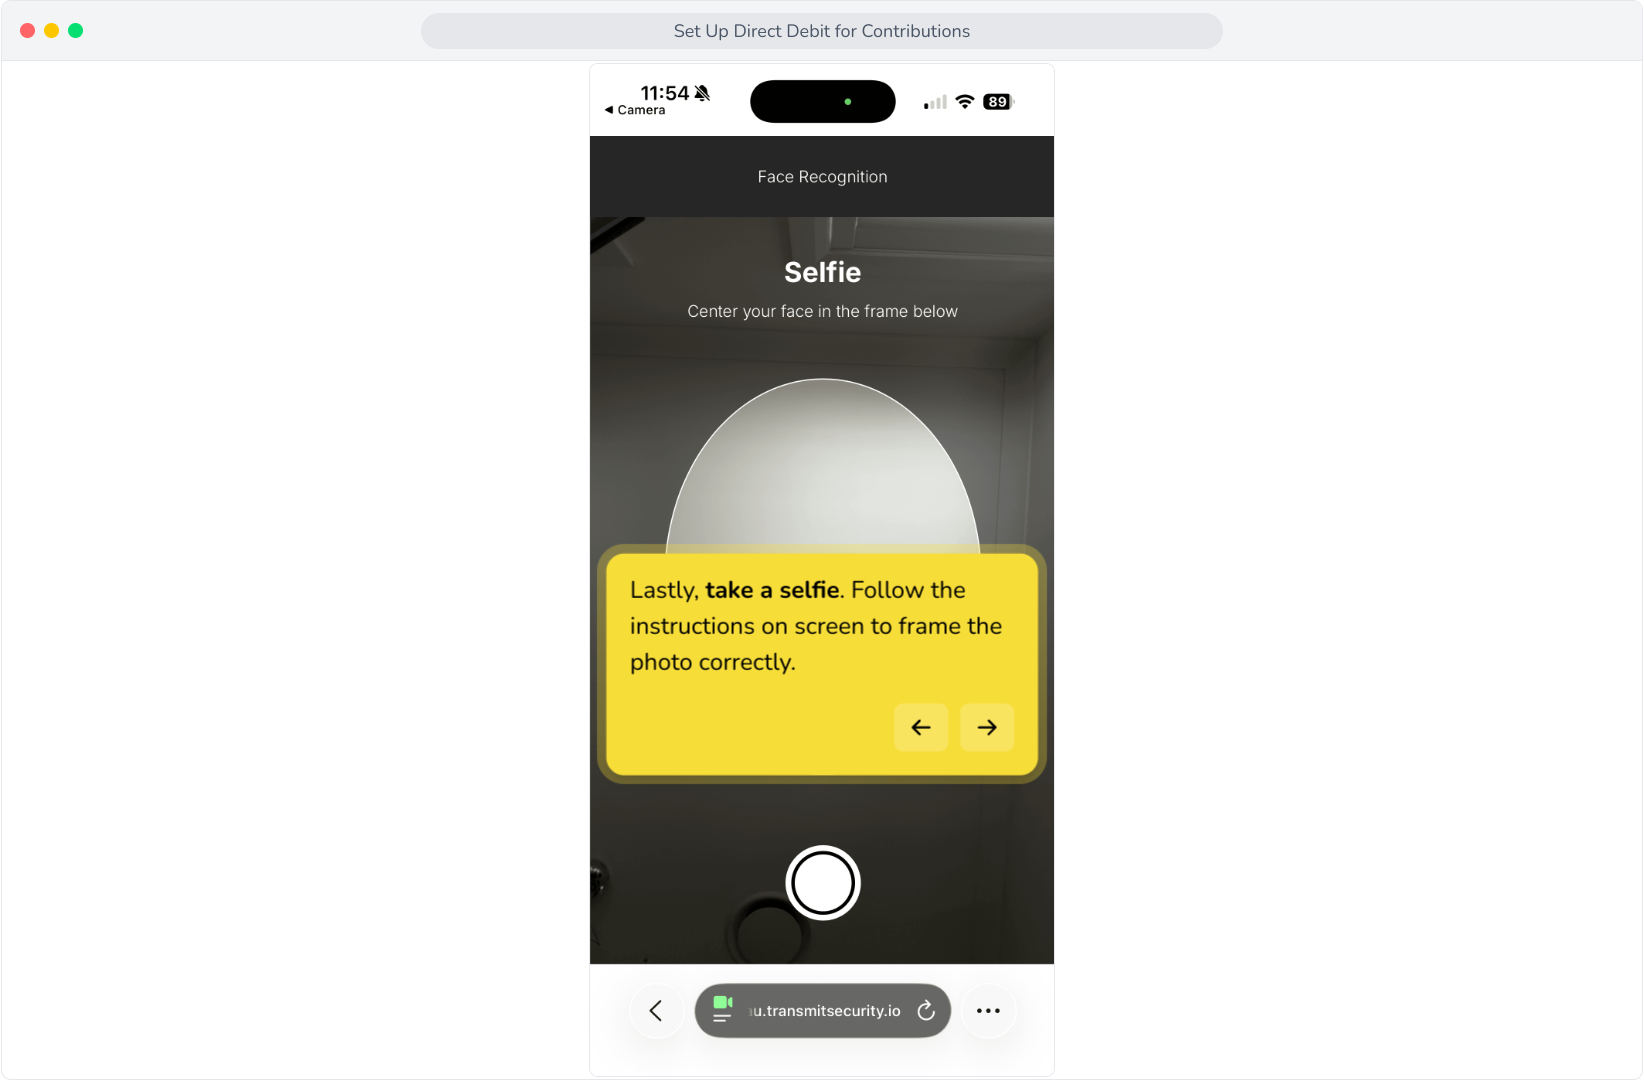
19. Lastly, take a selfie. Follow the instructions on screen to frame the photo correctly.

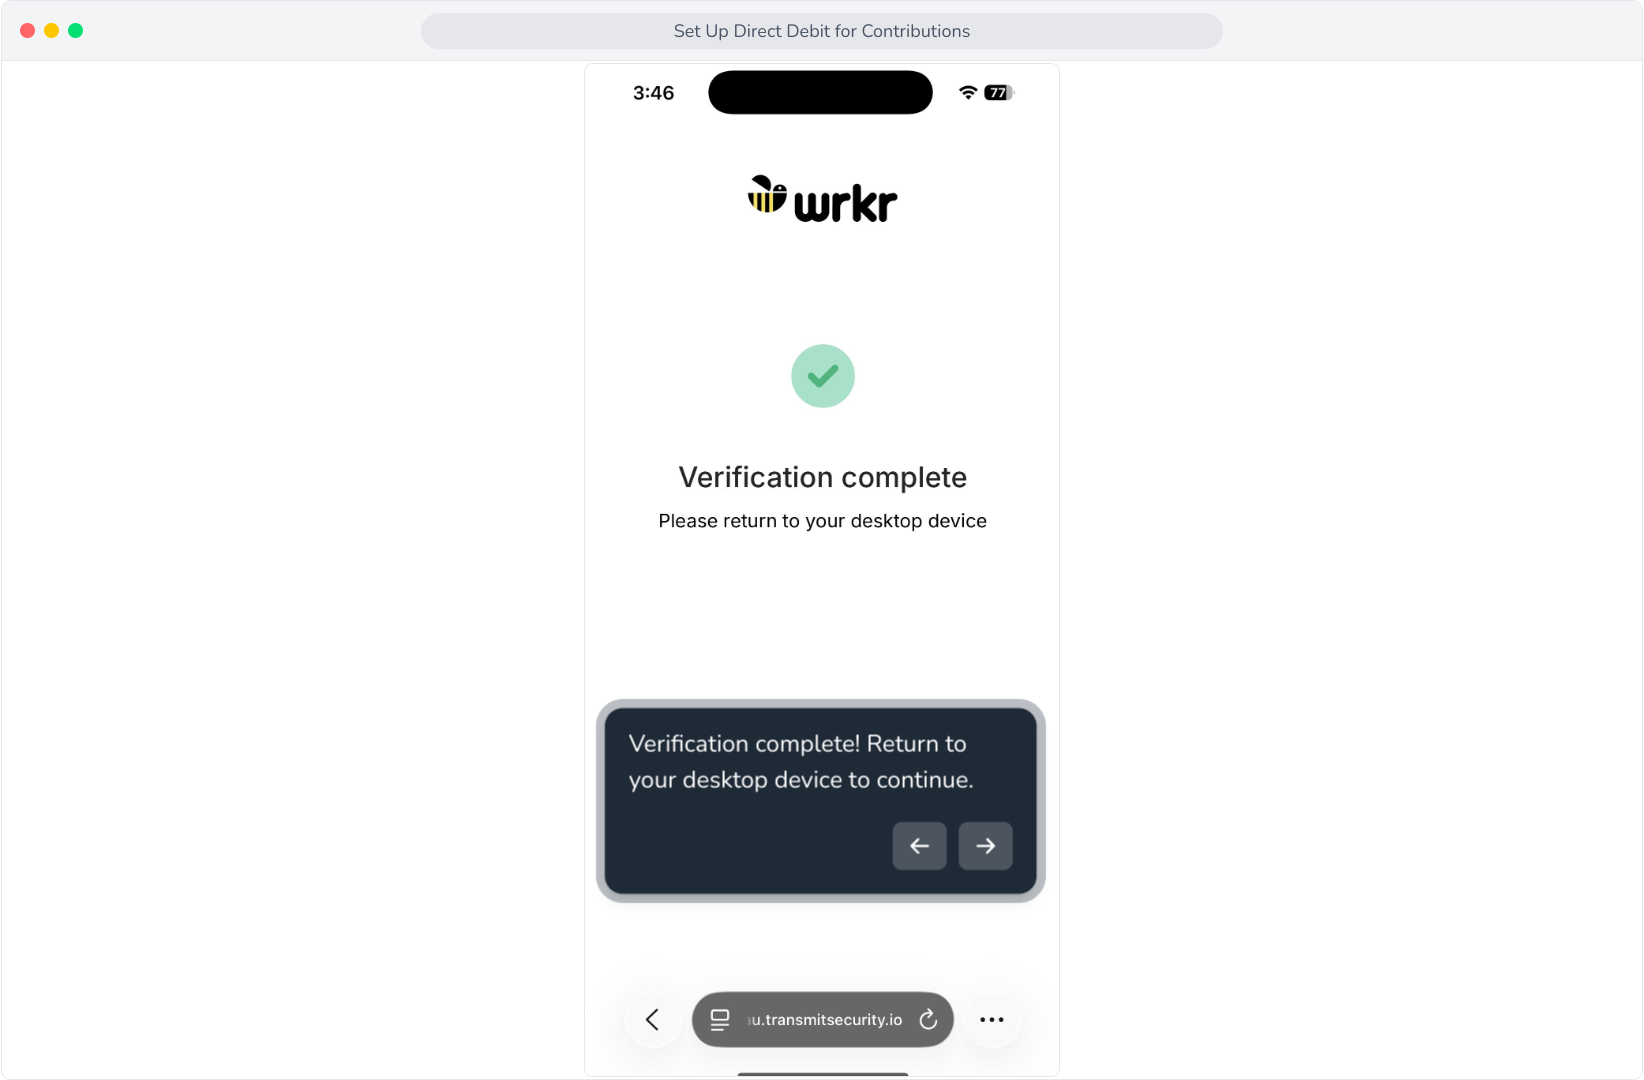
20. Verification complete! Return to your desktop device to continue.
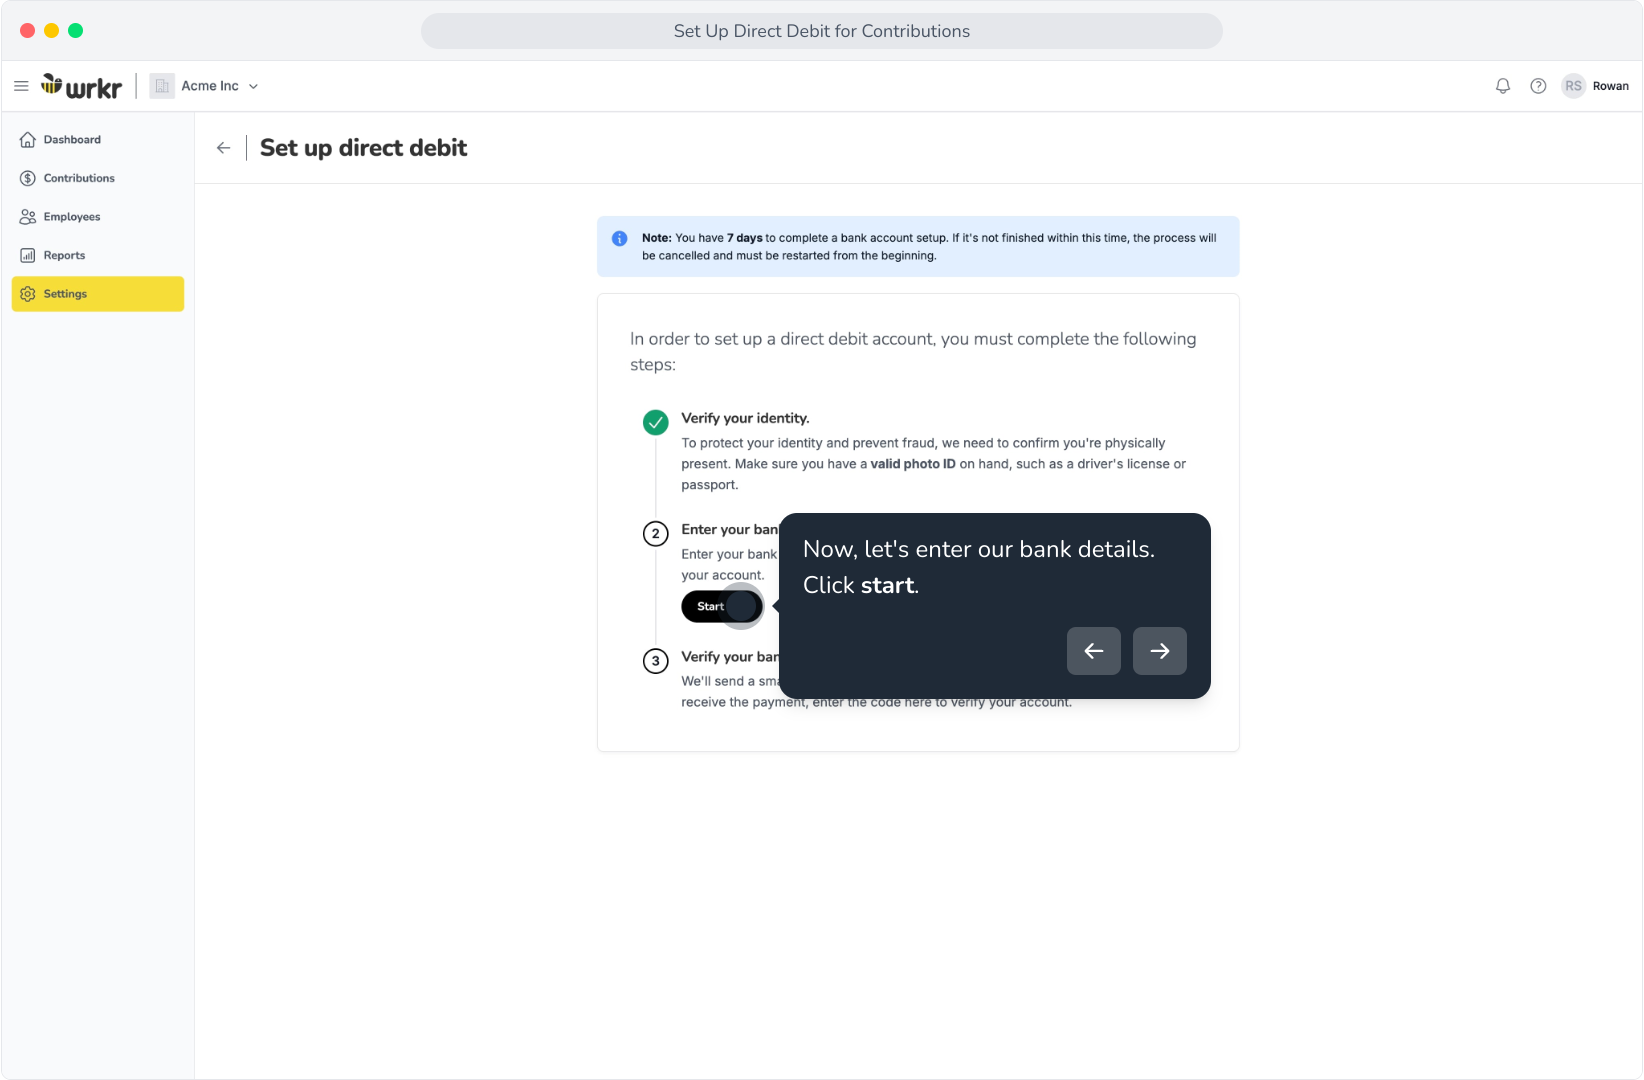
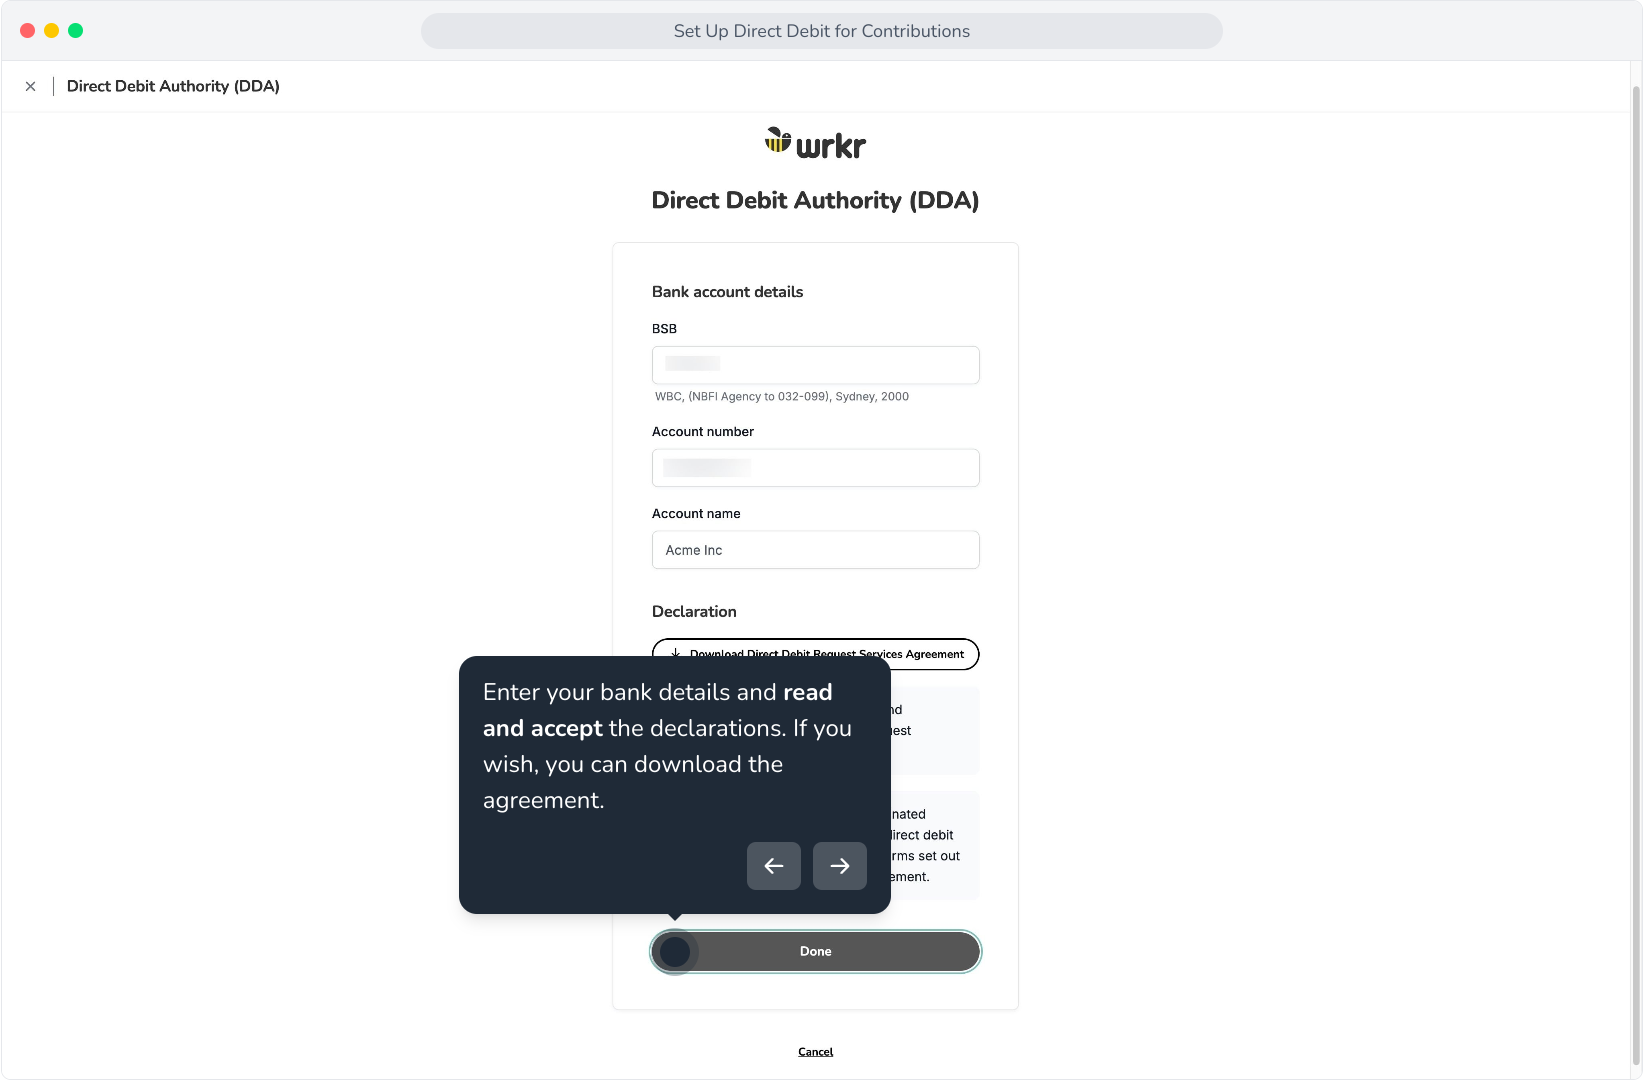
21. Now, let's enter our bank details. Click start.
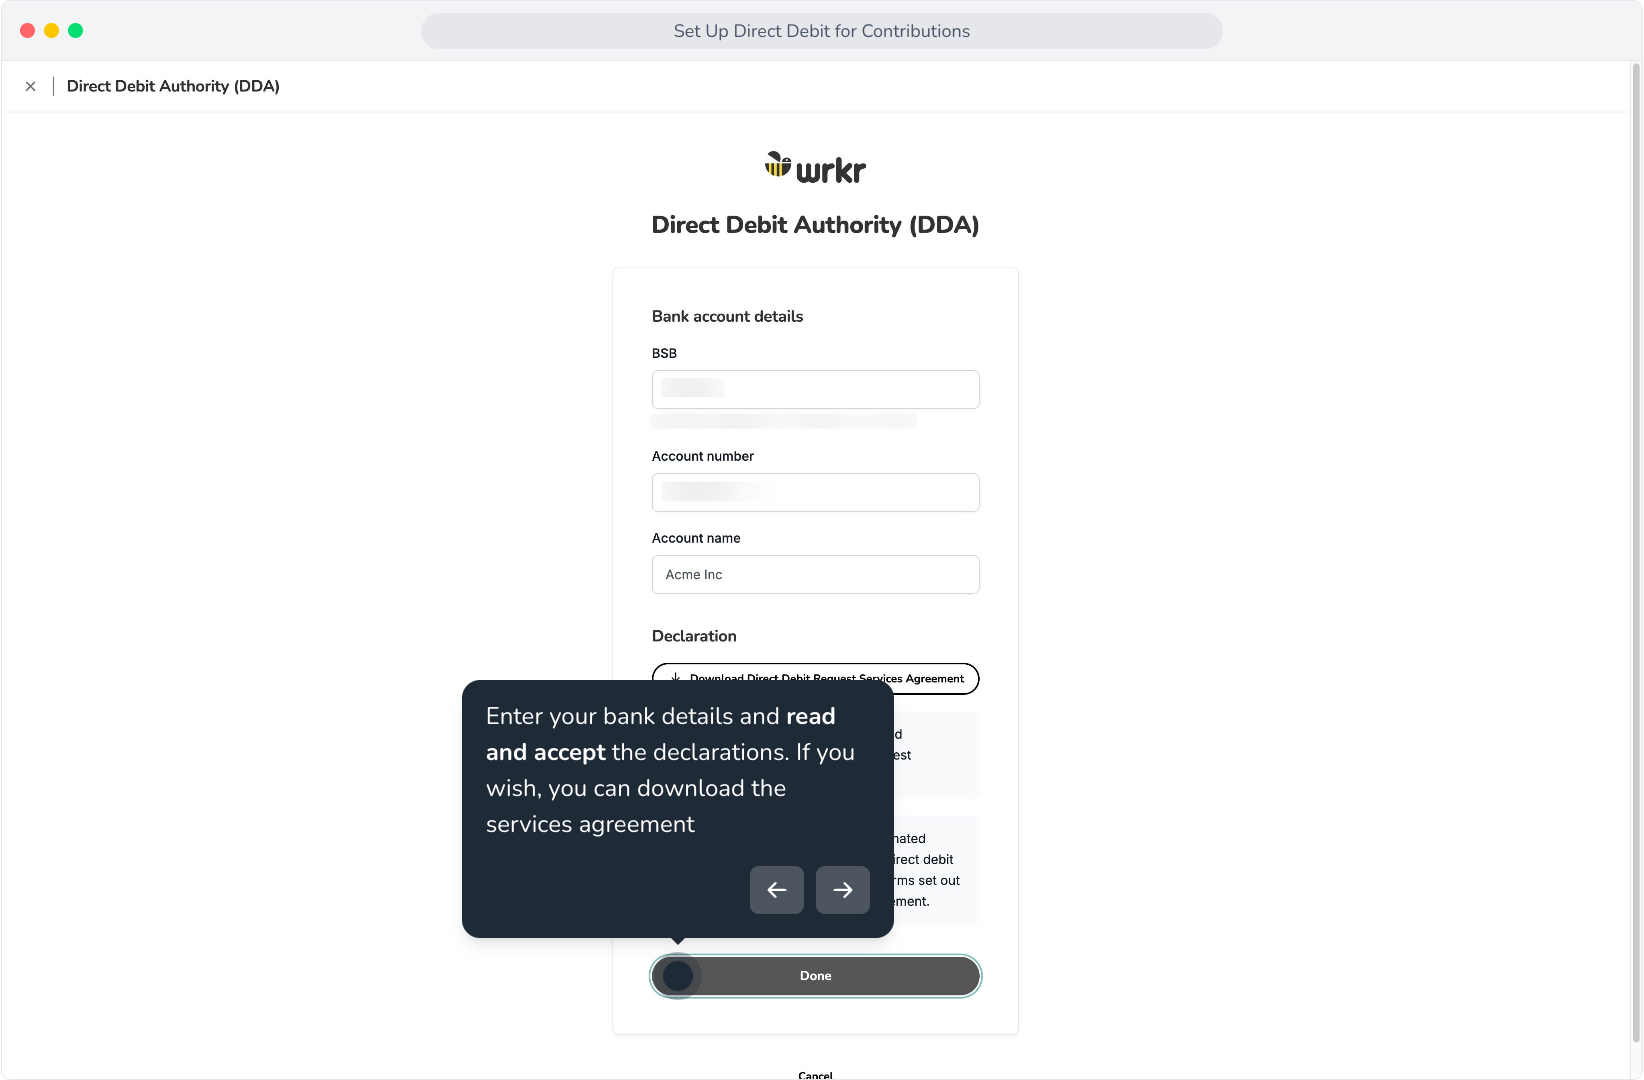
22. Enter your bank details and read and accept the declarations. If you wish, you can download the services agreement
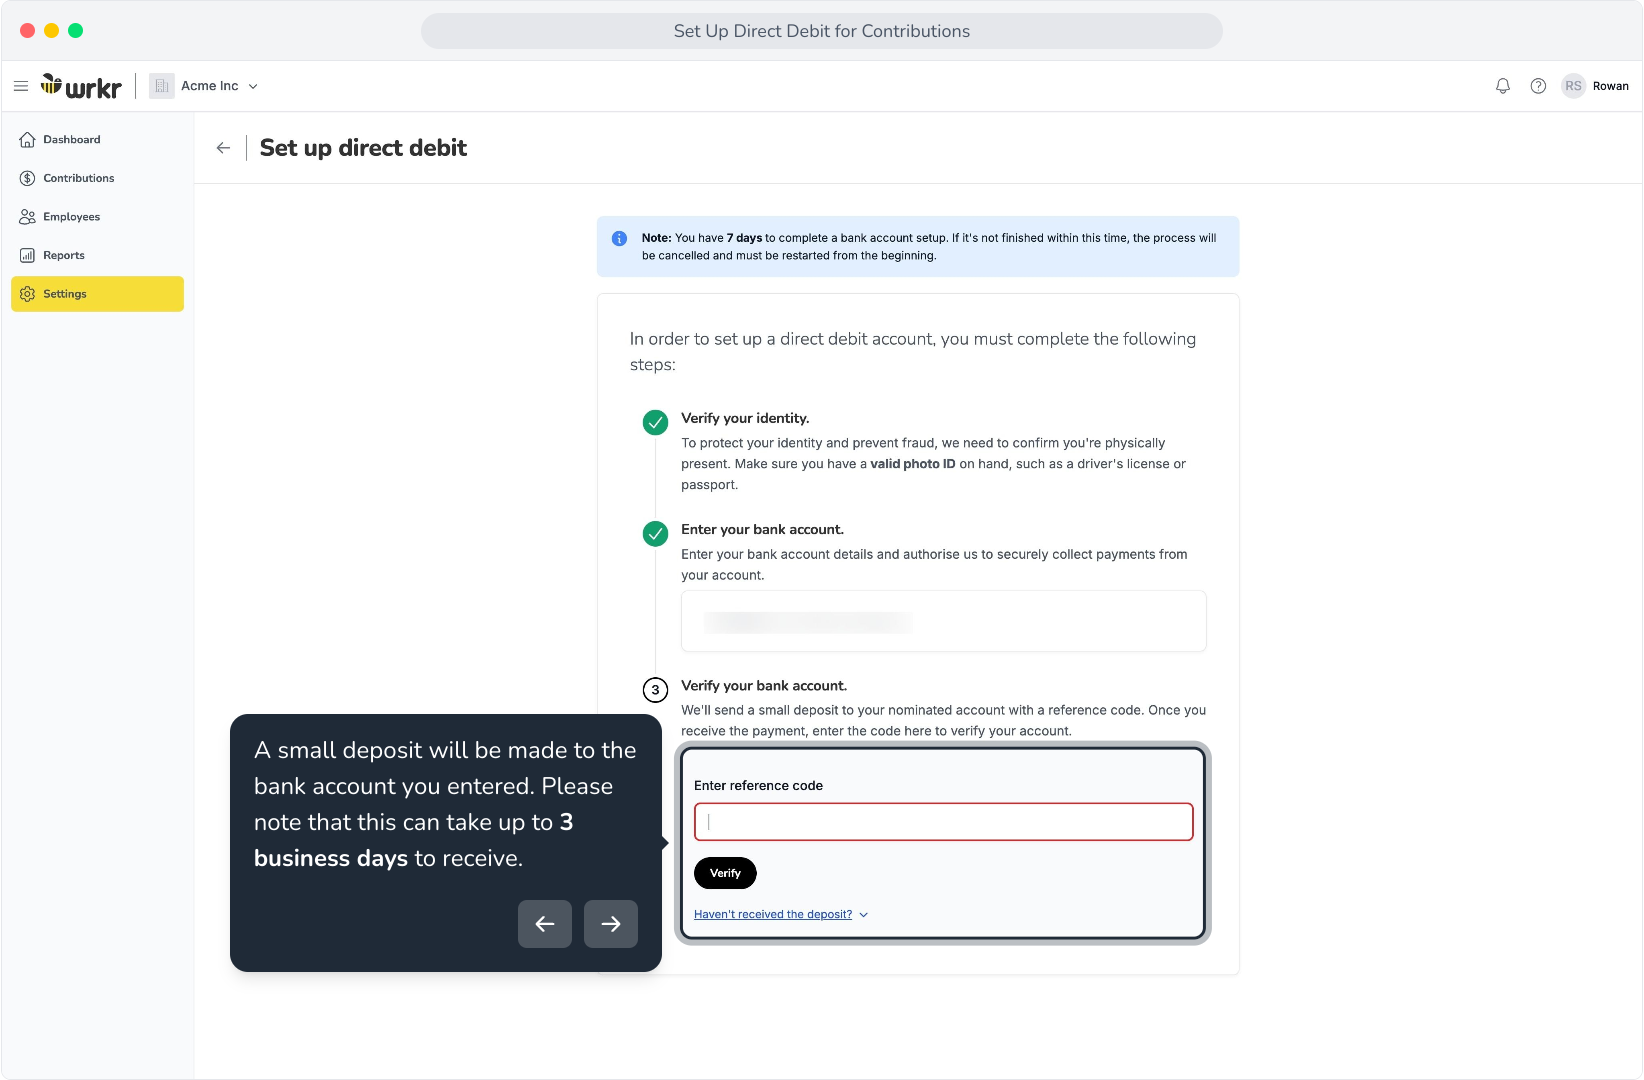
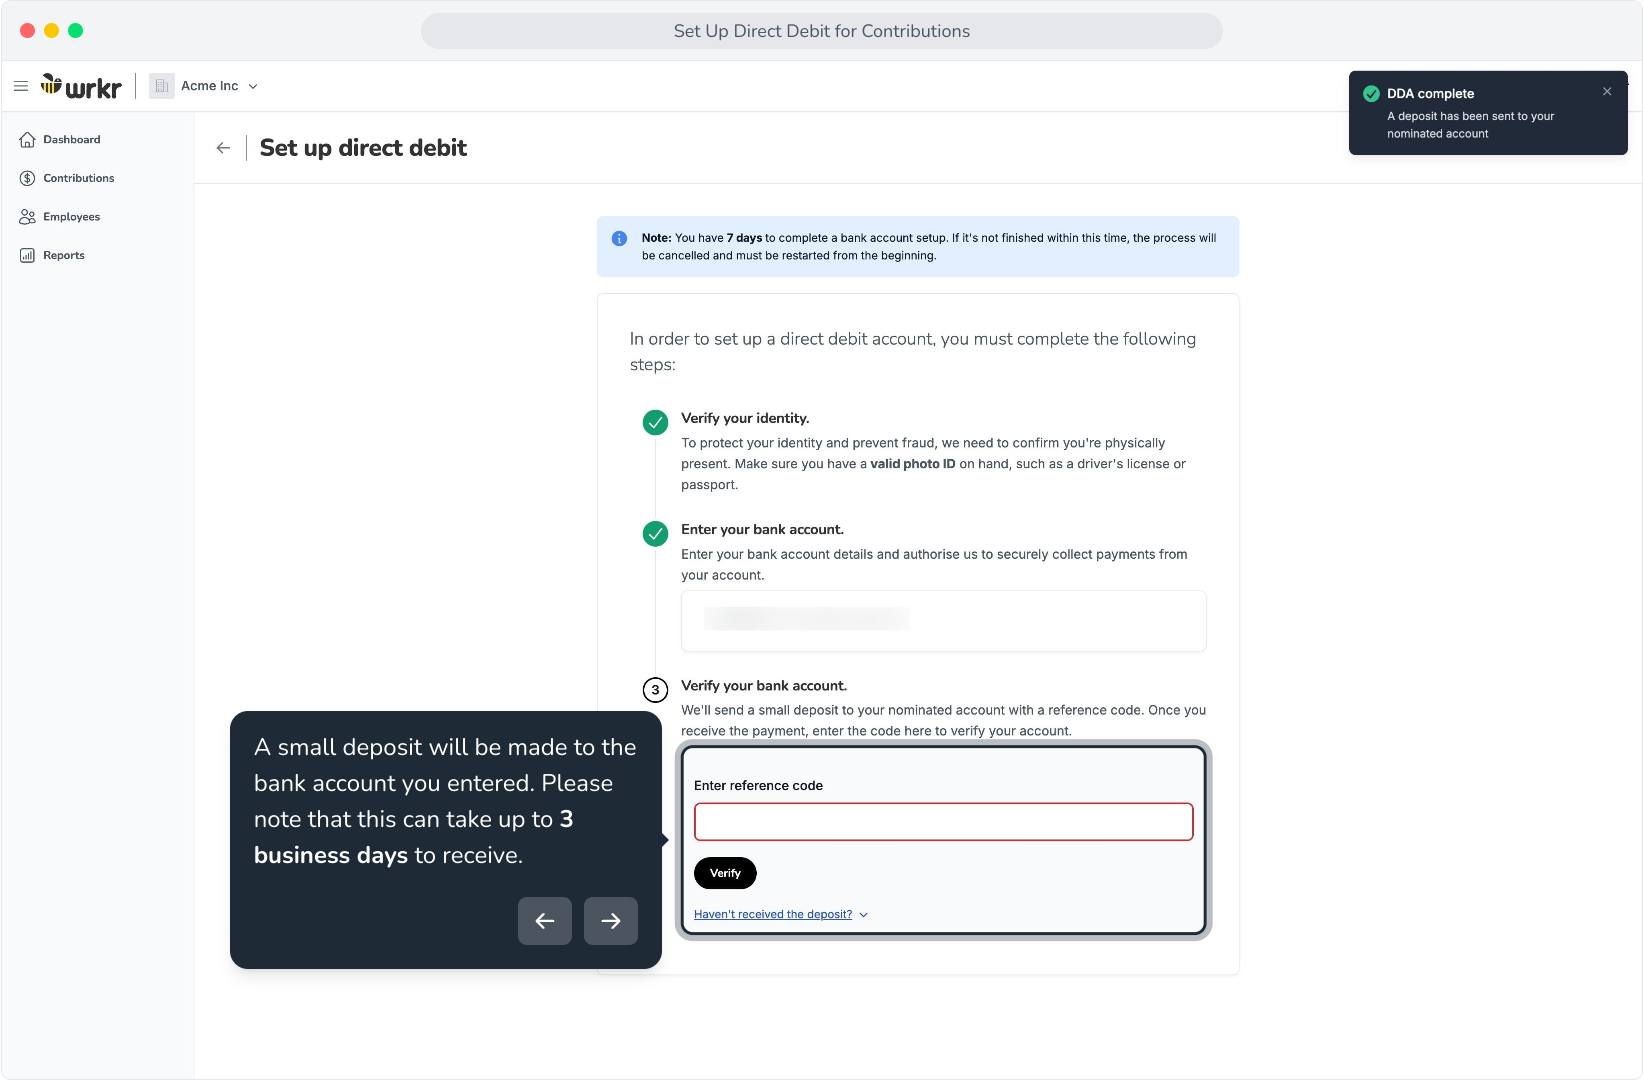
23. A small deposit will be made to the bank account you entered. Please note that this can take up to 3 business days to receive.
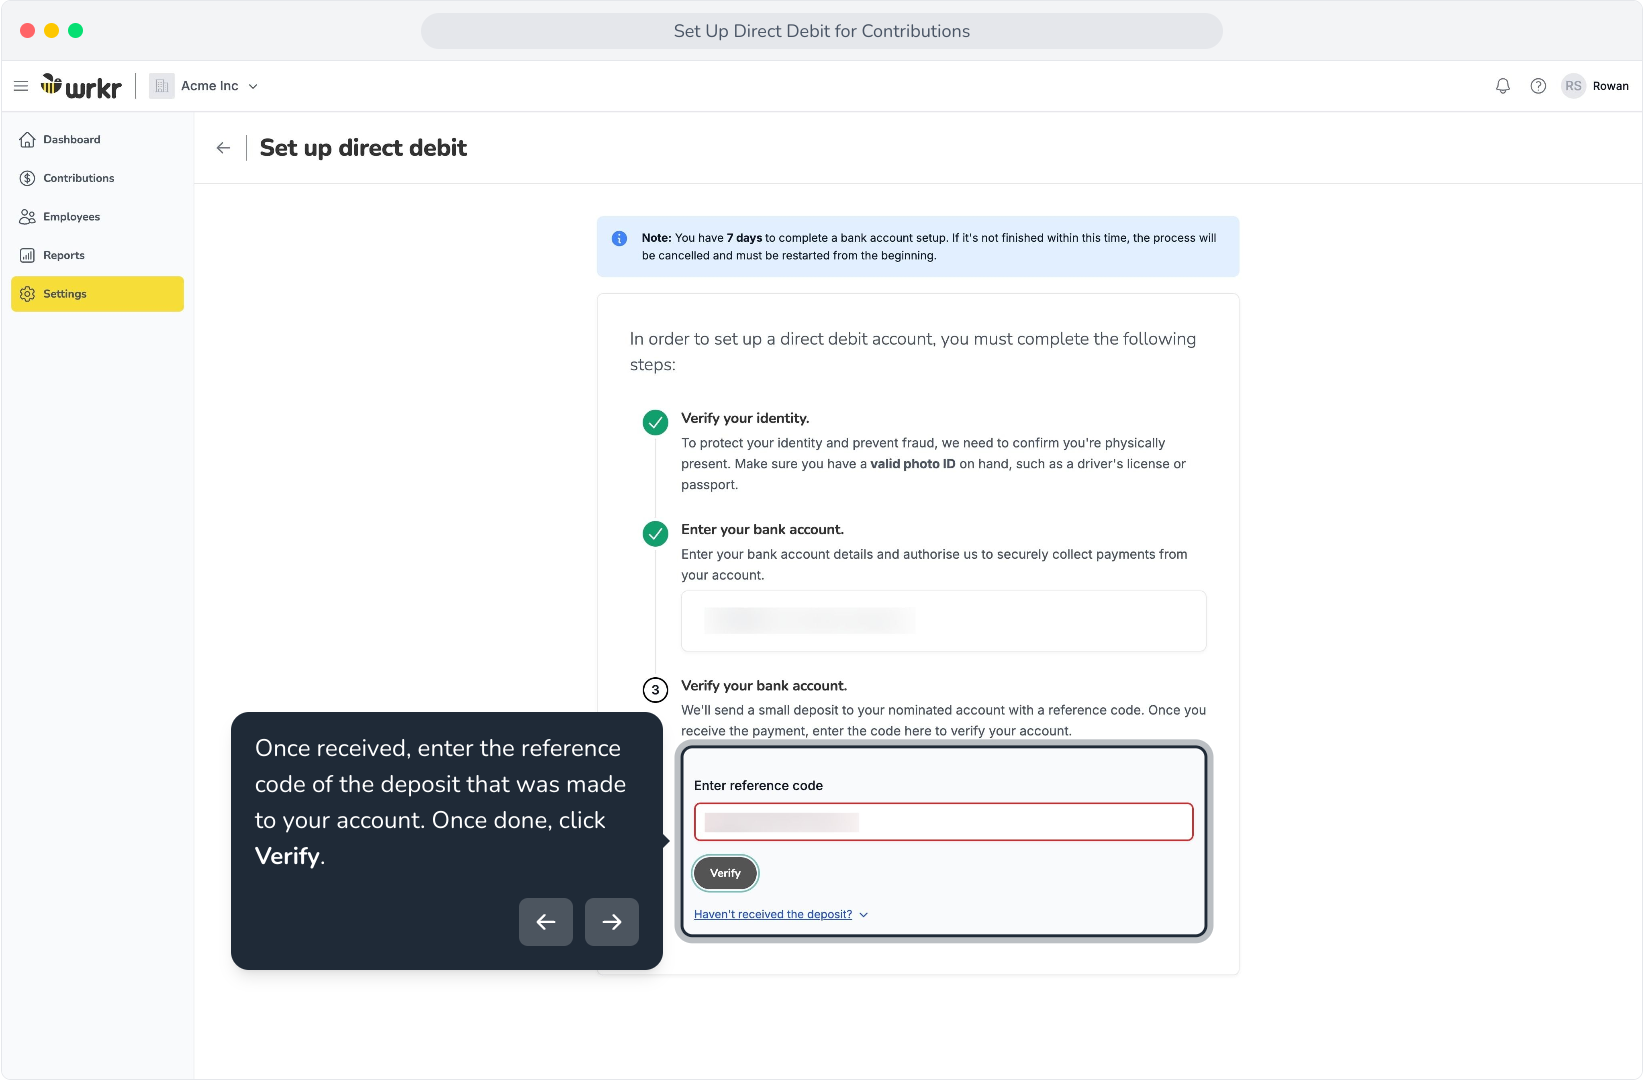
24. Once received, enter the reference code of the deposit that was made to your account. Once done, click Verify.
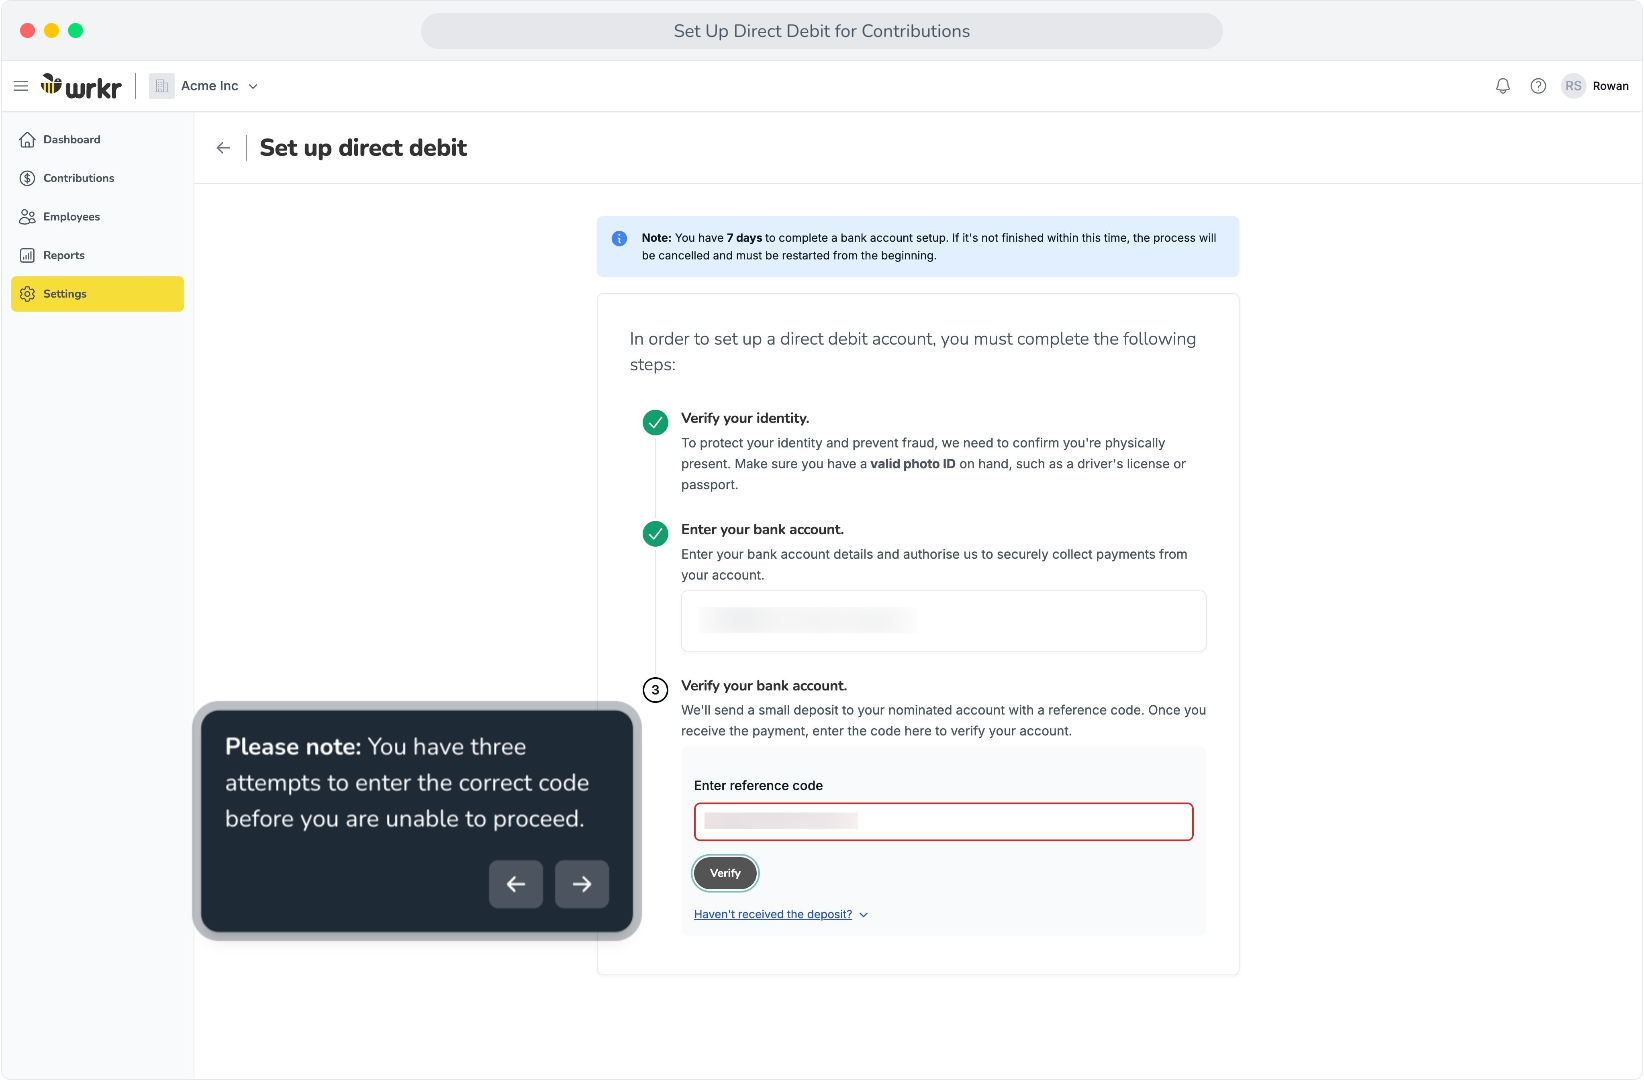
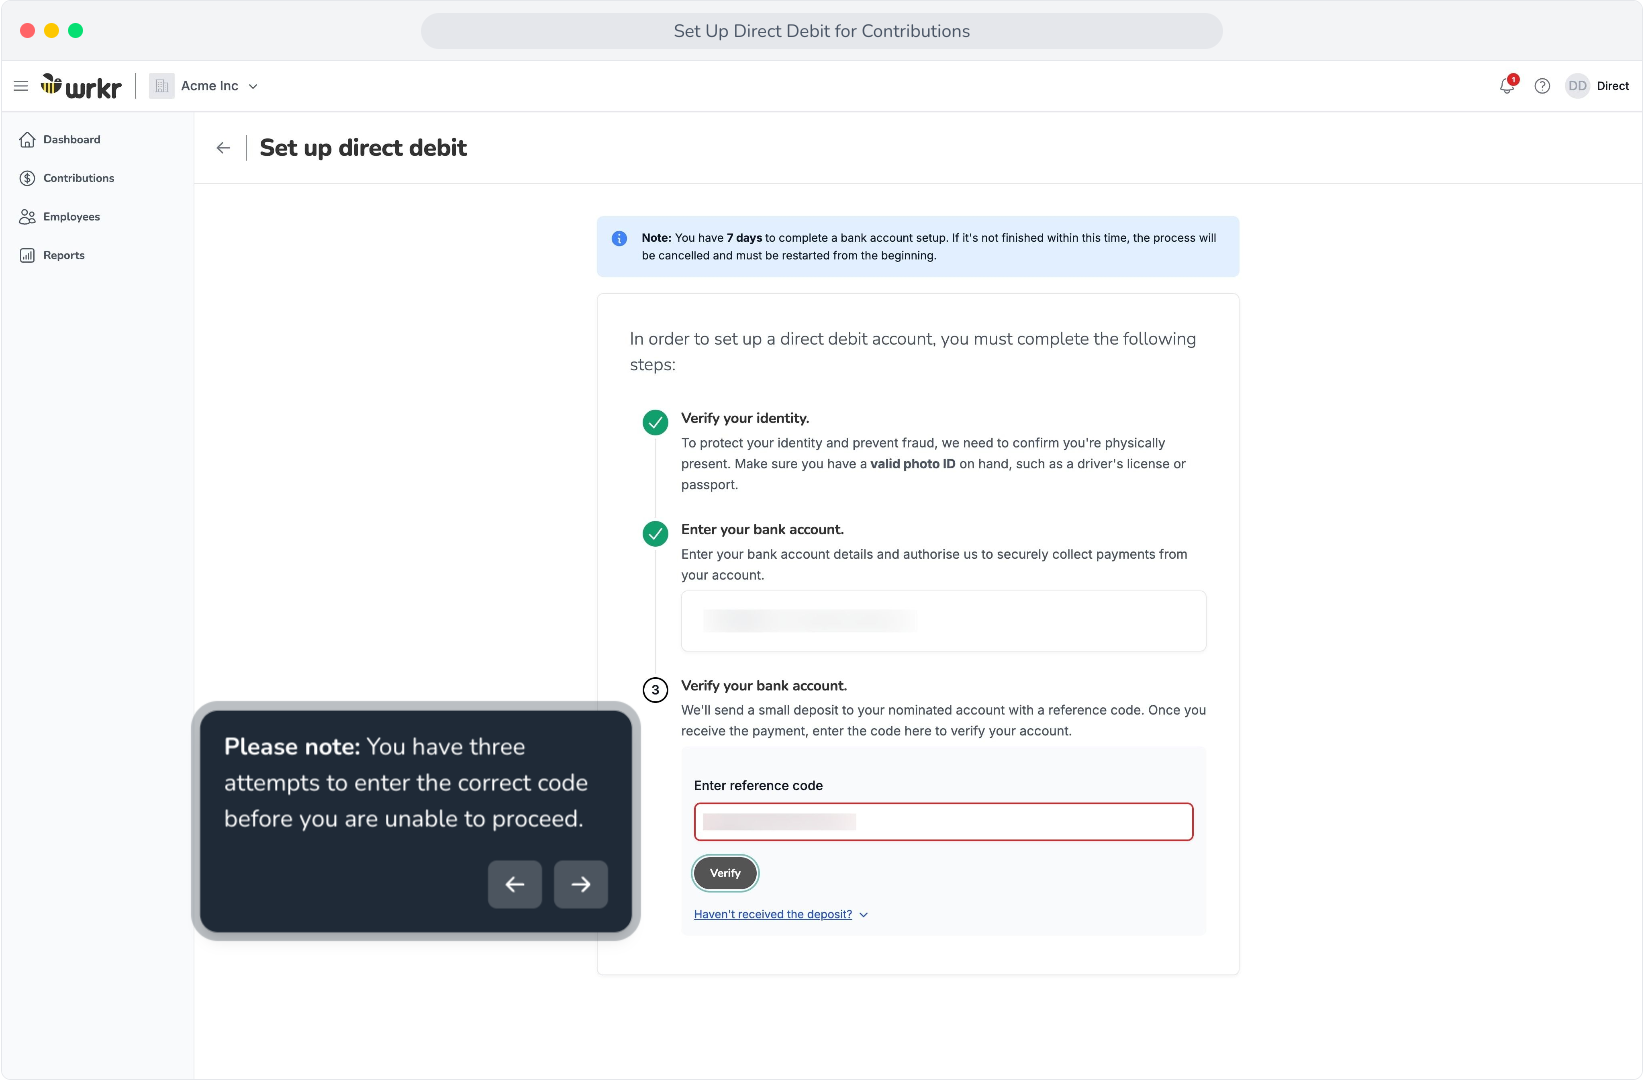
25. Please note: You have three attempts to enter the correct code before you are unable to proceed.
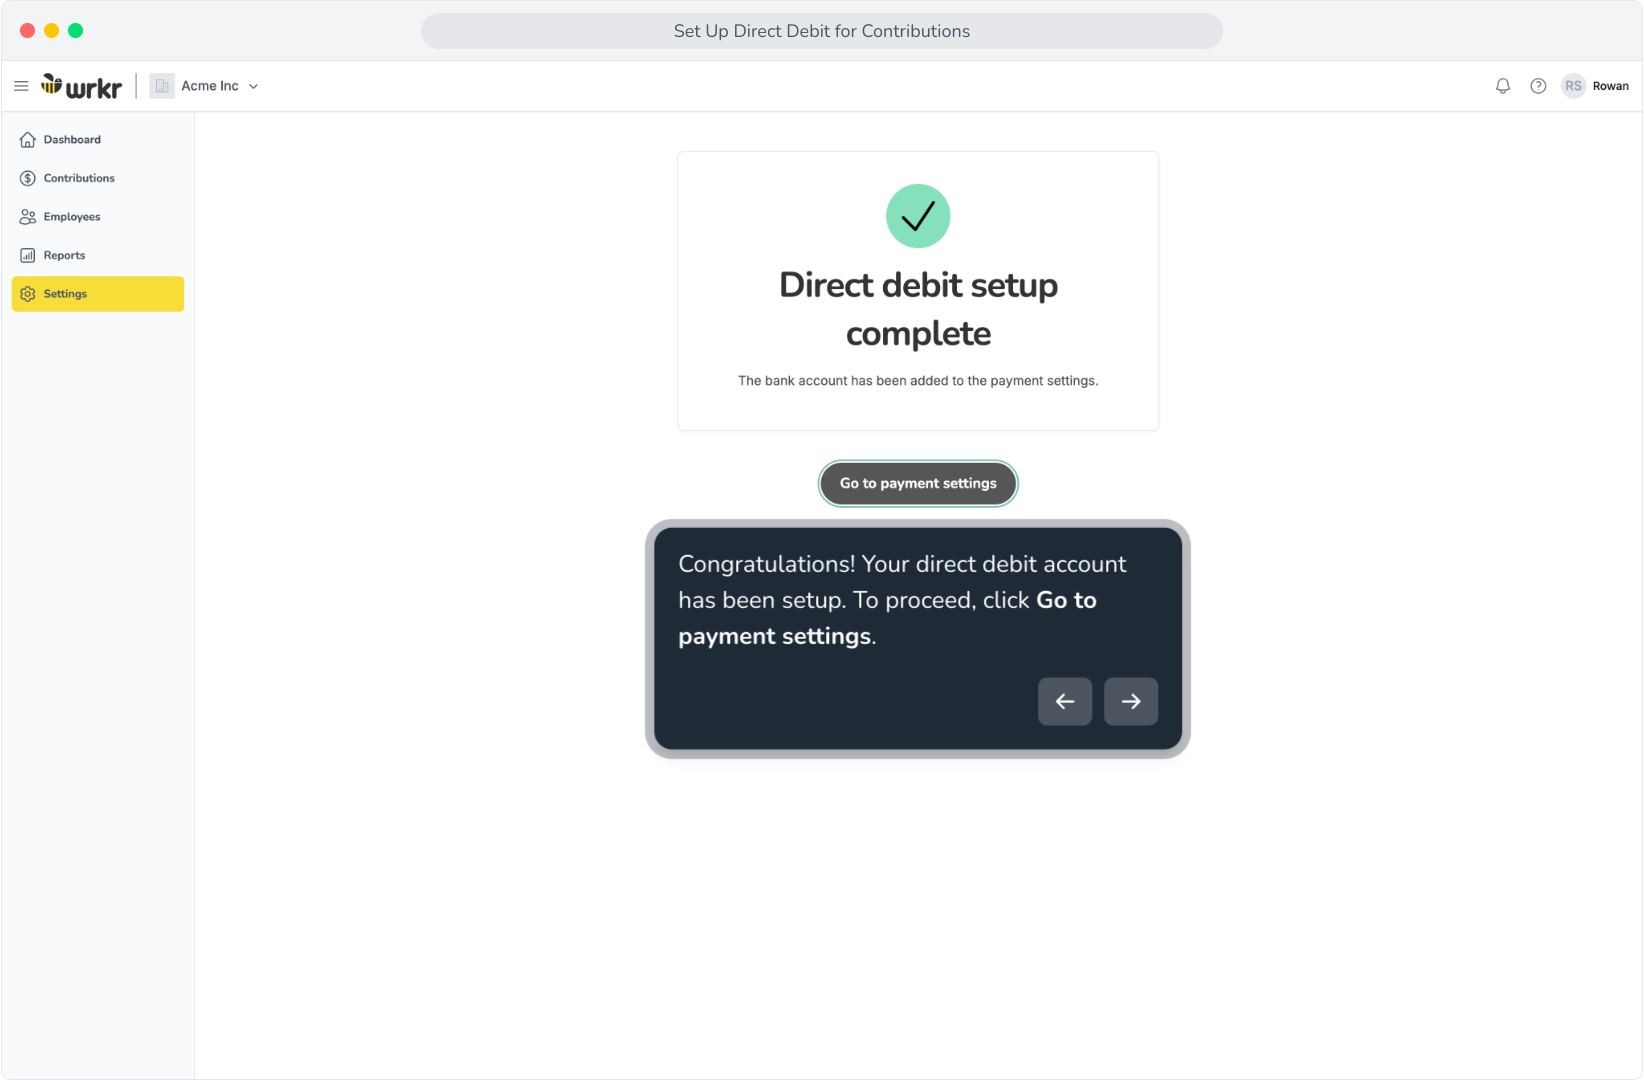
26. Congratulations! Your direct debit account has been setup. To proceed, click Go to payment settings.
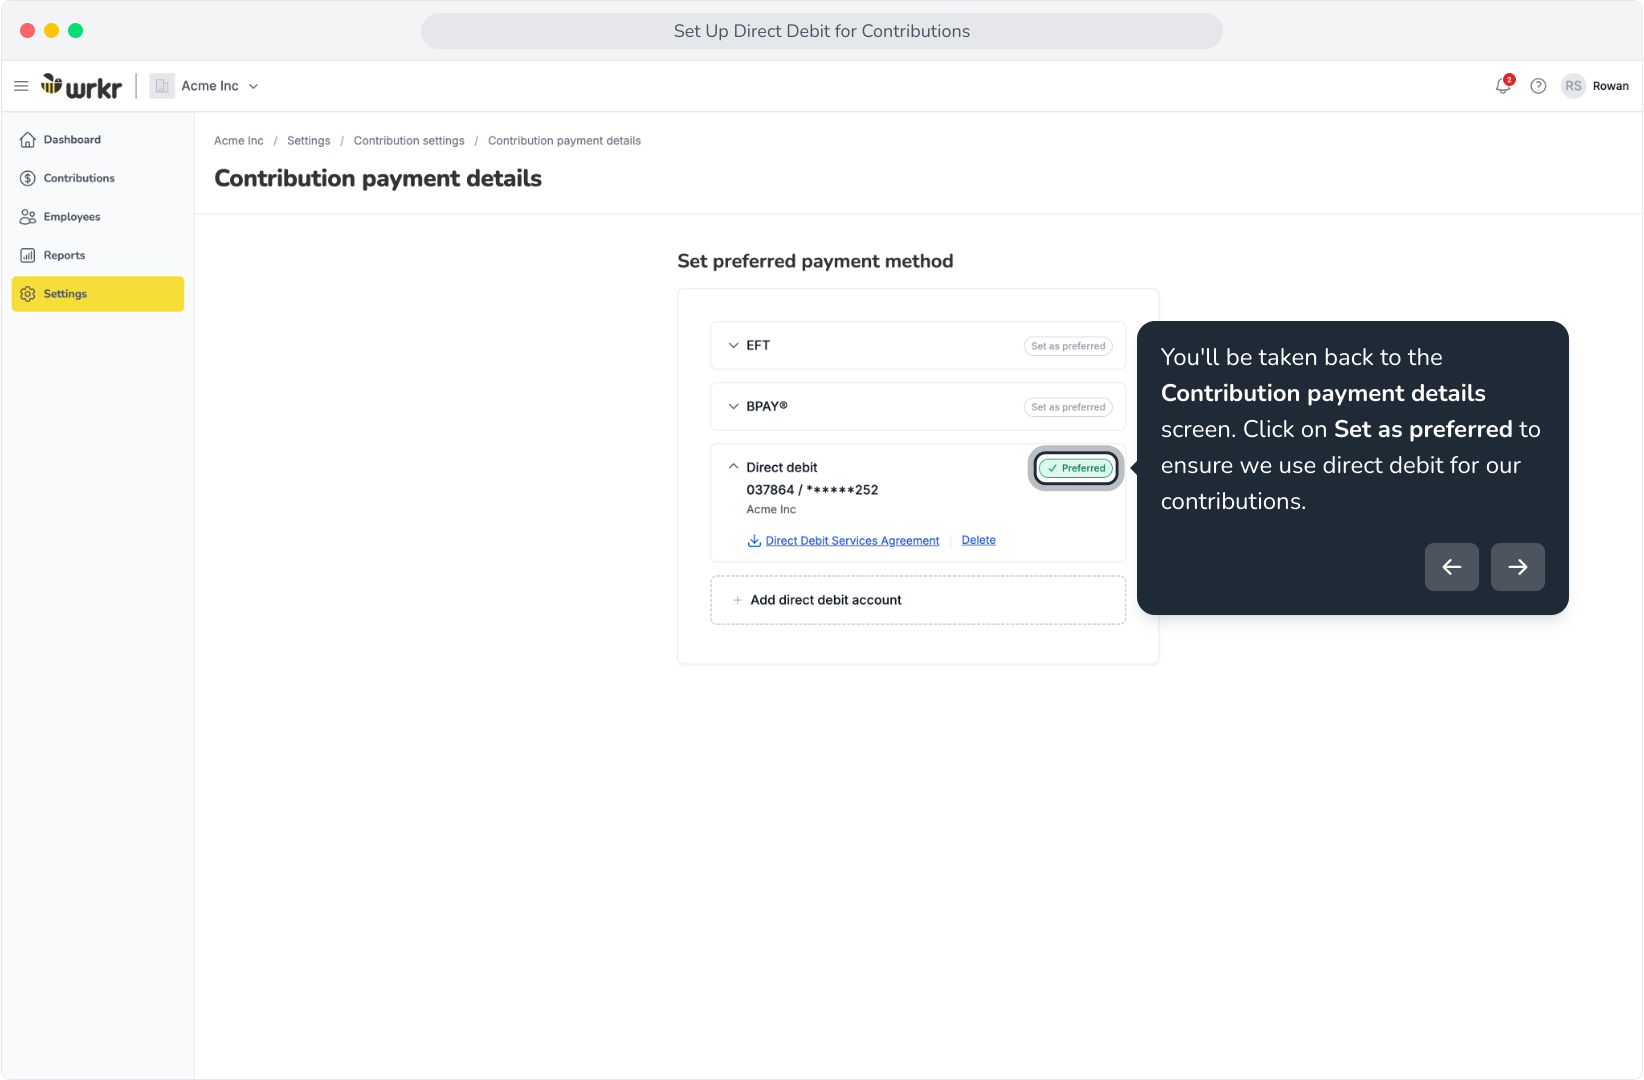
27. You'll be taken back to the Contribution payment details screen. Click on Set as preferred to ensure we use direct debit for our contributions.
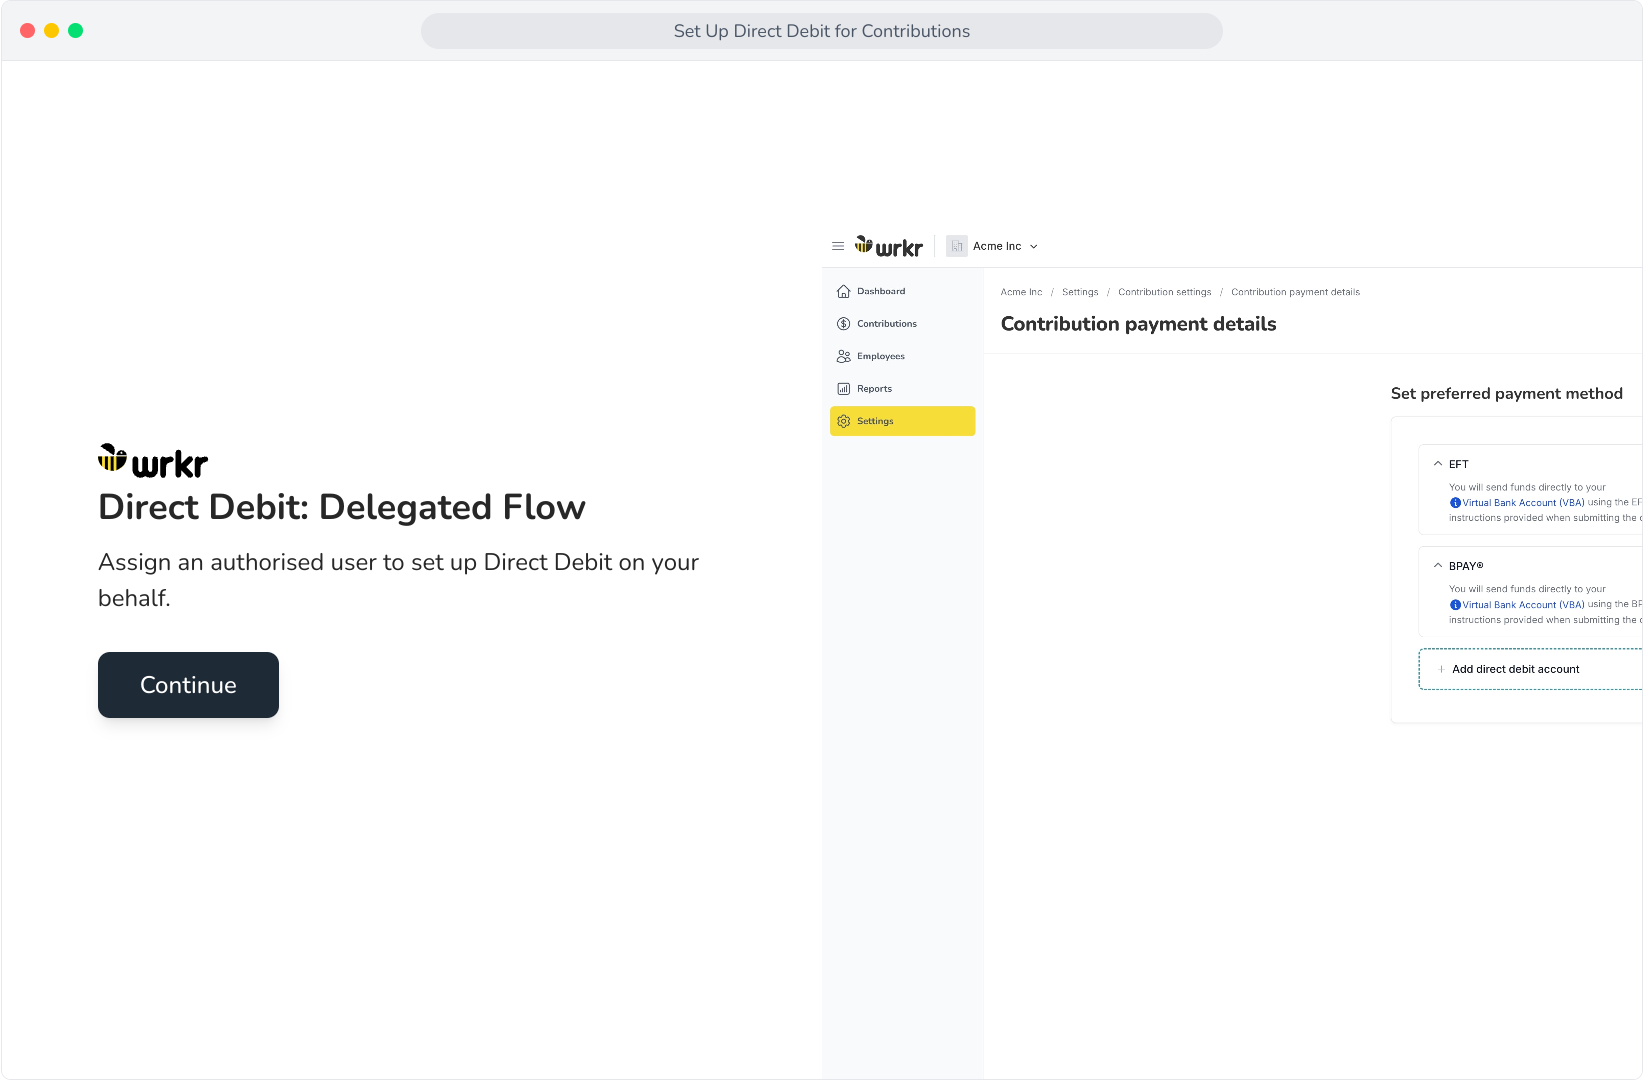
Direct Debit Setup – Delegated Flow
29. To set up direct debit, navigate to Settings.

30. Select Contribution settings.

31. Click Add within the Contribution payment details tile.

32. Click Add direct debit account. Please note that you will need to undergo an identity and bank account verification process.
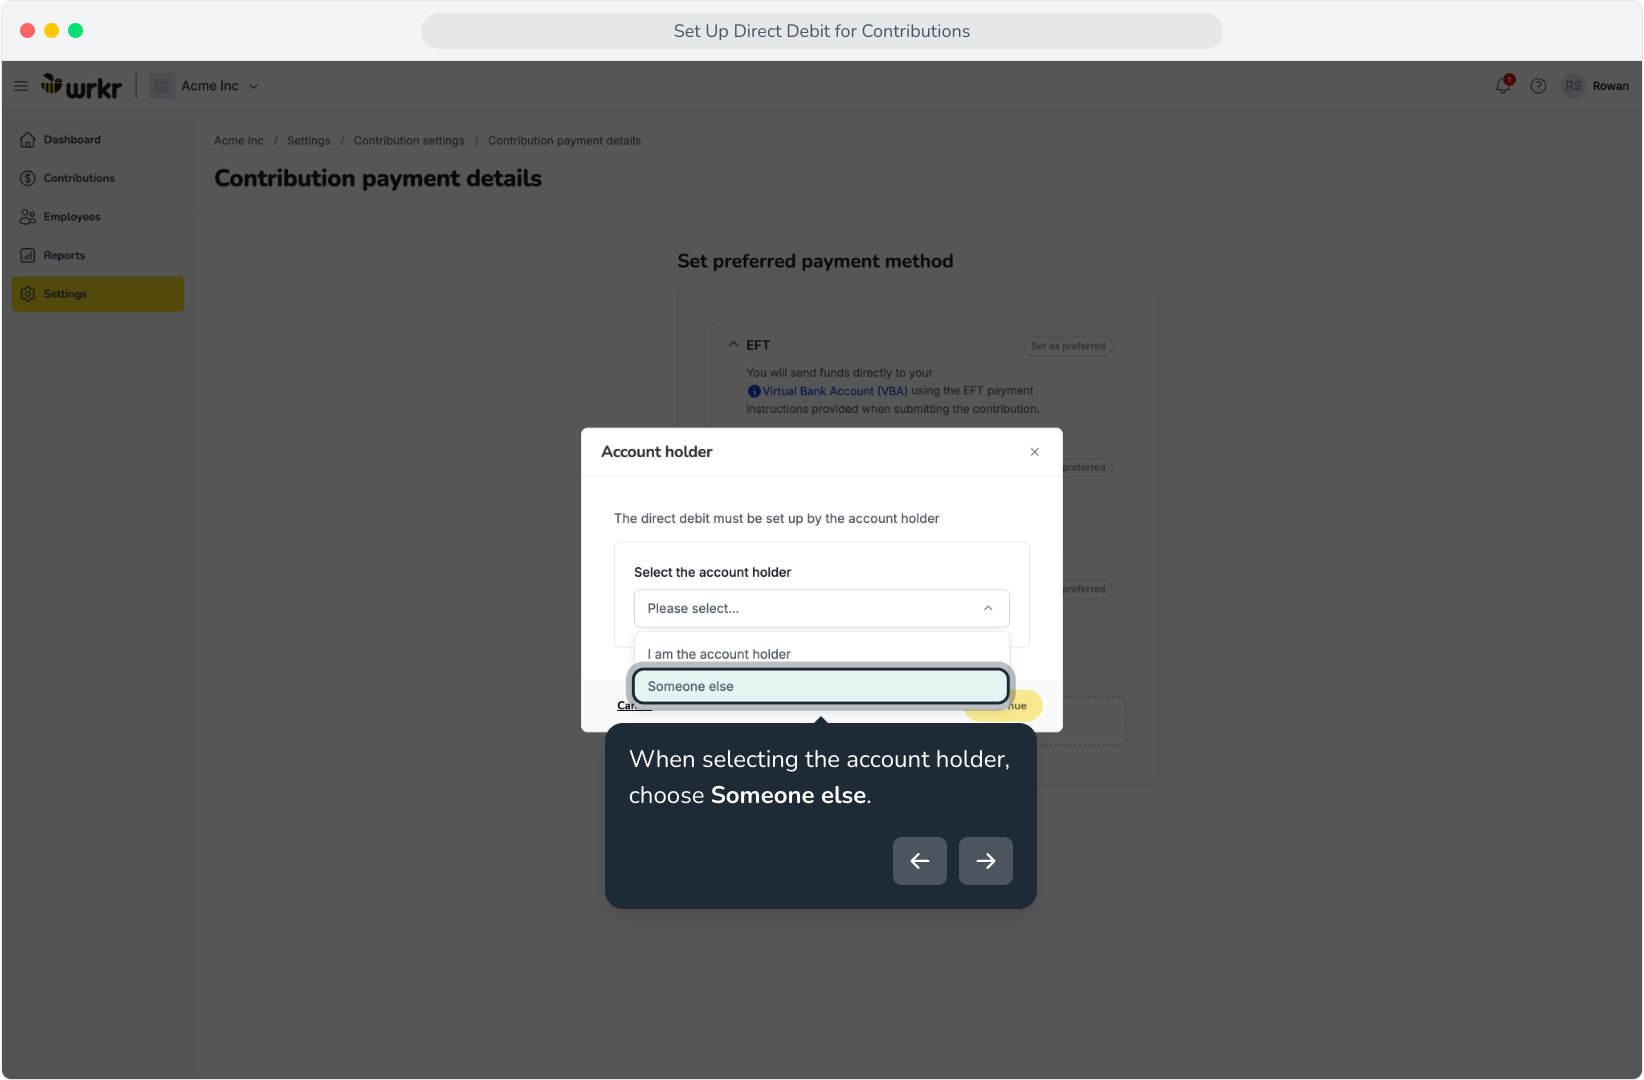
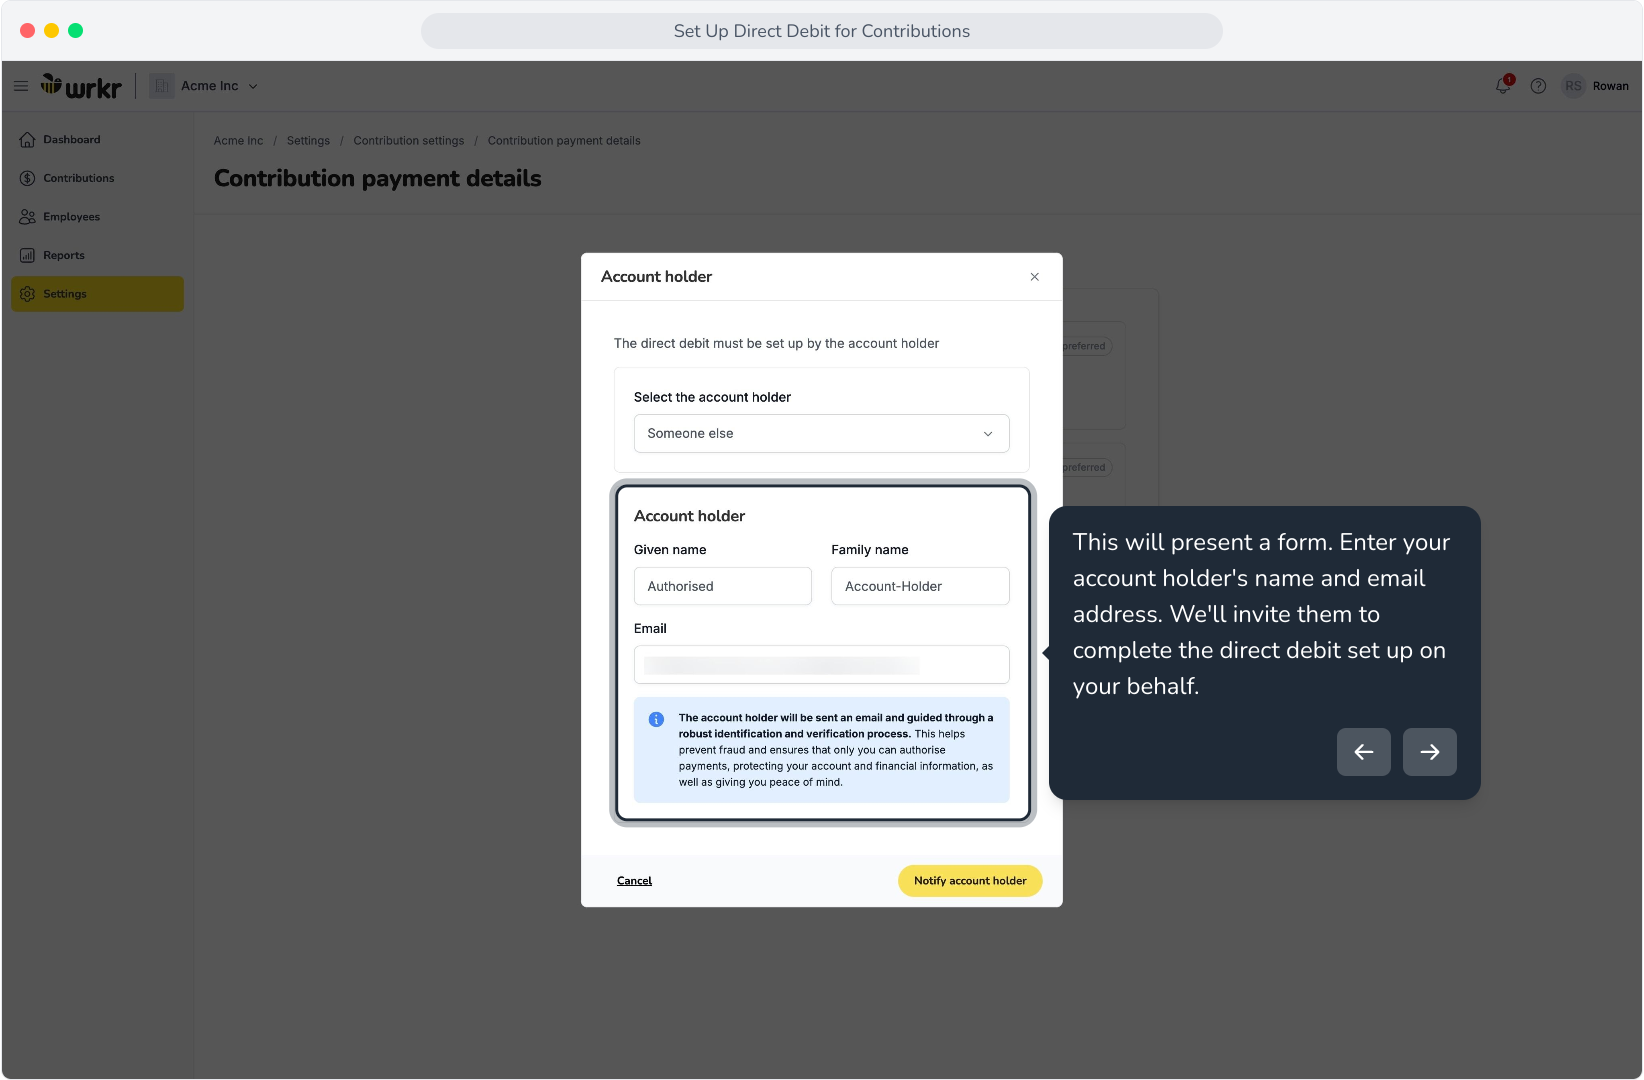
33. When selecting the account holder, choose Someone else.
34. This will present a form. Enter your account holder's name and email address. We'll invite them to complete the direct debit set up on your behalf.
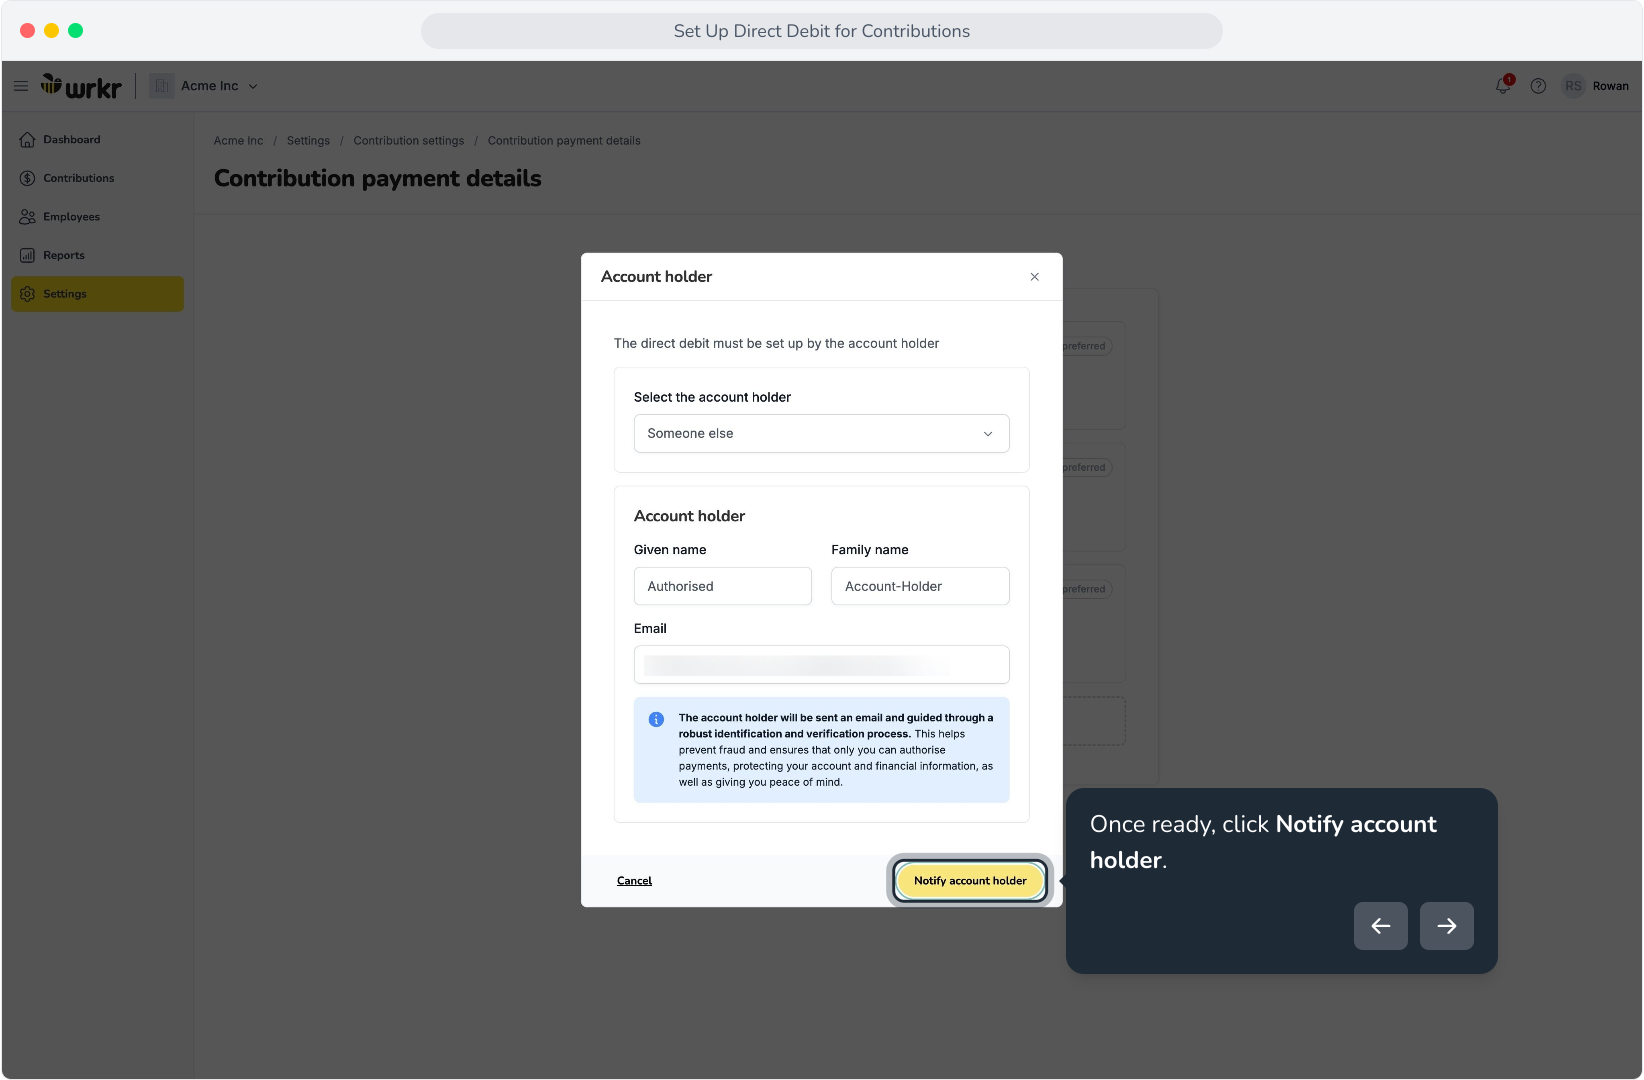
35. Once ready, click Notify account holder.
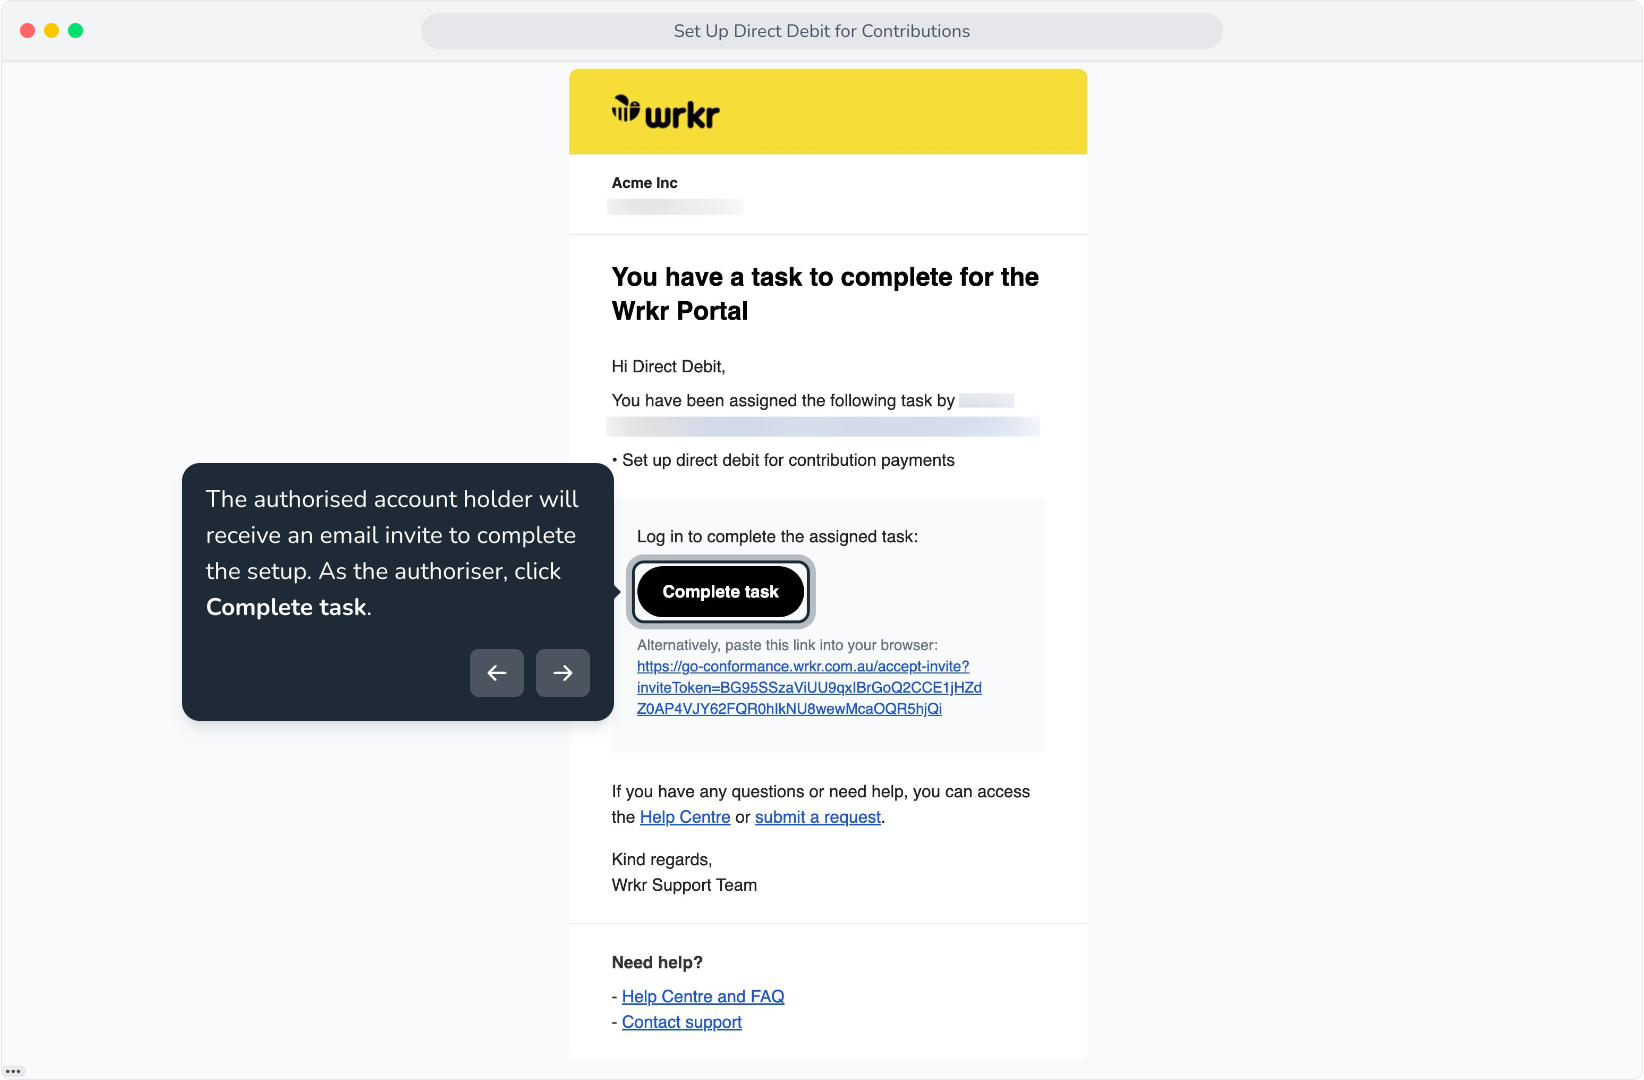
36. The authorised account holder will receive an email invite to complete the setup. As the authoriser, click Complete task.
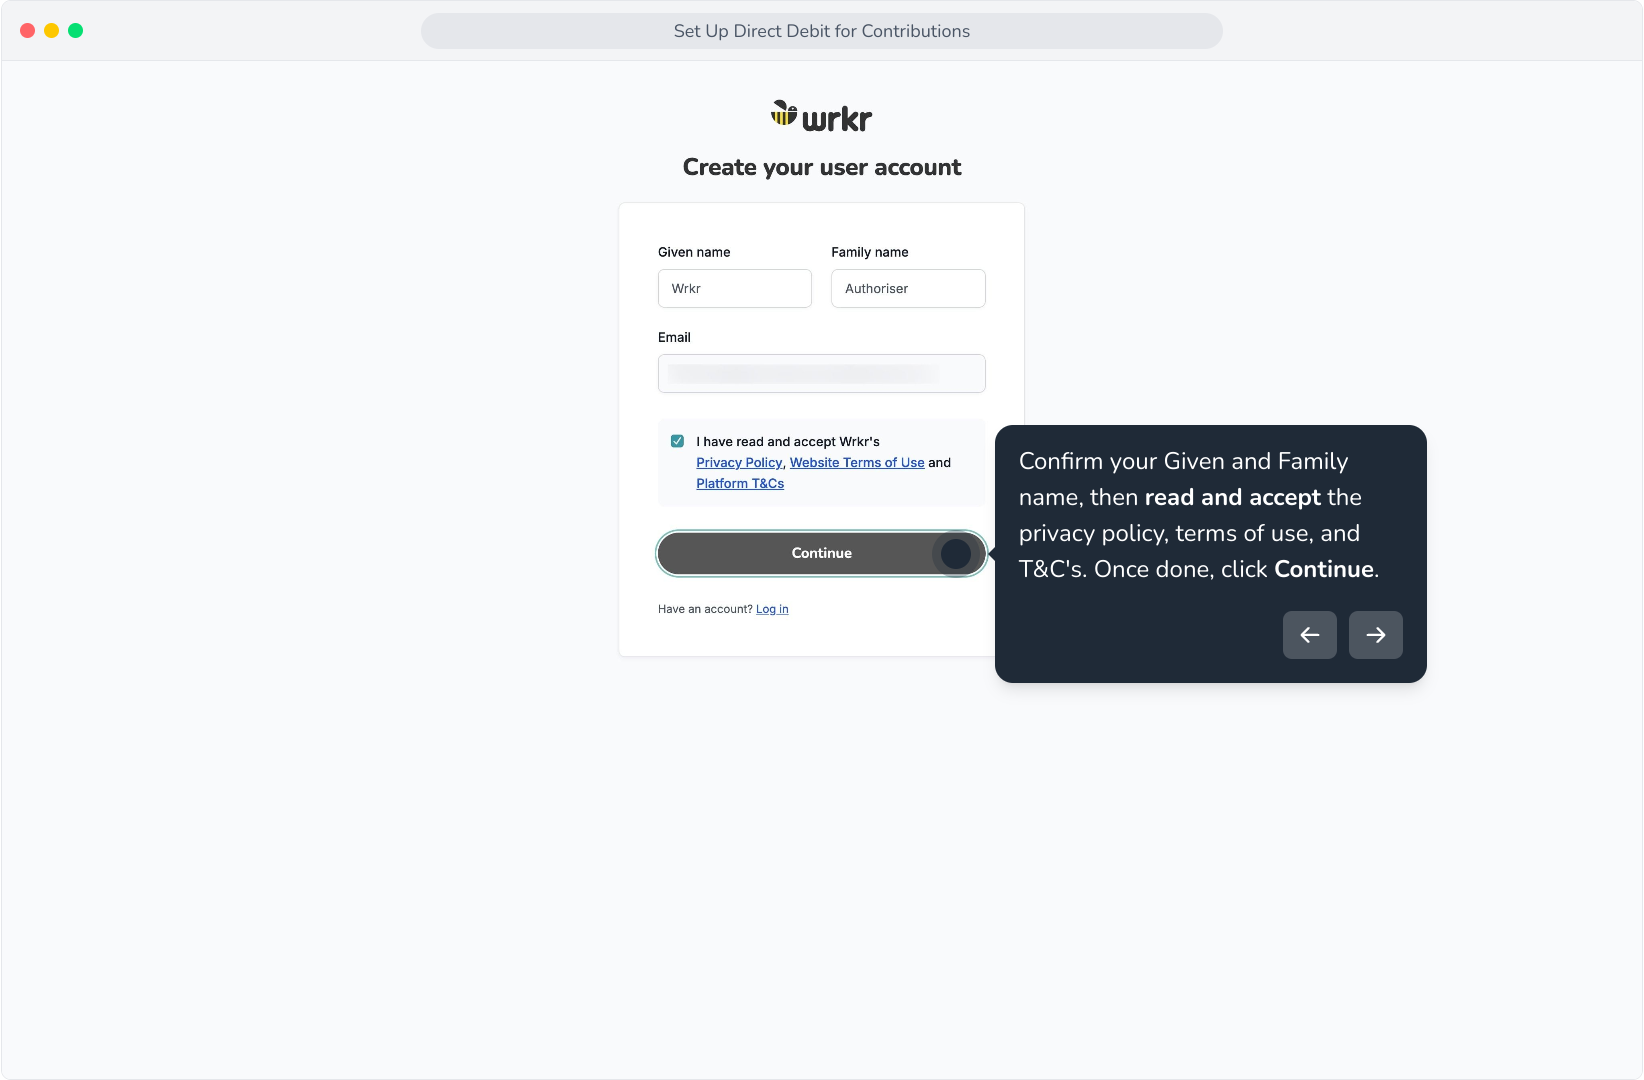
37. You'll be taken to an account creation screen. Your email will be pre-populated, and cannot be edited.

38. Confirm your Given and Family name, then read and accept the privacy policy, terms of use, and T&C's. Once done, click Continue.
39. Create a strong password, and follow the criteria on screen. Please note, criteria is subject to change to enhance account security. Please follow the requirements on screen.
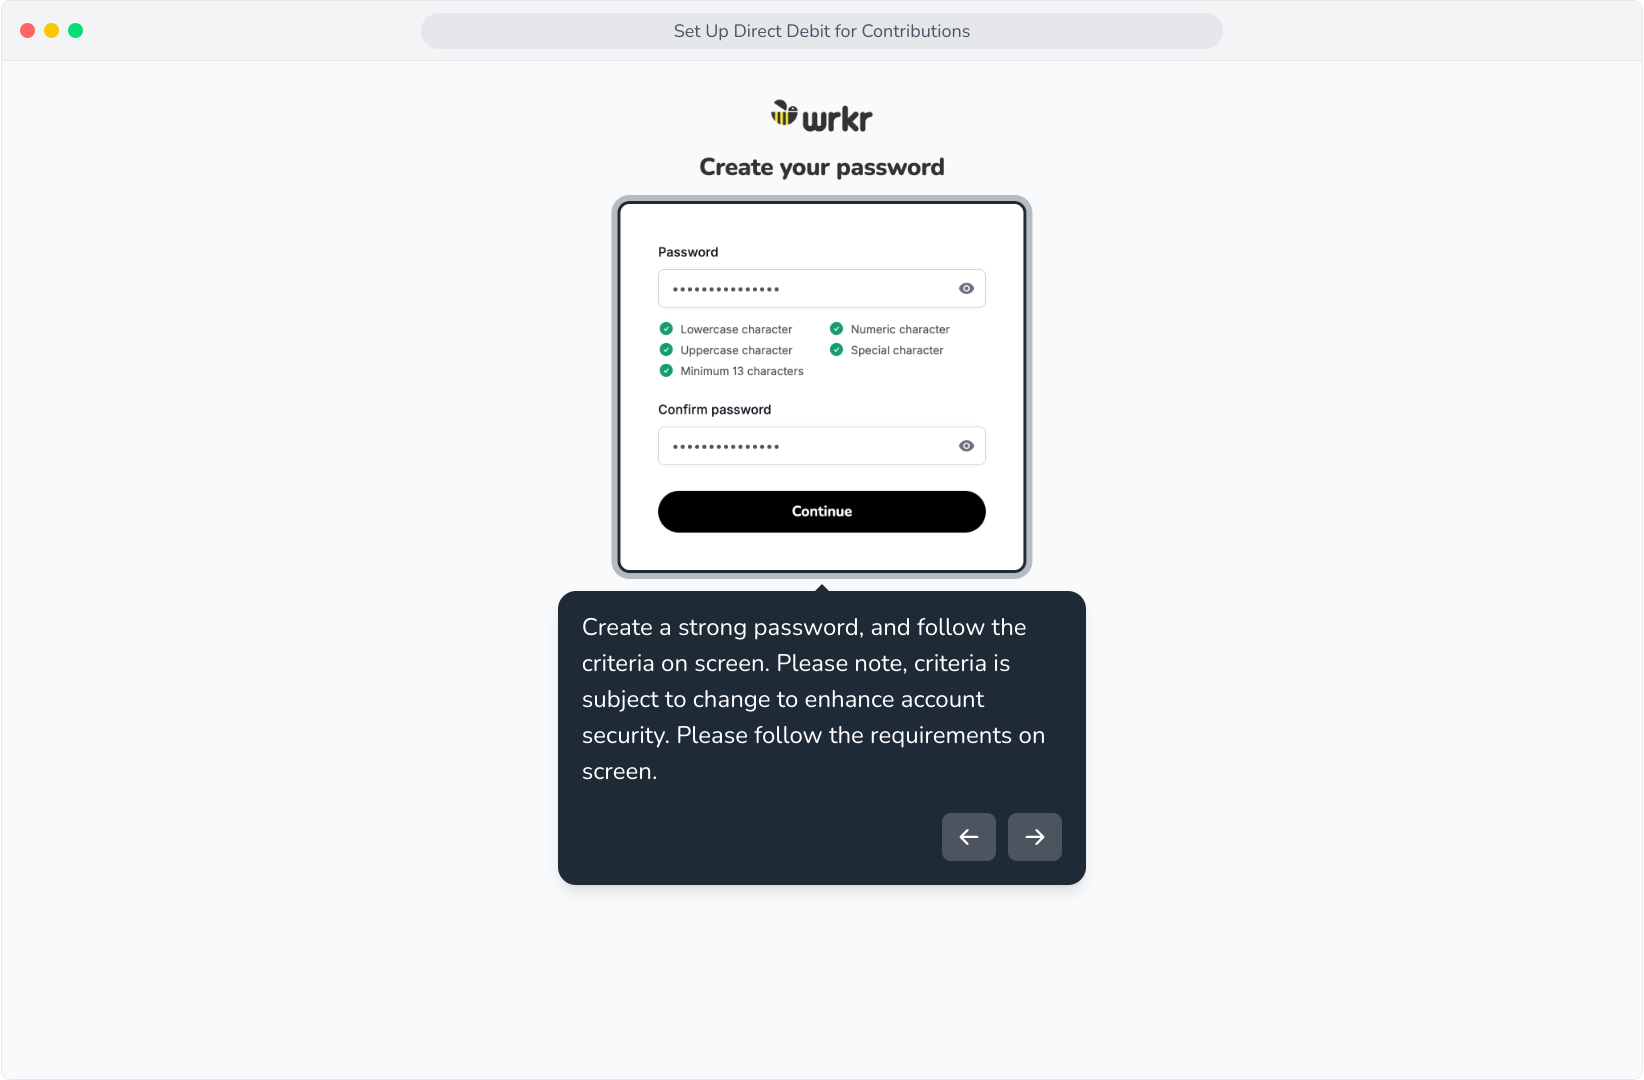
40. Once done, click Continue.

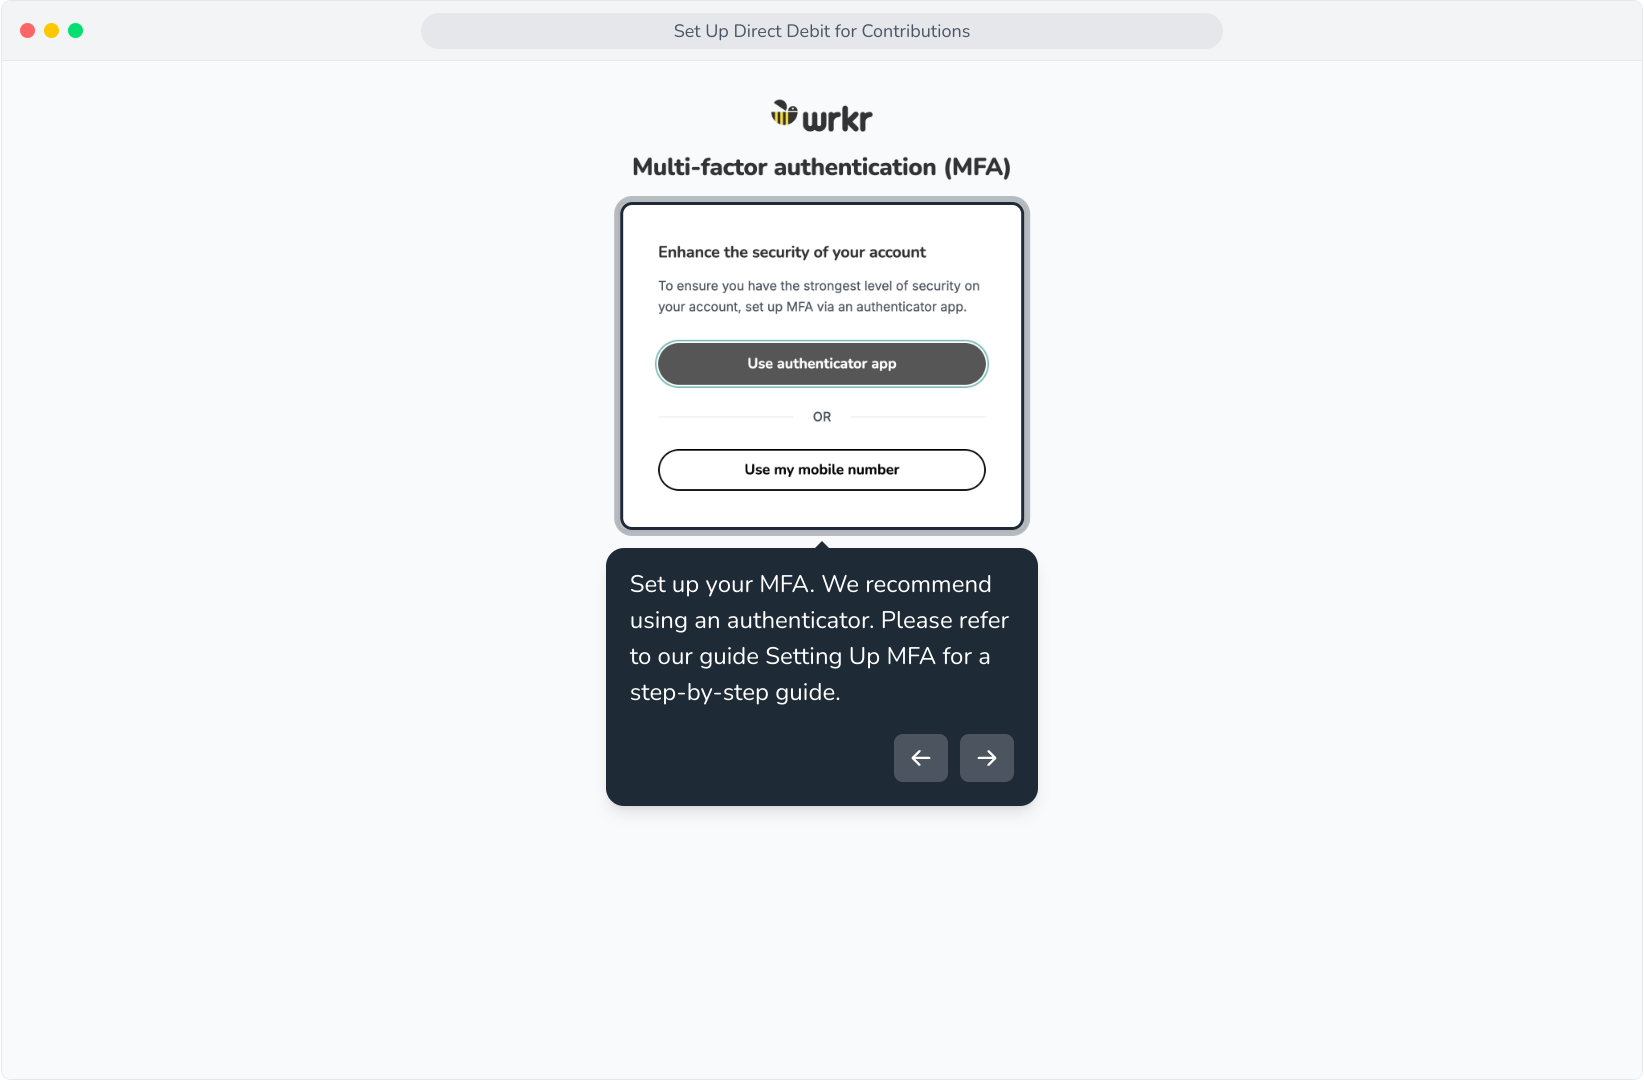
41. Set up your MFA. We recommend using an authenticator. Please refer to our guide Setting Up MFA for a step-by-step guide.
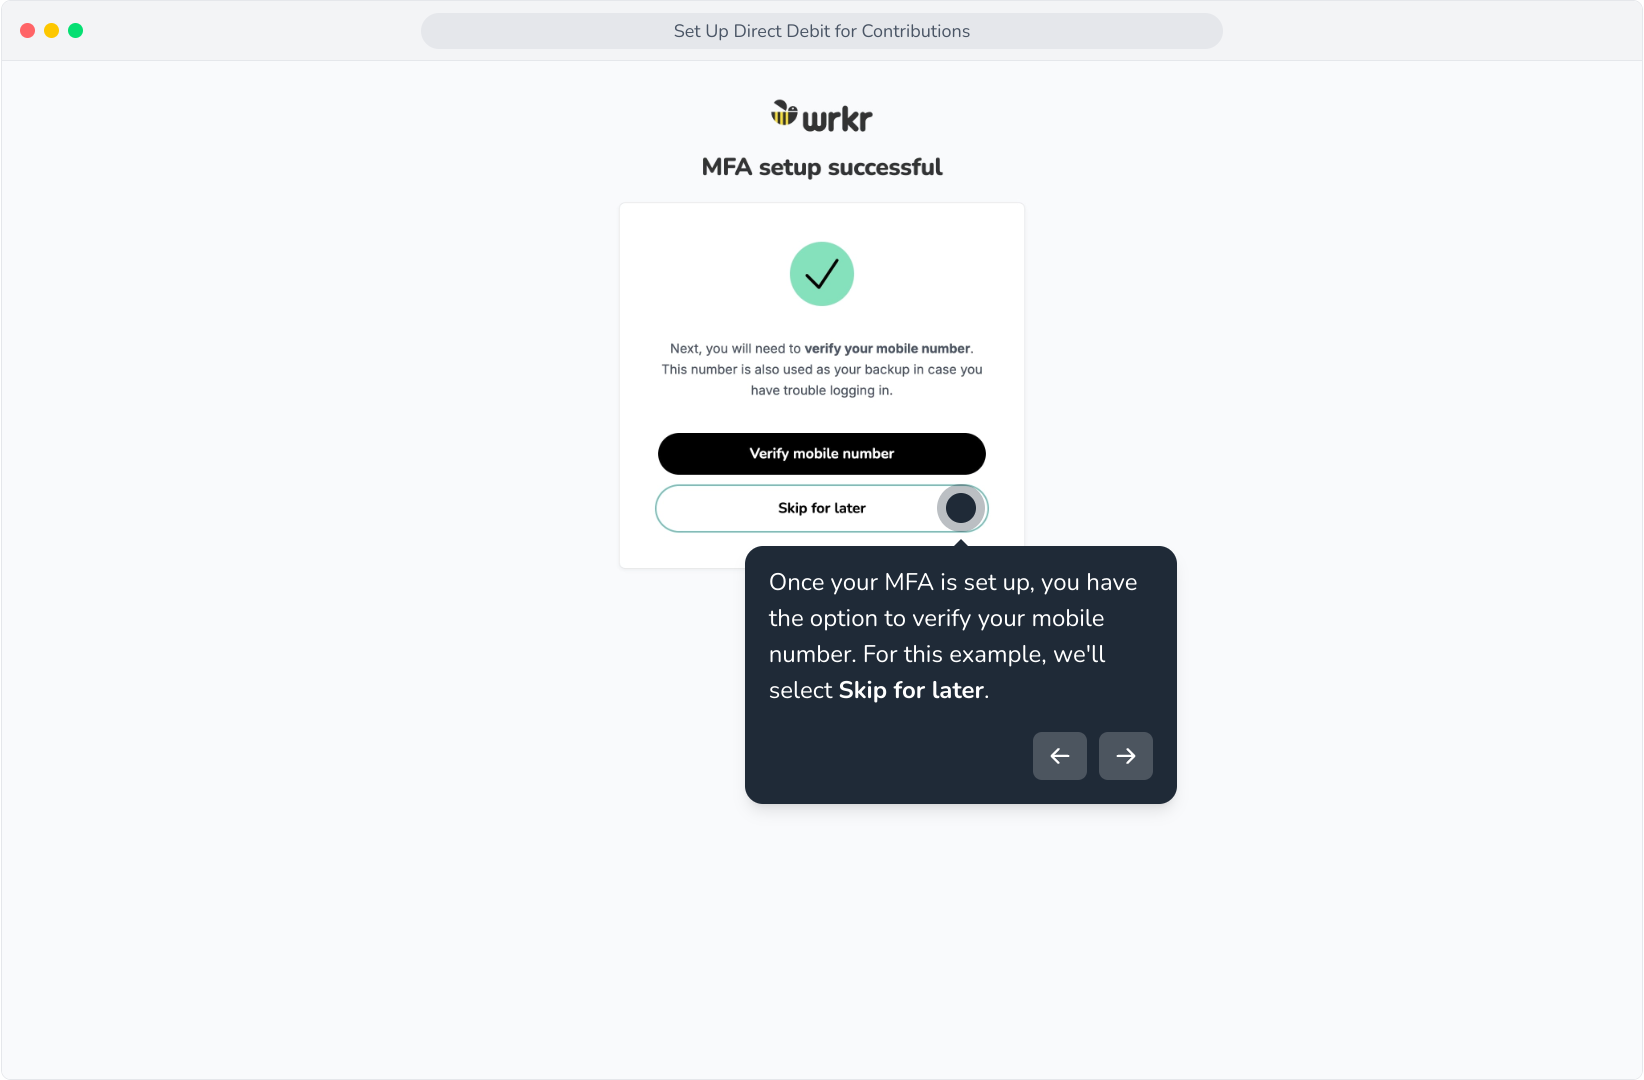
42. Once your MFA is set up, you have the option to verify your mobile number. For this example, we'll select Skip for later.
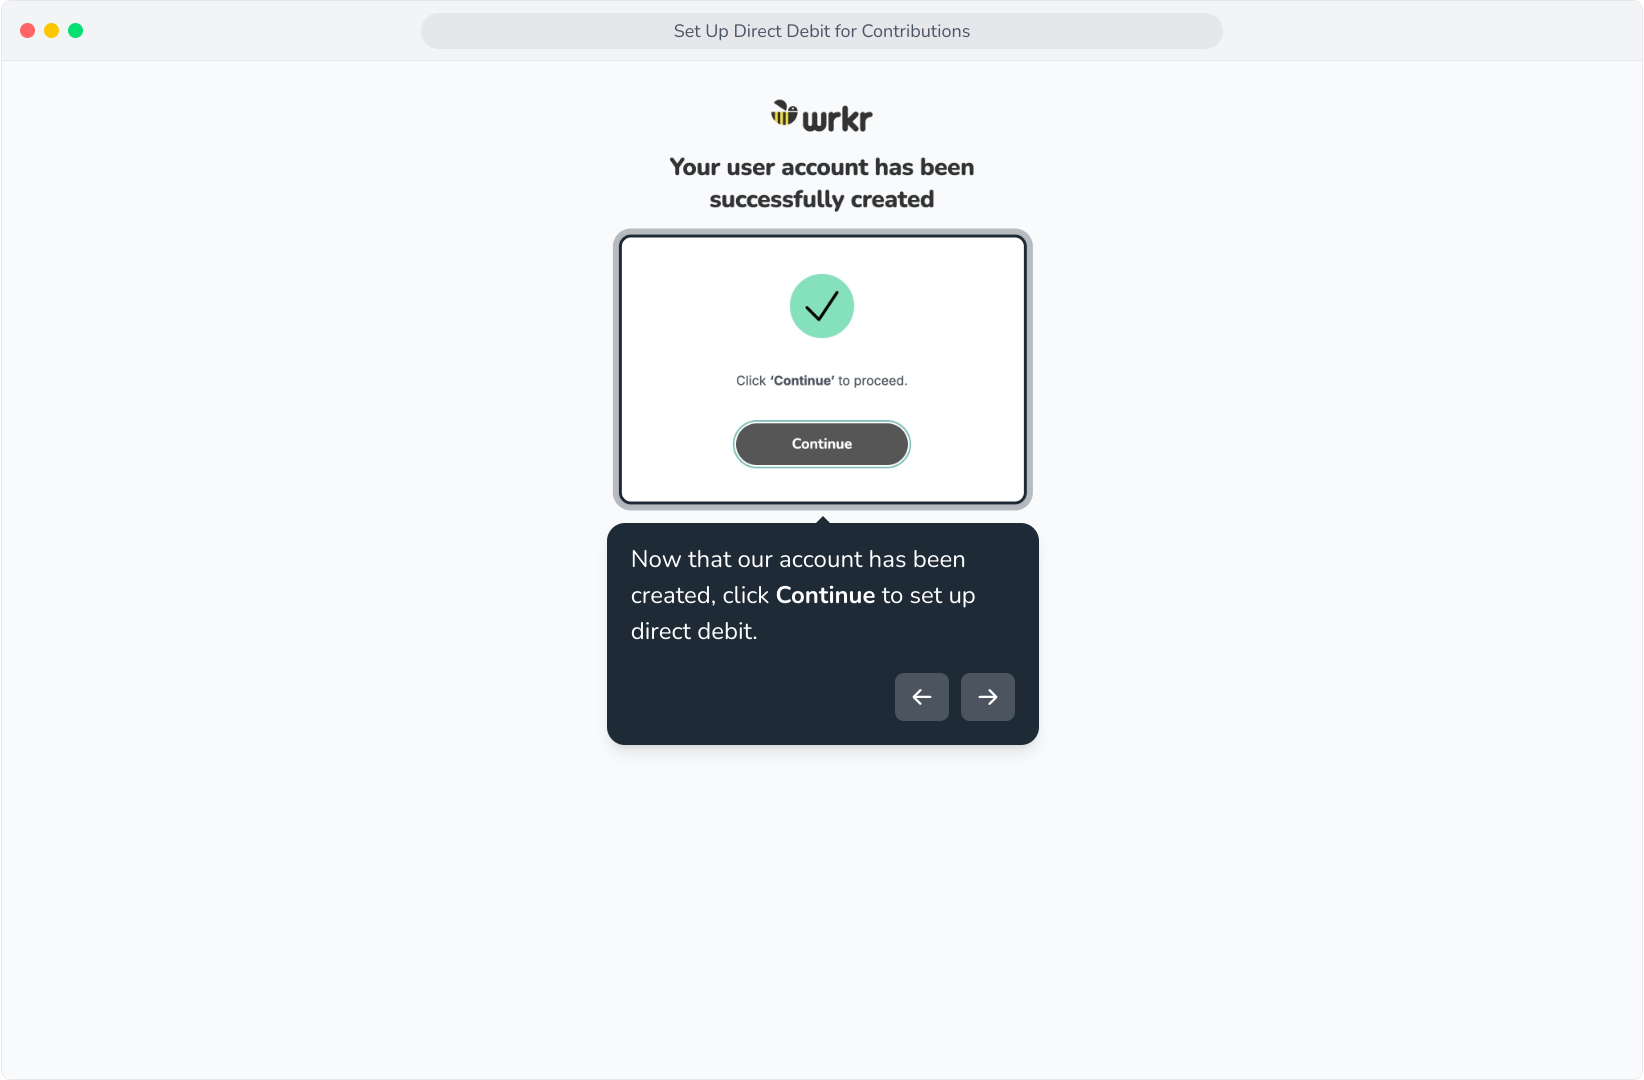
43. Now that our account has been created, click Continue to set up direct debit.
44. Let's commence the verification process. As stated in the info alert at the top – you have 7 days to complete the bank account setup.
45. Click Start to begin with the identity verification process.
46. You will be redirected to another screen to start the verification process.
47. Scan the QR code with your mobile device, or if already on a mobile – tap on the link provided below.
48. Once you commence the verification on your mobile, you will see this In progress state reflected on your desktop.

49. After scanning the QR code, you will be taken to this screen. Please prepare a valid, official identity document. For example, your Australian driver's license.

50. Once ready, tap Start.
51. Read and accept the terms and conditions.

52. Take a photo of the front side of your document. In this flow, we've used our Australian driver's license.

53. Take a photo of the back side of your document.
54. Lastly, take a selfie. Follow the instructions on screen to frame the photo correctly.
55. Verification complete! Return to your desktop device to continue.

56. Now, let's enter our bank details. Click start.

57. Enter your bank details and read and accept the declarations. If you wish, you can download the agreement.
58. A small deposit will be made to the bank account you entered. Please note that this can take up to 3 business days to receive.
59. Once received, enter the reference code of the deposit that was made to your account. Once done, click Verify.

60. Please note: You have three attempts to enter the correct code before you are unable to proceed.
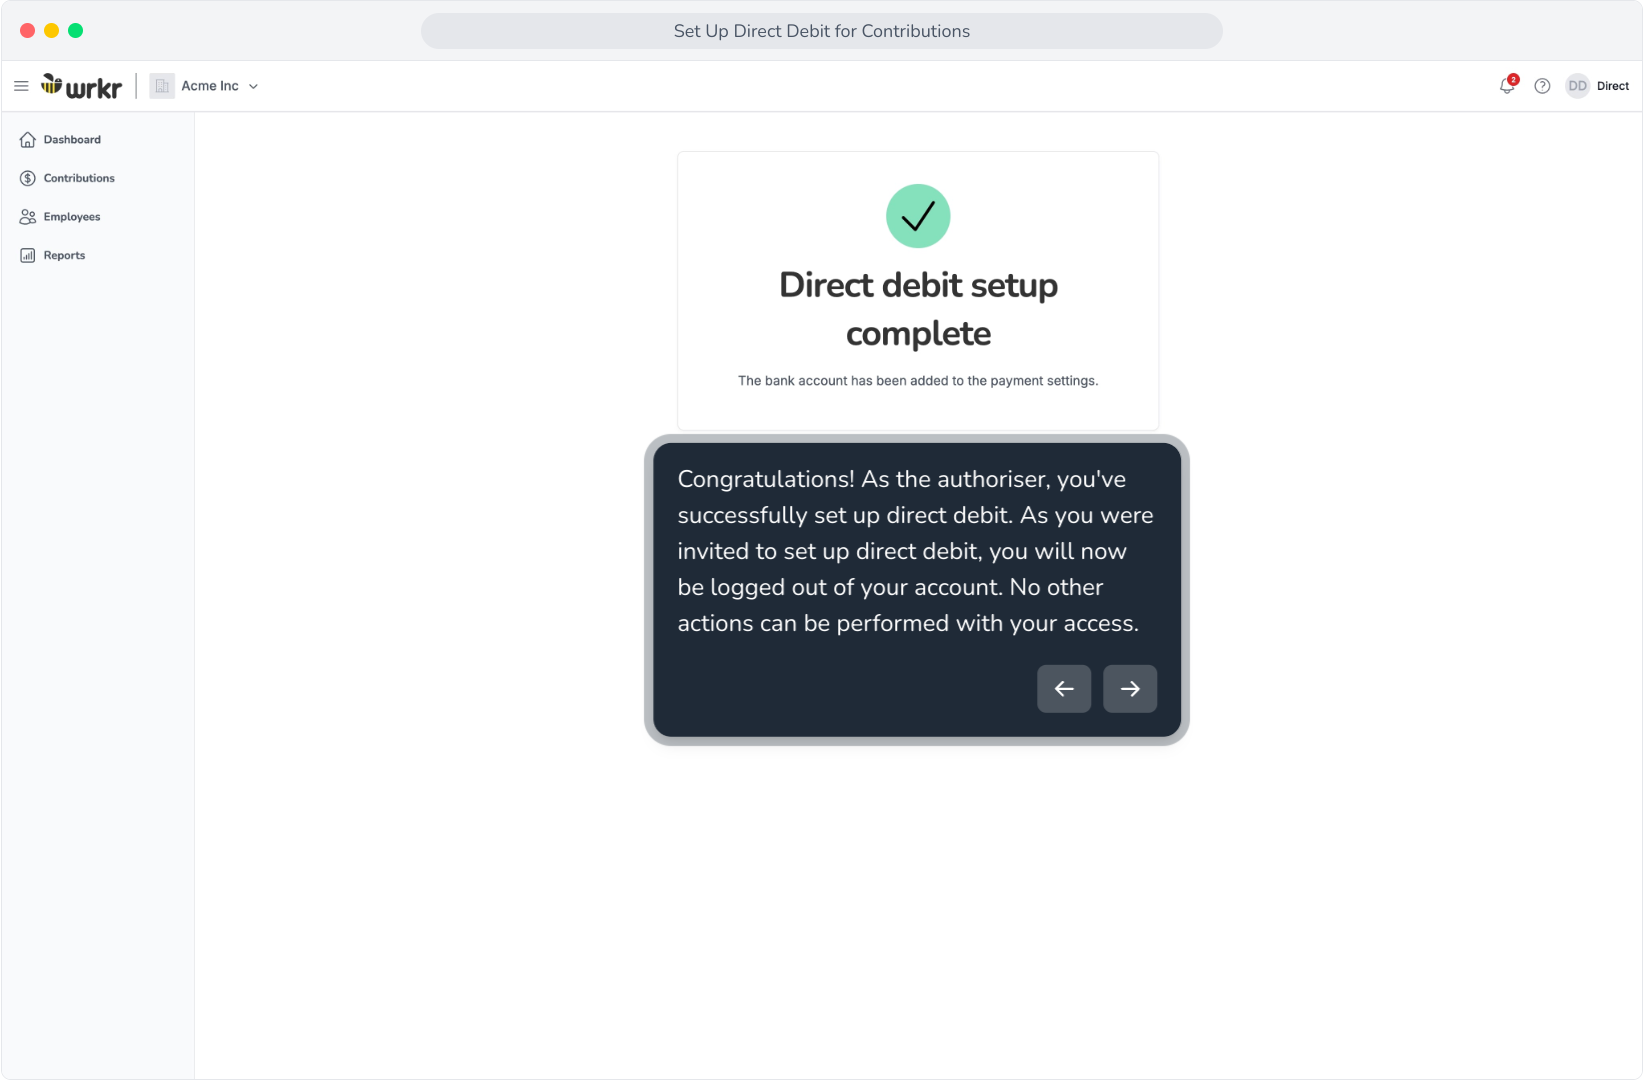
61. Congratulations! As the authoriser, you've successfully set up direct debit. As you were invited to set up direct debit, you will now be logged out of your account. No other actions can be performed with your access.
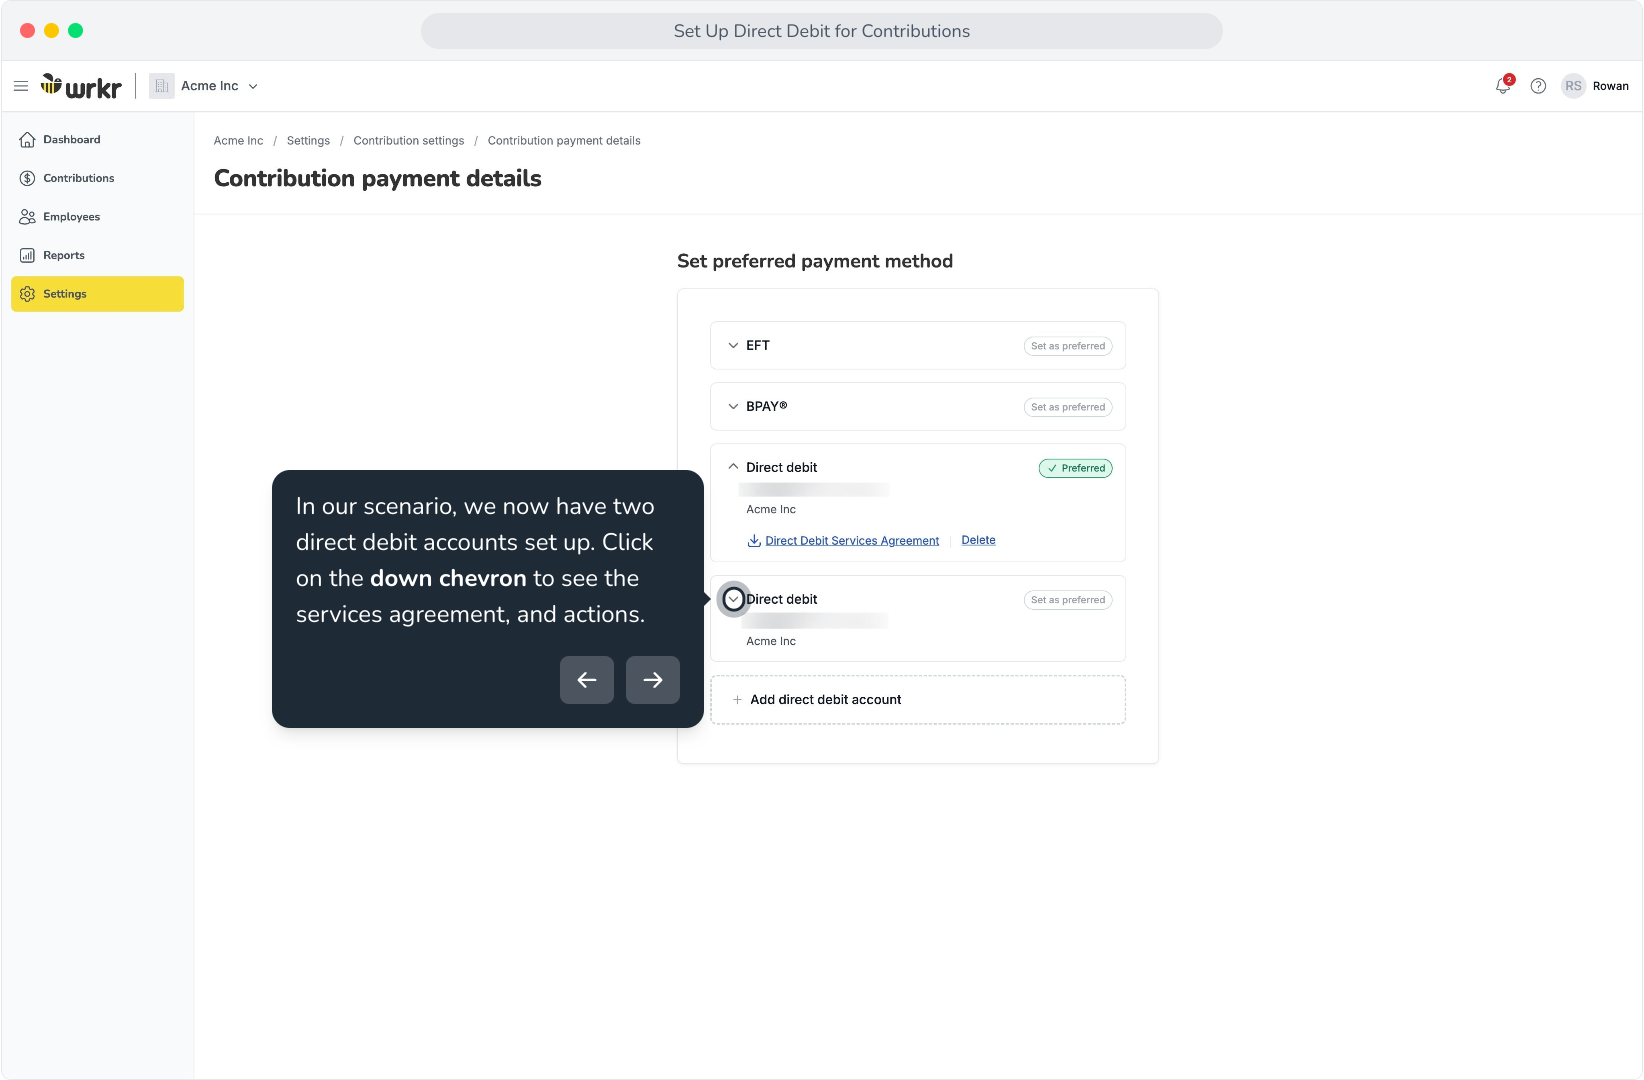
62. Logging in as the Org Admin again, we can now see that our delegated flow has been set up.
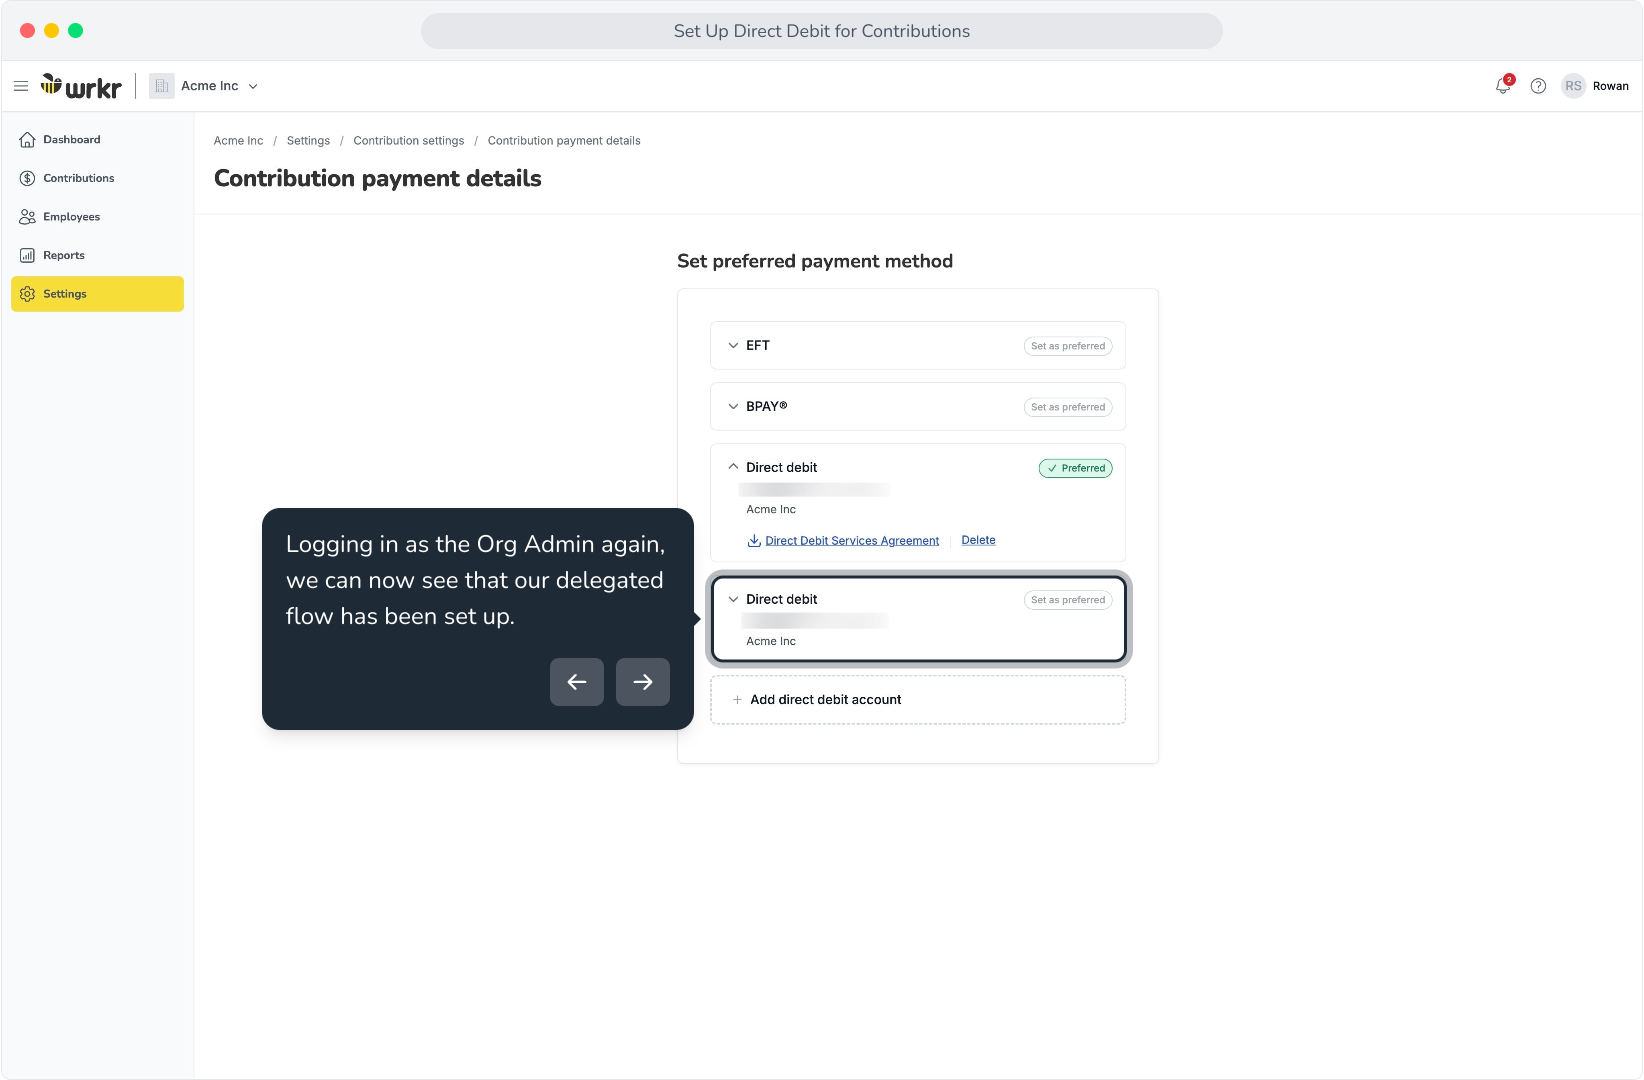
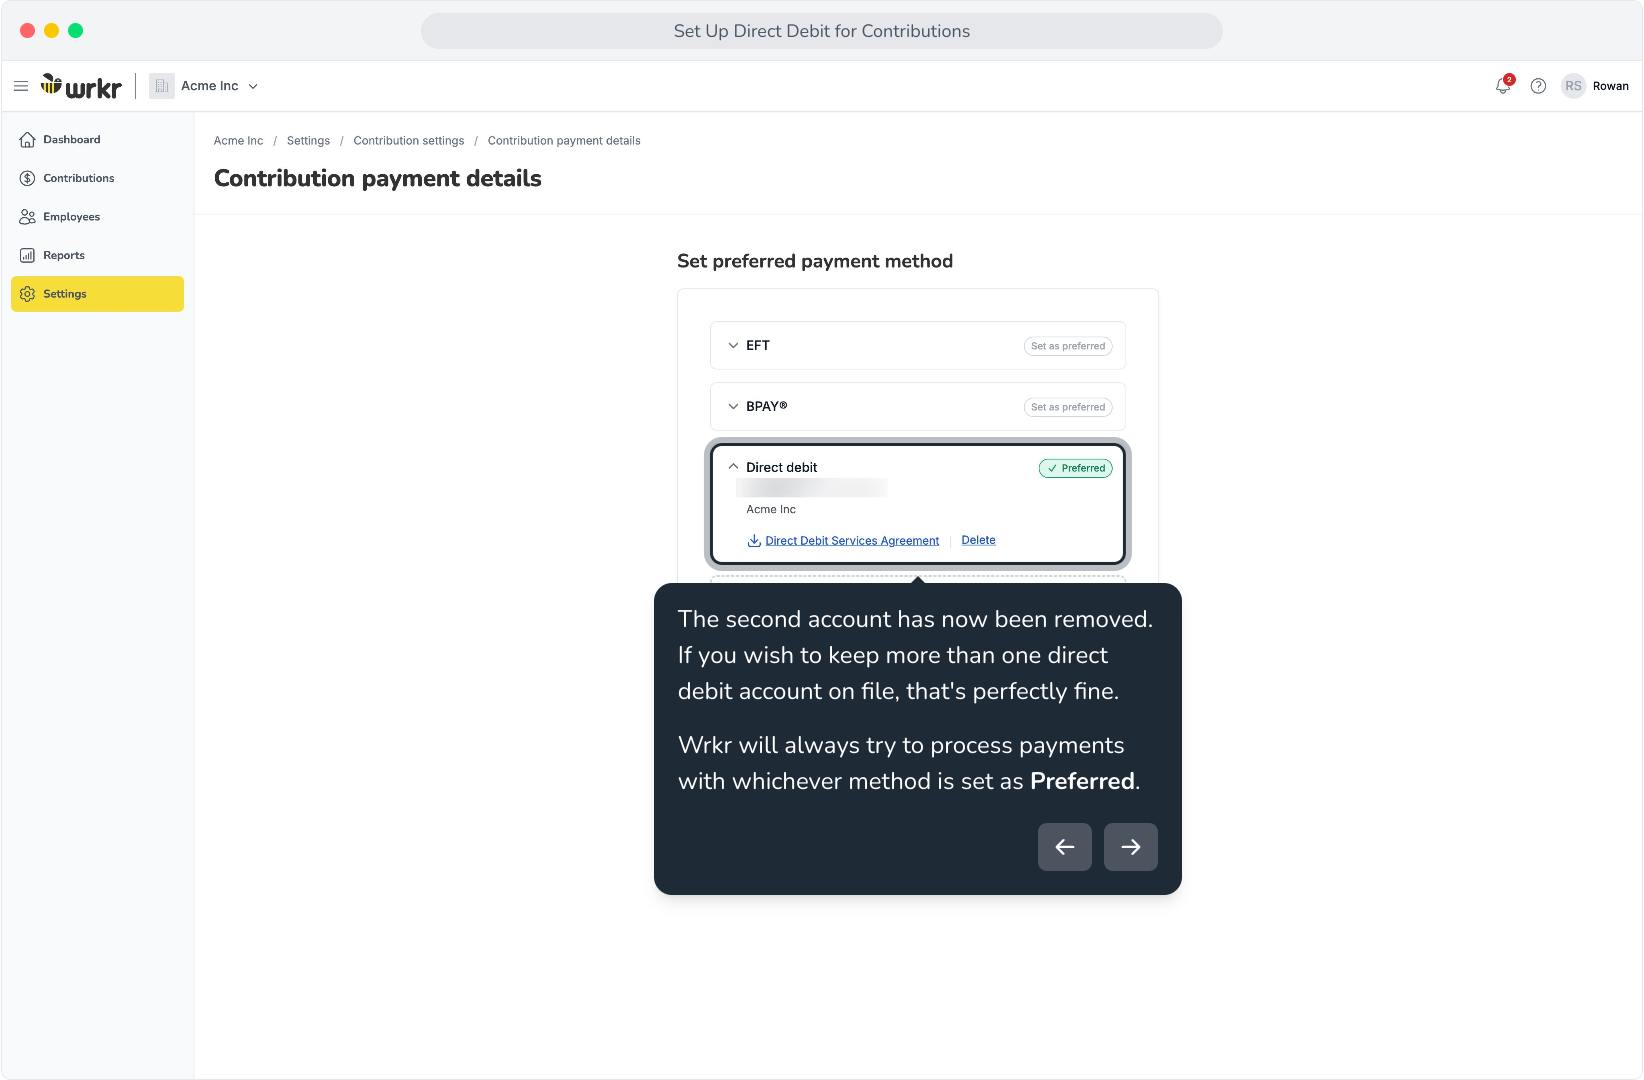
63. In our scenario, we now have two direct debit accounts set up. Click on the down chevron to see the services agreement, and actions.
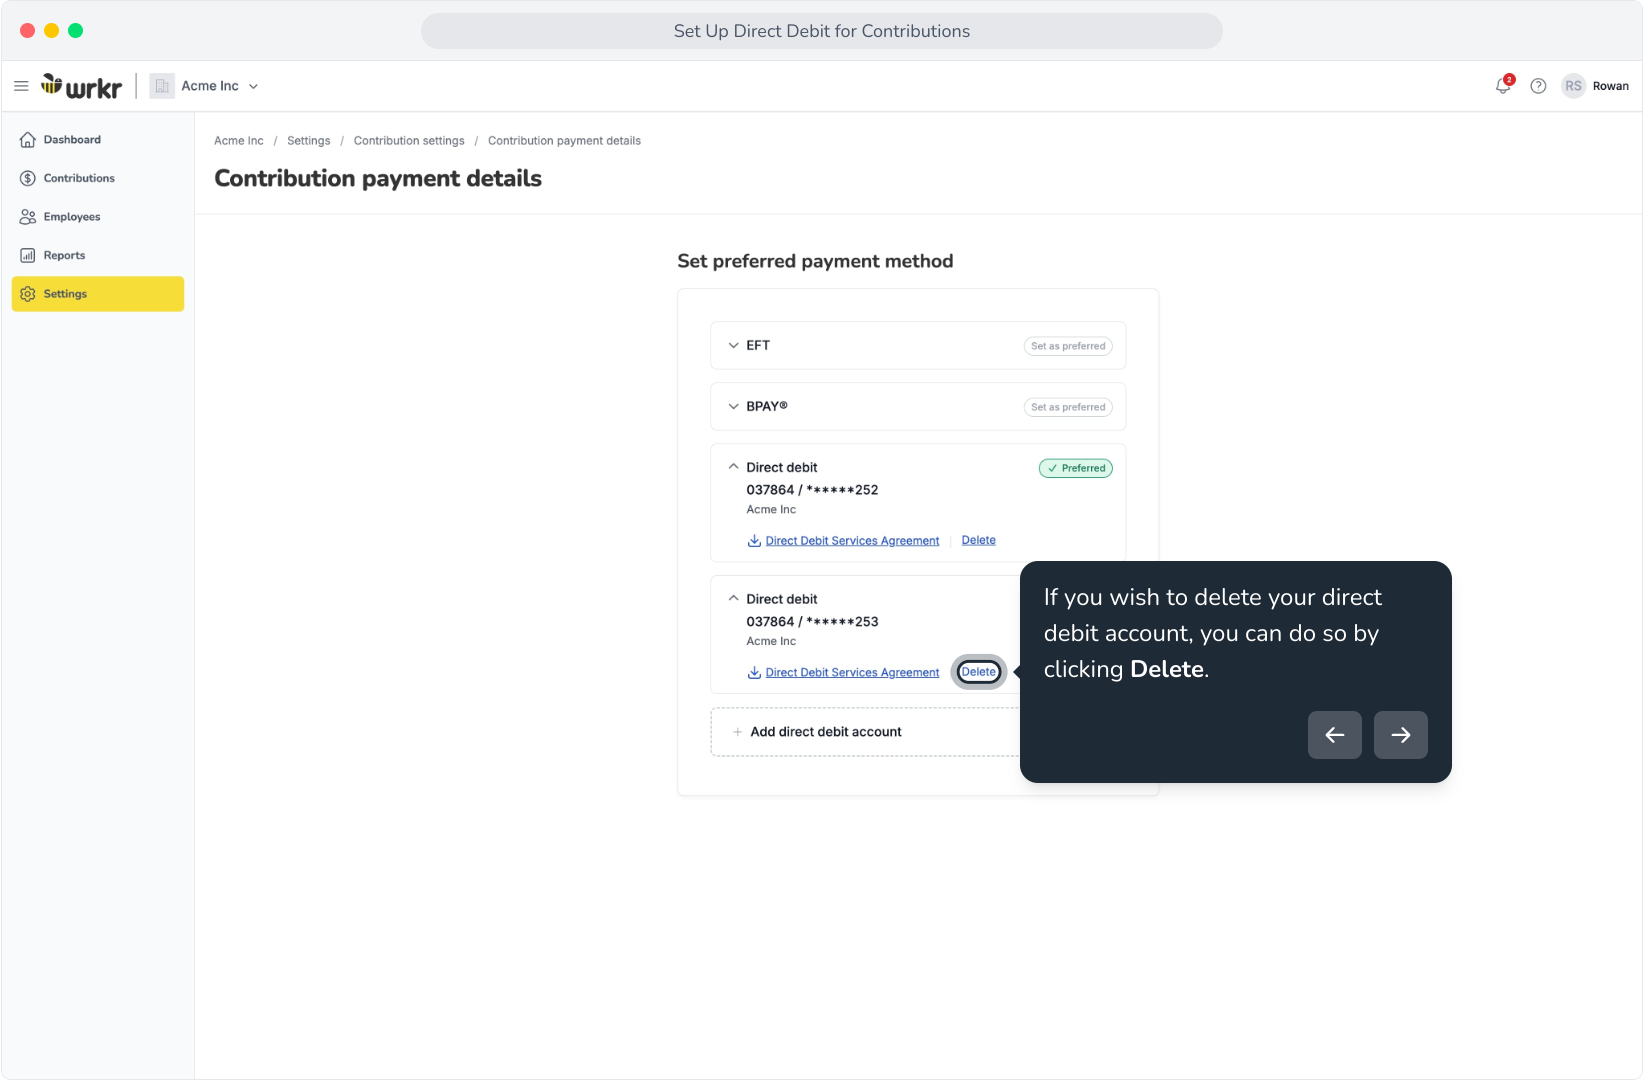
64. If you wish to delete your direct debit account, you can do so by clicking Delete.
65. Click Delete account to confirm.
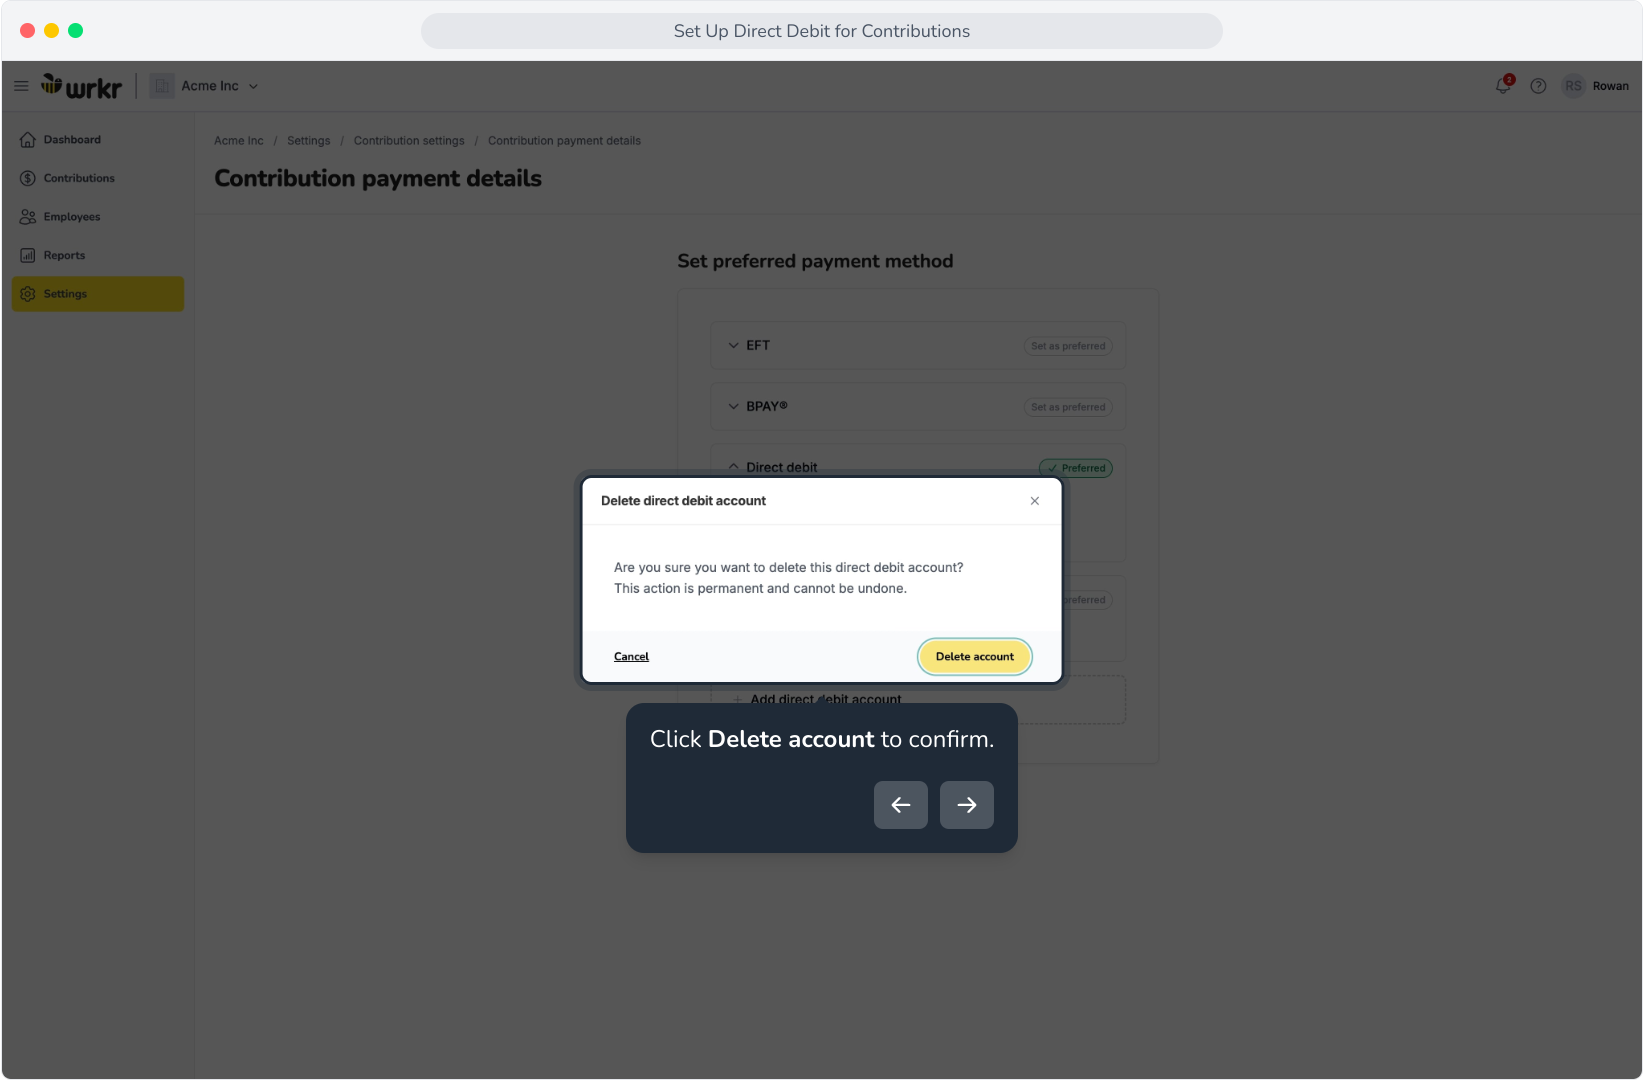
66. The second account has now been removed. If you wish to keep more than one direct debit account on file, that's perfectly fine.Wrkr will always try to process payments with whichever method is set as Preferred.